www.mobotix.com • sales@mobotix.com
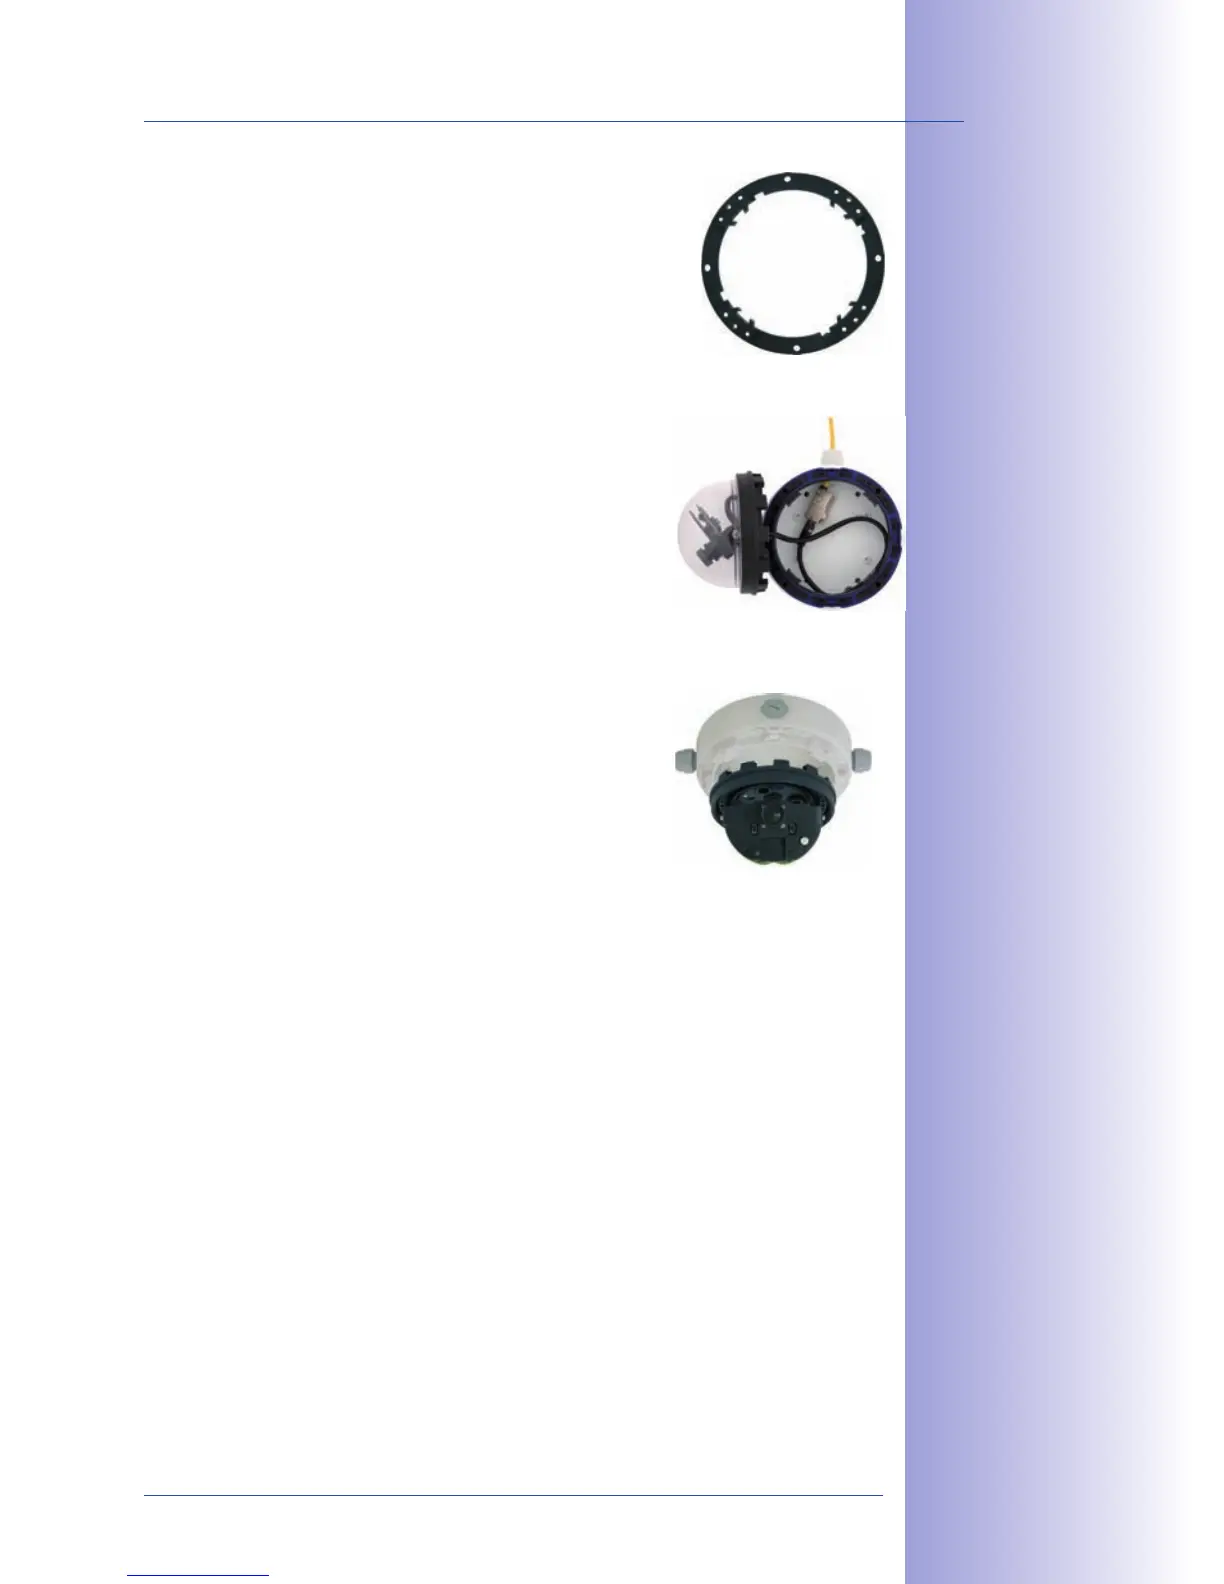
: Separate the black mount-
ing ring from the camera housing (lift the spring clip).
This ring is not required when mounting the camera to
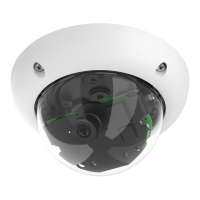
: Connect the on-site network cable
to the network cable passing through the On-Wall Set
using a standard connector. Make sure to leave enough
unused cable inside the housing. This will ensure that
you can turn and tilt the lens mount freely later on. Excess
cable can be easily stored within the On-Wall Mount.
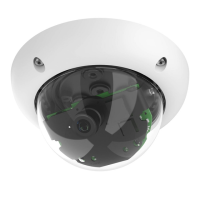
it is seated firmly within the On-Wall Mount. The tapered
guides at the back of the D24M housing fit exactly into
the openings of the On-Wall Mount. Attach the white
outer shell with the supplied Allen screws (without rubber
seal) once the lens has been adjusted.
Pro cee d to S e ctio n 2.11, Aiming And Adjusti n g The Le n s.