45/164
Preparing The Installation
© MOBOTIX AG • Security-Vision-Systems • Made in Germany
www.mobotix.com • sales@mobotix.com
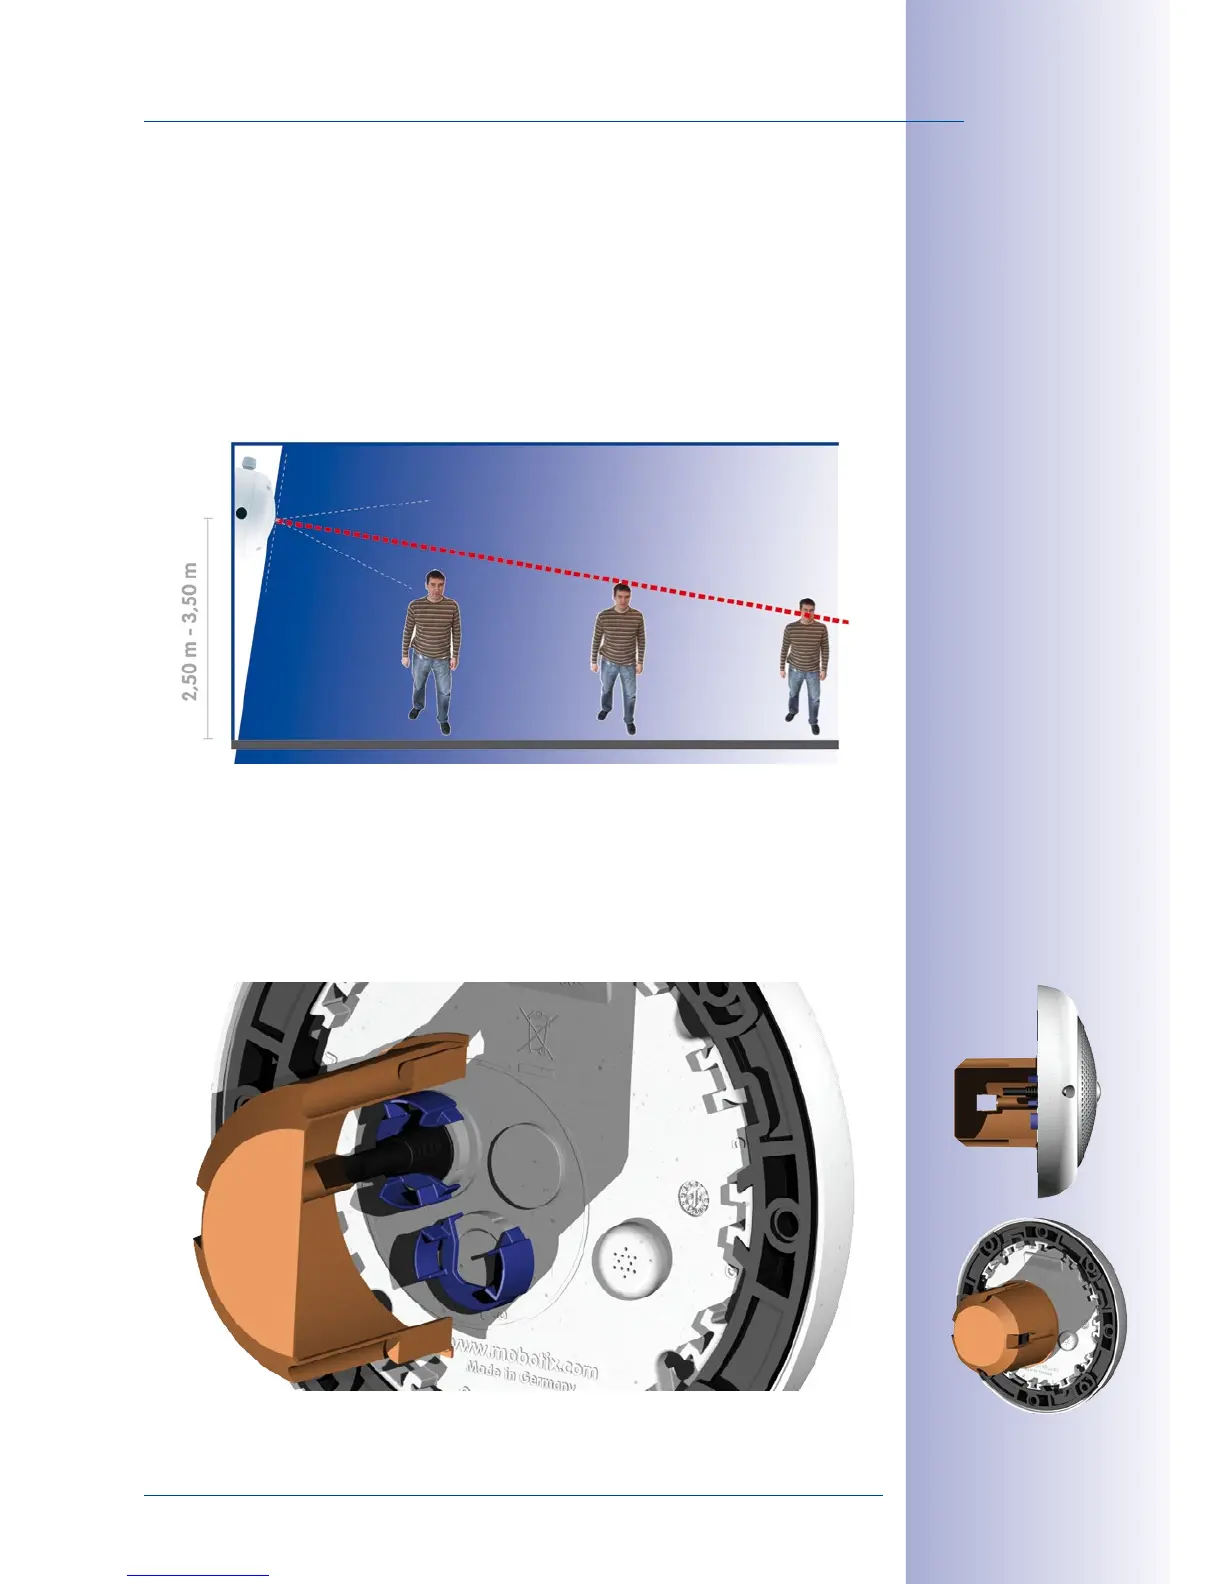
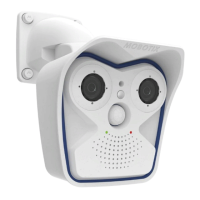
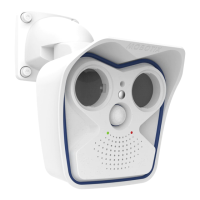
Wall Installation With The 10° On-Wall Set For Image Optimization
An on-wall set, available as an accessory in 0° and 10° inclinations, may also be used for
installation. While the 0° set primarily oers easier installation and more storage space
for cables and add-on modules (WLAN, connectors, etc.), the 10° set may also increase
the image quality in certain cases. In particular for wall installations which must be carried
out at greater heights for technical or other reasons (over doors, windows, etc.,) adding
a slight tilt to the camera, and thus also the lens, will return better results, as the center
of the lens is then focused more directly on the center of activity in the room (optimal
utilization of lens capabilities).
Wall Mounting Over A Wall Outlet
Professional wall or ceiling installation of a Q24M is generally possible without accessories.
However, due to elevation of the rear casing of the camera caused by connections and
holders, a wall outlet should be installed prior to camera installation (see drilling template
Q24M). This provides perfect protection to the cabling, ensuring that it cannot be seen or
damaged from outside.
Camera focus (best image quality) - optimized with 10° On-Wall Set
Optimized image quality
through wall installation
with On-Wall Set 10°