-31-
Revision 7/F3512
© Moffat Ltd, January 2005
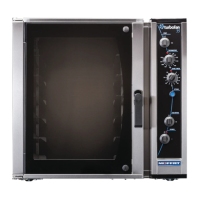
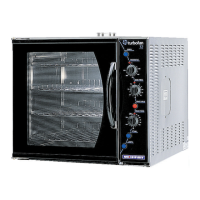
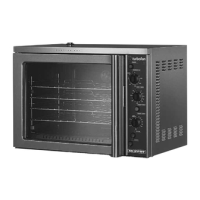
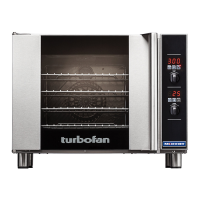
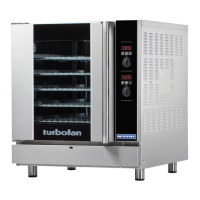
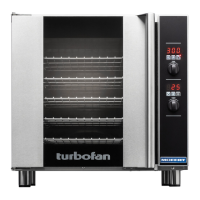
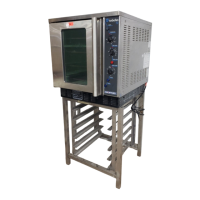
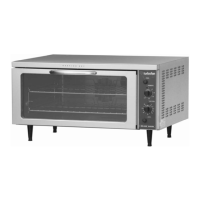
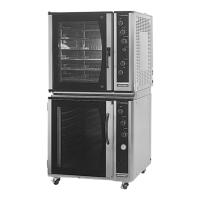
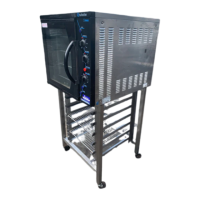
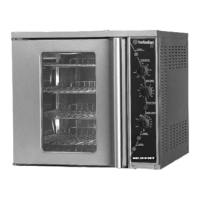
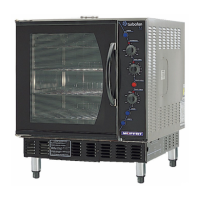
E35 Turbofan Ovens
C
A
E
B
D
C
C1
E
F
F
G
G
H
H
J
I
J
K
L
Two Bolts
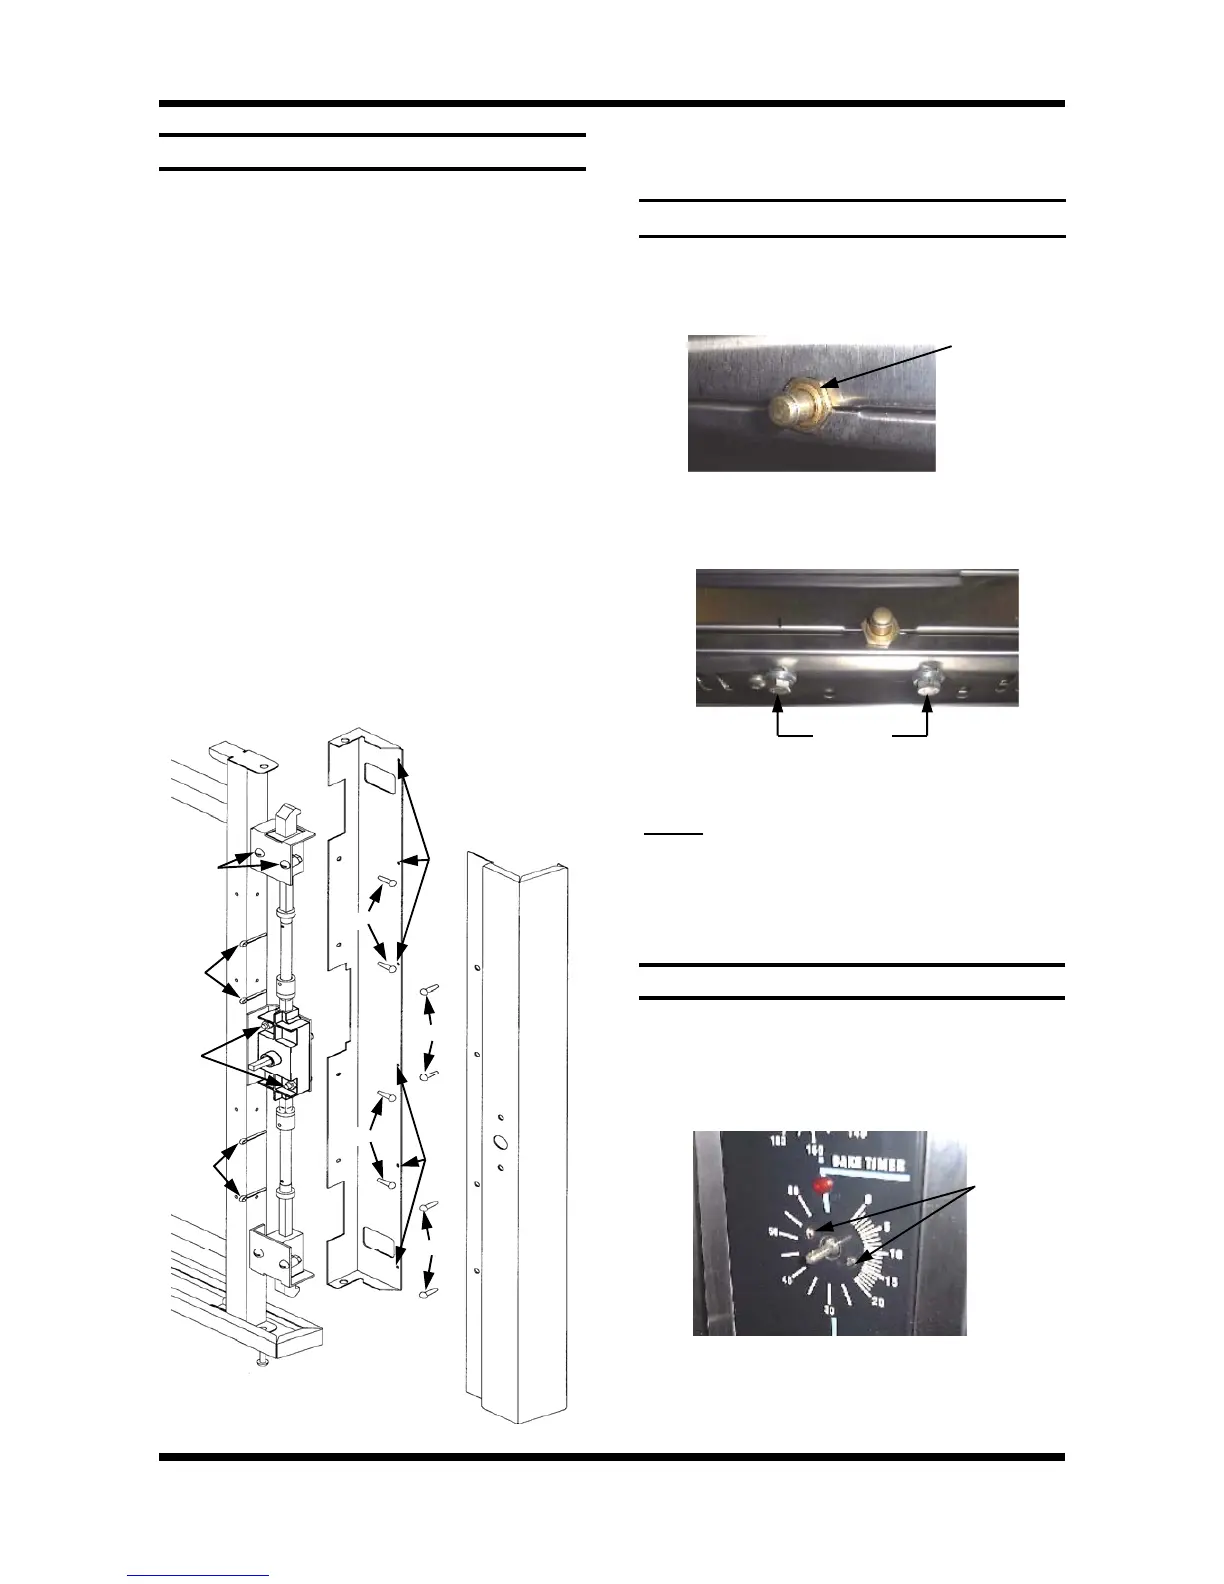
6.4 ADJUSTMENT / CALIBRATION
6.4.1 DOOR MICROSWITCH ADJUSTMENT
1) Open oven door.
2) Loosen nut on front of microswitch, located at
bottom right of door frame.
1) Remove outer glass (refer 6.3.24), inner glass
(refer 6.3.25) and door handle (refer 6.3.27),
leaving door open.
2) Drill out the six rivets (refer figure 6.3.36, E)
on the inside of the RH outer door trim (A)
using a 3.5mm drill.
3) Remove four screws (F) on outside of RH
outer door trim (A).
4) Remove trim (rotate toward inside of door).
5) Remove four screws (J) from RH inner door
trim (B), and remove trim. (Loosen bottom
trim screw (K) if required).
6) Remove four split-pins (G) from the
connecting rods (H) on handle mechanism
(D).
7) With handle in open position, push latch
mechanism (C1) away from connecting rod
(H) and remove the connecting rods.
8) Remove two screws (L) securing handle
mechanism (D), and remove.
9) Re-assemble in reverse order.
6.3.30 DOOR HANDLE MECHANISM
6.4.2 60 MINUTE TIMER ZERO POSITION
1) Remove 60 minute timer knob by pulling it
firmly away from control panel.
2) Open control panel (refer 6.2.1). Loosen two
screws on control panel holding 60 minute
timer.
3) The timer can now be rotated as required to
ensure that the buzzer sounds at the zero
position.
Microswitch
Nut
Figure 6.4.1
Figure 6.4.2
3) Loosen two bolts securing microswitch
bracket from underside of oven.
4) Adjust microswitch position and tighten bolts.
NOTE:
Switch should operate when door handle
approximately
1
/
2
engaged (45°).
5) Repeat steps 2-5 as required, then tighten the
front nut.
Two
Screws
Figure 6.4.3
Figure 6.3.42