C-75 Installation Guide
13
Connecting C-75
This involves mounting the C-75, powering on the device, and connecting it to the wired network.
Mount C-75
Take a configured C-75, that is, ensure that a static IP is assigned to the device or the settings have been
changed for DHCP. Note the MAC address and the IP address of the device in a safe place before it is installed
in a hard-to-reach location. The MAC address of the device is printed on a label at the bottom of the product.
Recommended: You should label the devices using MAC addresses or at least your own convention. For
example, use serial numbers, so that you can easily identify the devices.
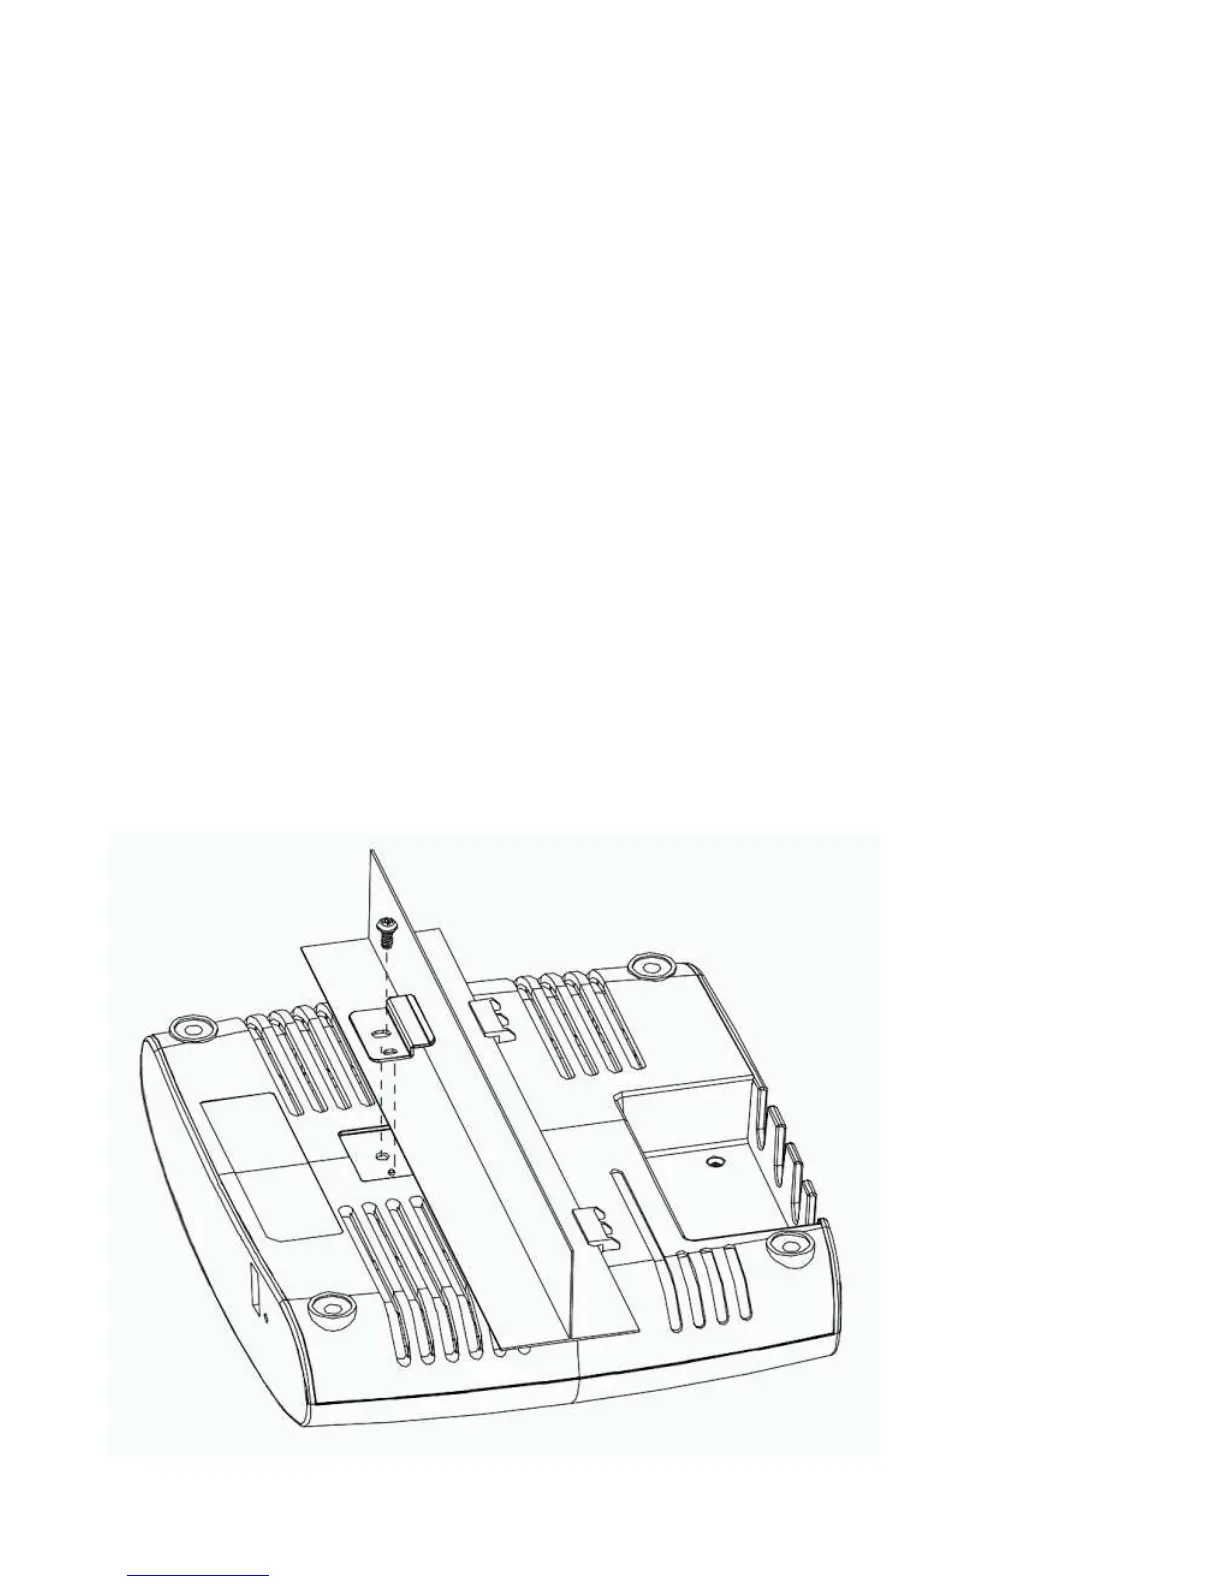
Wall/ Ceiling Mounting
Use the mounting bracket to install the C-75 on the ceiling. To mount the device:
1. Attach the mounting bracket to the wall or ceiling by using the mounting hardware kit.
2. Insert the provided short screws into the bottom cover of the C-75 device.
3. Leave enough of the screws exposed to ensure that the unit can be attached to the mounting
bracket.
4. If extra space is required, use the provided spacers and long screws from the T-Rail mounting
hardware kit to increase the space between the unit and the mounting bracket.
Figure 0-1 Ceiling Mounting