76347-385 • 06-15
2.4
The Chipping Cycle • Preparation
Before starting operation the chipper must first be placed on a stable surface
and secured so that it does not move. The chipper can be mounted on a
surface by using two methods; hitched to a tow vehicle or in a stand alone
position with the jack supporting it.
When the chipper is hitched to a tow vehicle:
• The towing vehicle must be capable of handling your machine
• Park the vehicle and the chipper on a level surface
• The vehicle must be completely stopped, with the parking brake on
• There must NOT be a driver in the vehicle
• The hitch must be properly secured to the vehicle with locking
pins installed
• Connect safety chains and cables to the vehicle. Two lengths of chain
must be used. The lengths of chains should be equal in length and
properly affixed to the towing vehicles the chain shall be hooked
through the hitch plate in such a way as to allow the operator to turn
the vehicle and not drag the chains on the ground
• Hook up electrical connections and check that tail lights and turn
signals are in working order
• The chipper must be level, with the machine parallel to the ground
Before operating always block the wheels, and ensure the
chipper is on stable level ground when not attached to a
vehicle. Failure to do so will result in unexpected movement,
serious injury, or death.
Machine Preparation
Adjust discharge chute
Once you have the machine secured and level, the next step in machine
preparation is setting up the discharge chute. See page Features and
Function section for more detail.
• Ensure the infeed spout is clear of any debris
• Rotate the discharge chute in the direction you want the wood chips
projected. The discharge chute can rotate 360º
• Adjust the deflector for the desired angle of projection. Direct chips
away from the work area and bystanders
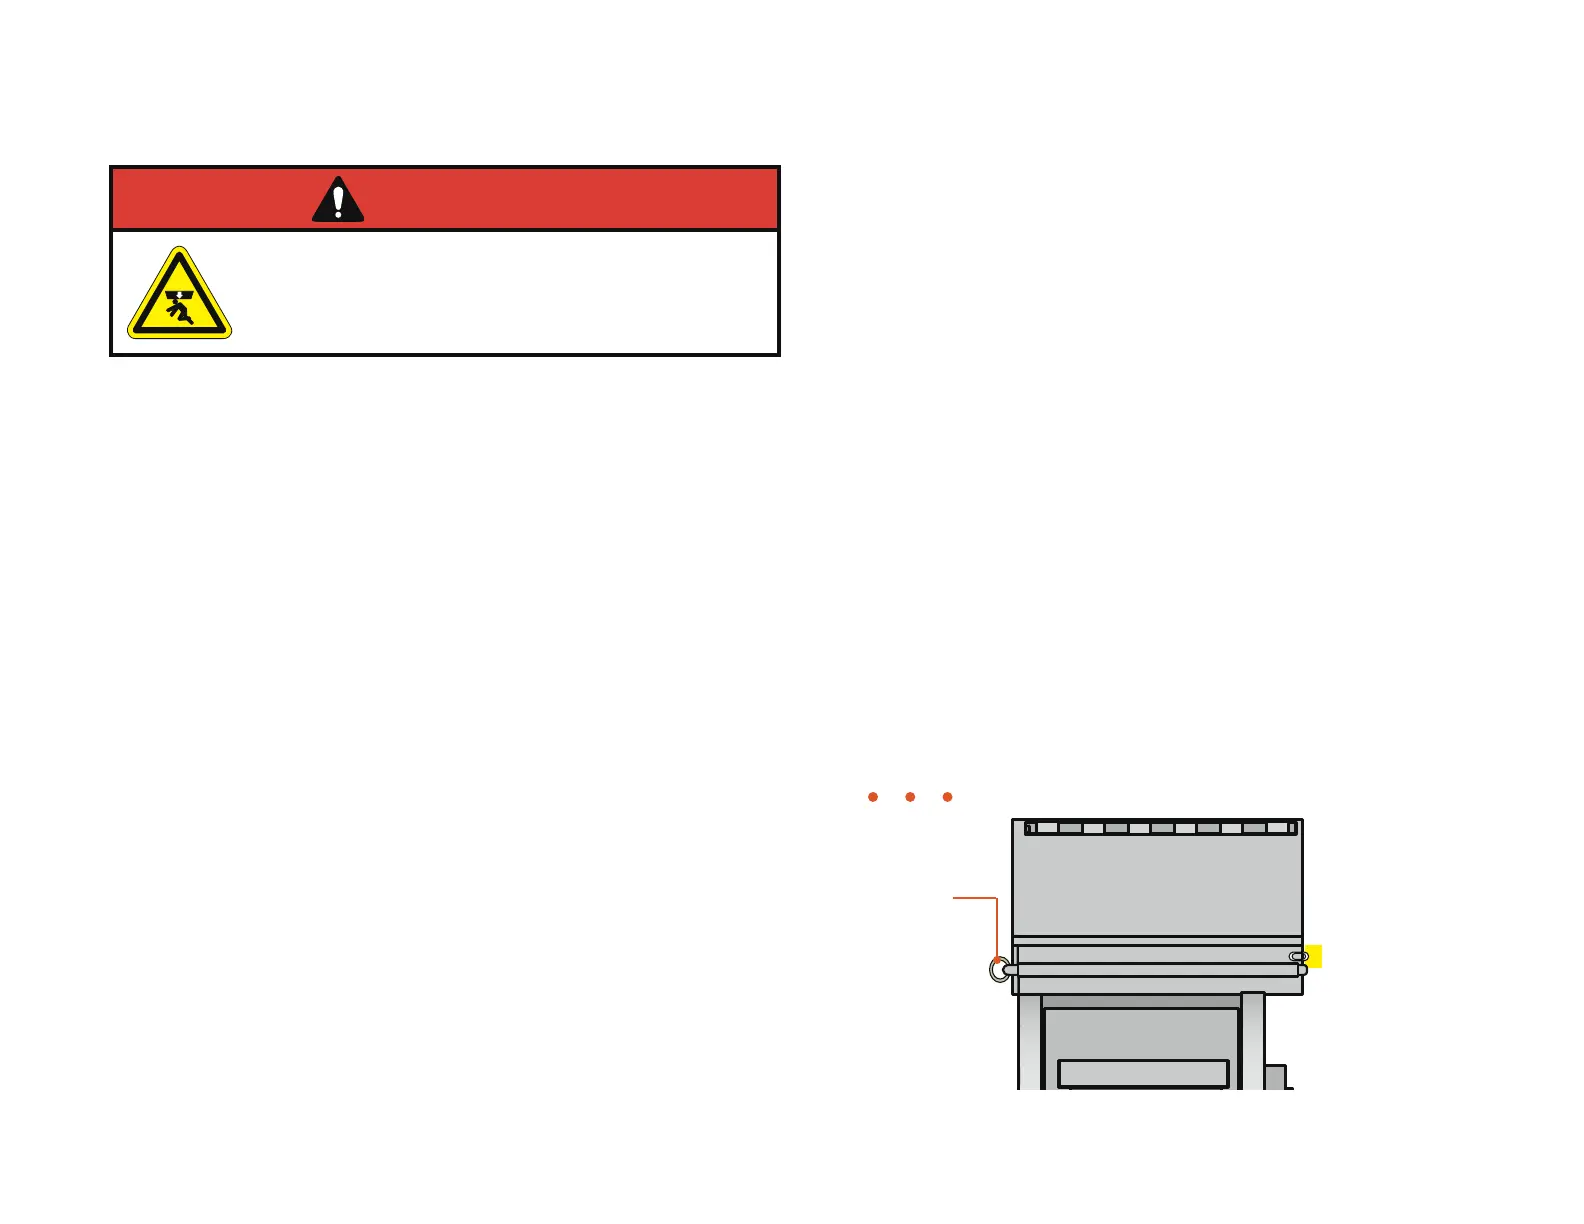
Chipper Hood
NOTE: Be sure the chipper hood is closed and secured with the locking pin.
(See Safety Section for more information.)
Hood locking pin
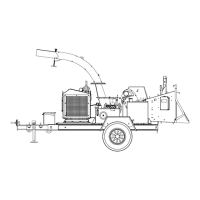
DANGER!
Figure 2.2