05/06
•
57
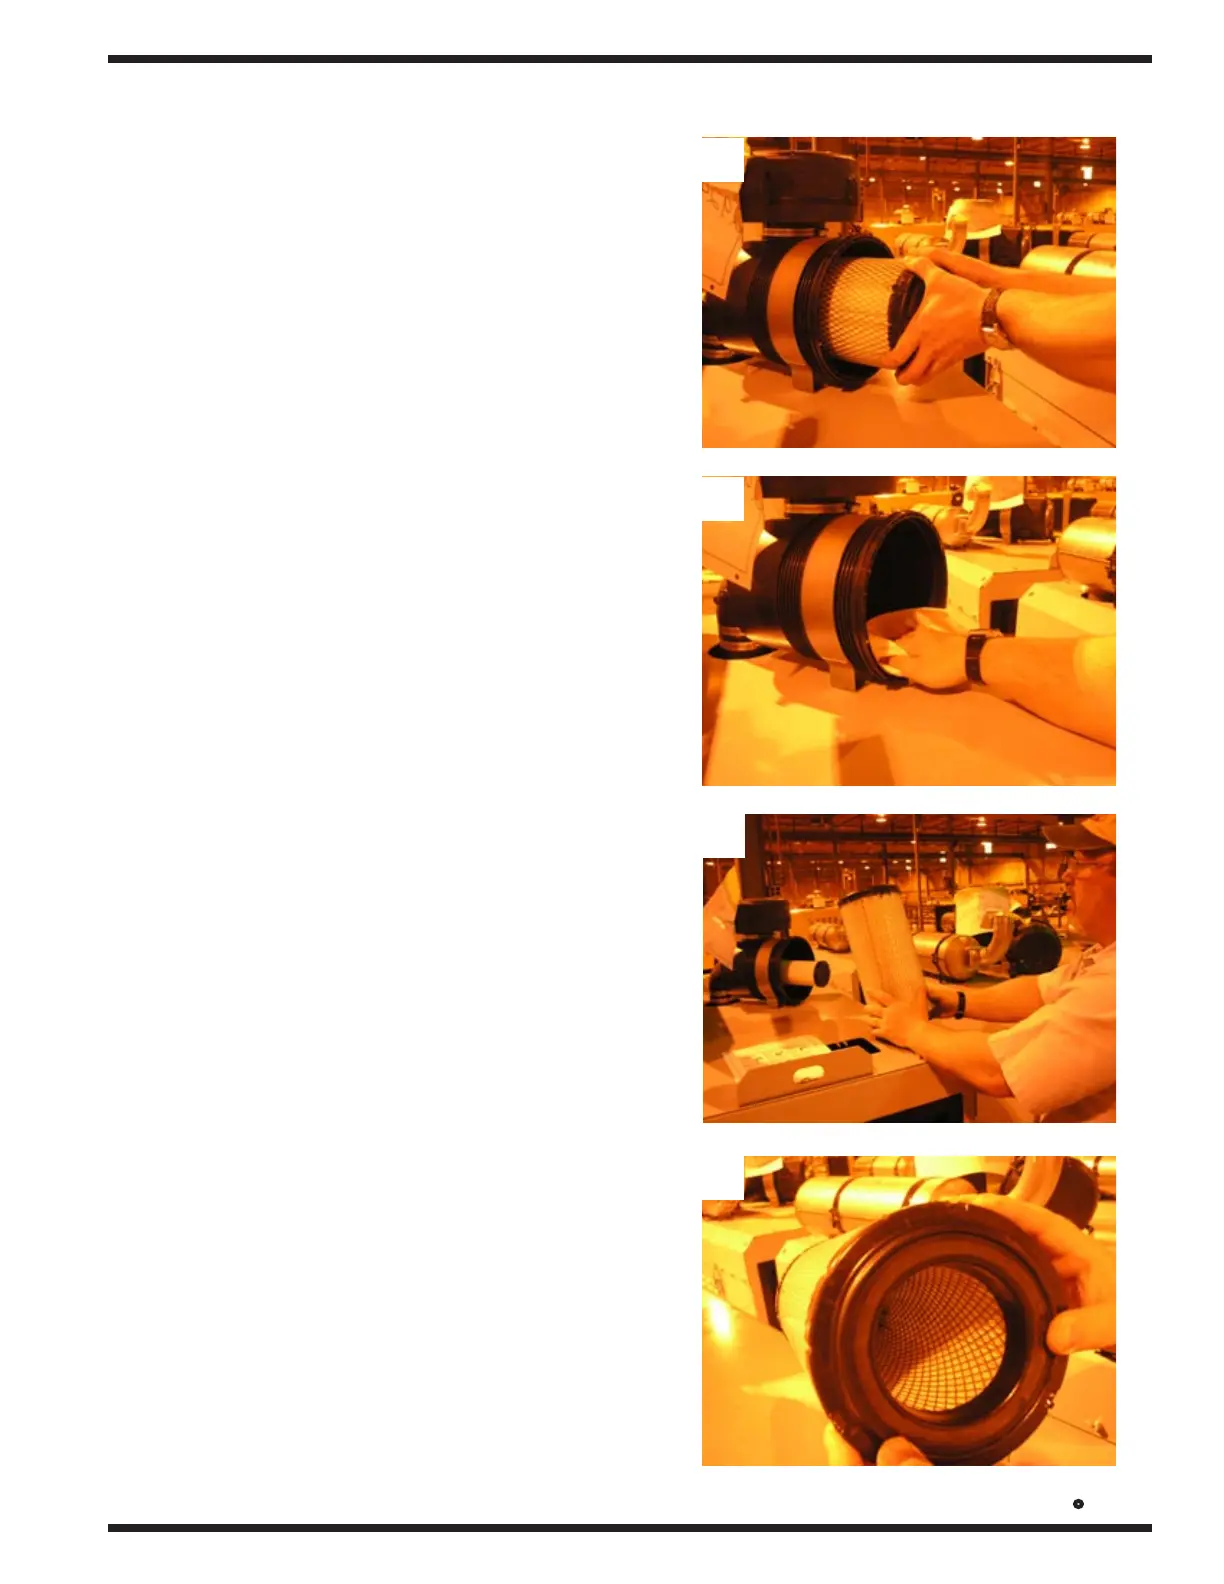
AIR FILTER MAINTENANCE
REMOVE THE AIR FILTER GENTLY -
Accidentally bumping the air lter against
the lter housing will contaminate the
clean side of the housing, before the new
lter element has a chance to do its job.
ALWAYS CLEAN THE INSIDE OF THE
FILTER HOUSING AND THE GASKET
SEALING SUFACES CAREFULLY - Use
a clean damp cloth to wipe every surface
clean. Check it visually to make sure it's
clean before putting in a new lter. An
improper gasket seal is one of the most
common causes of engine contamination.
Make sure that all hardened dirt ridges
are completely removed, both on the bot-
tom and top of the air cleaner.
CHECK FOR UNEVEN DIRT PATTERNS
- Your old lter has valuable clues to dust
leakage or gasket sealing problems. A
pattern on the element clean side is a sign
that the old lter element was not rmly
sealed or that a dust leak exists. Identify
the cause of that leak and rectify it before
installing a new lter.
PRESS YOUR FRESH GASKET TO
SEE THAT IT SPRINGS BACK - Make
sure your new lter is made with a highly
compressible gasket that springs back
promptly when nger pressure is re-
leased. A high quality gasket is one of the
most important parts of the lter.
MAKE SURE THE GASKET SEATS
EVENLY - If you don't feel the gasket
seating evenly for a perfect seal, you don't
have protection.
ENSURE AIR-TIGHT FIT ON ALL CON
-
NECTIONS AND DUCTS - Check that all
clamps and ange joints are tight, as well
as the air cleaner mounting bolts. Seals
may leak immediately--leaks mean dirt is
directly entering your engine.
1.
2.
3.
4.
5.
6.
1
4
3
2