Hardware Installation
2-27
9. Once power has been applied, Verify the behavior of the AP-5181 LEDs. For more
information, see AP-5181 LED Indicators on page 2-29.
The AP-5181 is ready to configure. For information on an AP-5181 default configuration, see
Getting Started on page 3-1. For specific details on AP-5131 system configurations, see
System Configuration on page 4-1.
2.9.2 AP-5181 Wall Mounted Installations
Complete the following steps to mount the AP-5181 to a wall using the supplied wall-mounting
bracket:
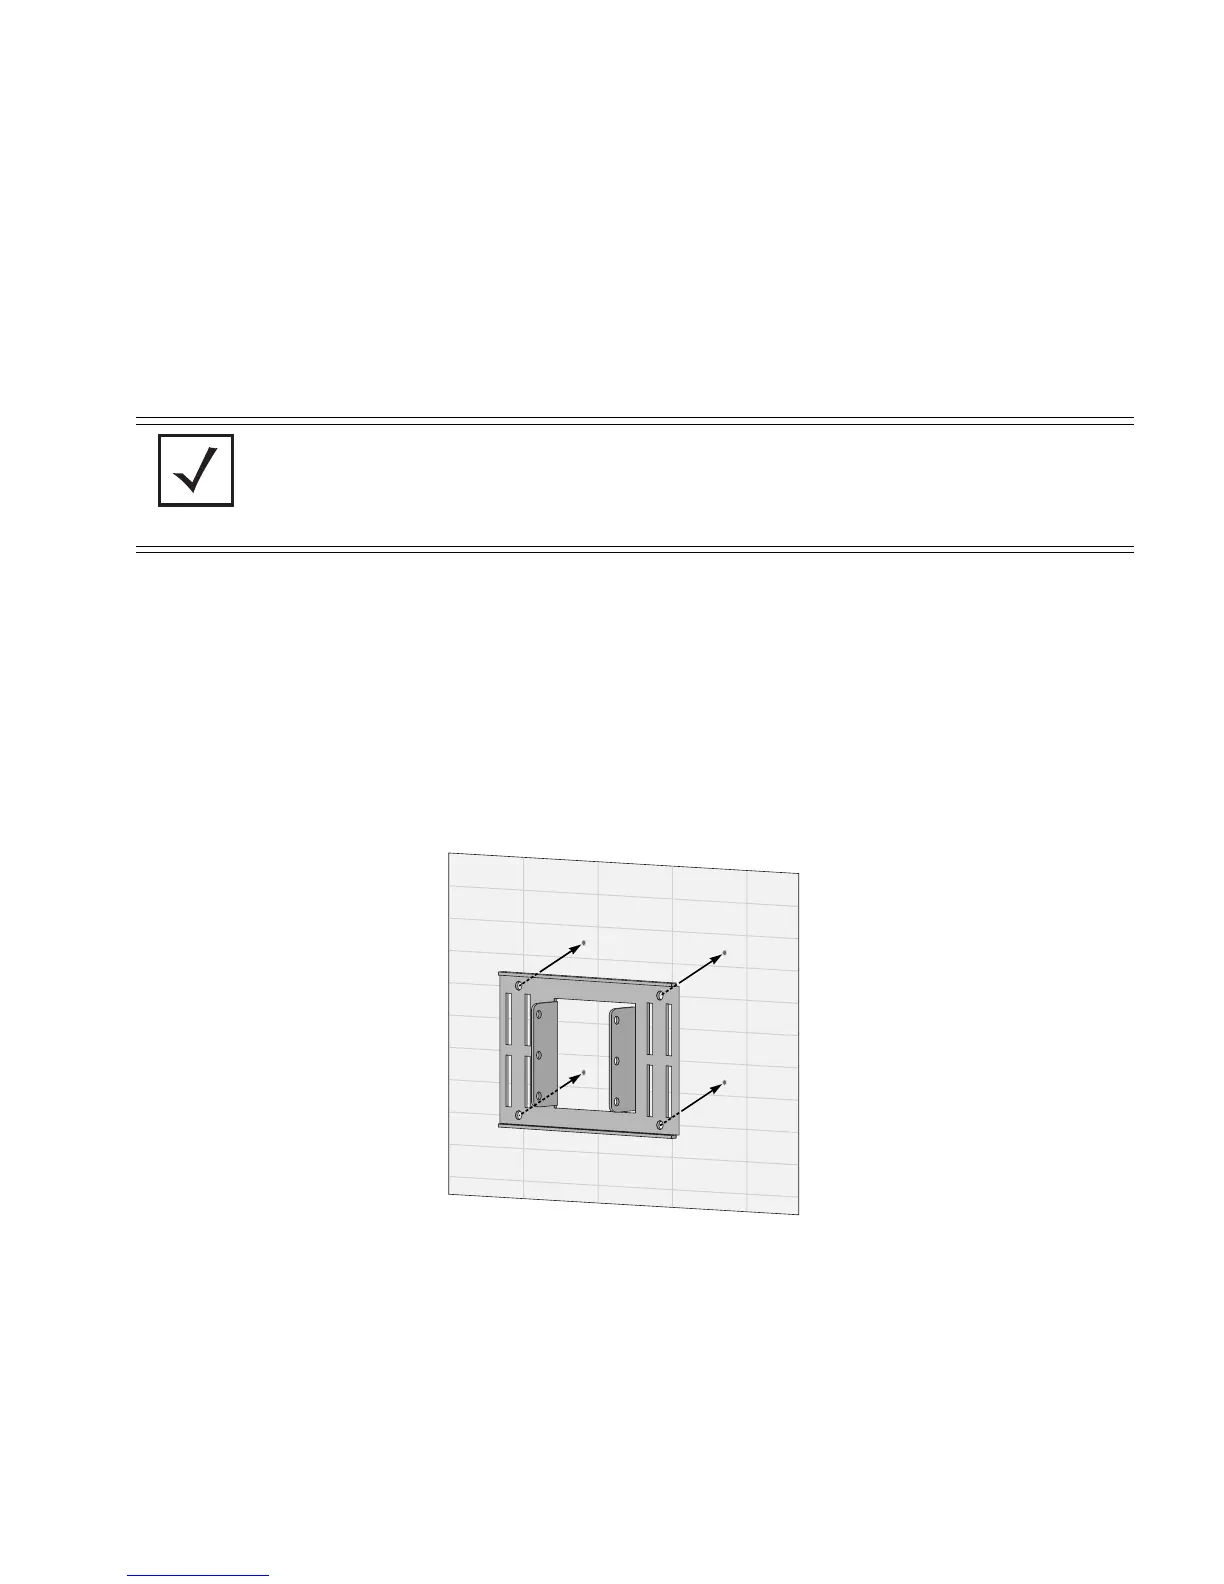
1. Attach the bracket to a wall with flat side flush against the wall (see the illustration below).
Position the bracket in the intended location and mark the positions of the four mounting
screw holes.
2. Drill four holes in the wall that match the screws and wall plugs.
3. Secure the bracket to the wall.
4. Attach the square mounting plate to the bridge with the supplied screws. Attach the bridge
to the plate on the pole.
NOTE If installing the AP-5181 in an outdoor area prone to high winds and rain,
Motorola recommends using the AP-5181 Heavy Weather Kit (Part No.
KT-5181-HW-01R). This kit shields an AP-5181 from high winds and water
damage as a result of driving rain.

 Loading...