Chapter 4 Finishing the Installation: Cable Connection
Perform the following if it has not been previously done:
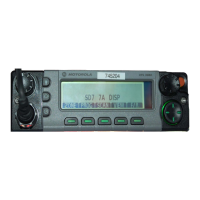
1. The microphone can be plugged into the lower left corner of the control head front panel.
Connect the microphone cable S-hook (see Figure 2-7 in Chapter 2) into the hole in the cable
strain relief bracket on the mounting trunnion.
2. Be sure the control head is OFF. Install the 15- or 20-amp fuse in the radio power cable
fuseholder and the 3- or 4-amp fuse(s) in the ignition cable fuseholder(s).
3. Turn the radio ON at the control head and verify proper operation of all controls and
indicators. Radio operation in some installations require turning on the ignition. Perform a
complete operational check of the radio.
4. Dress the control and power cables out of the way to prevent damage (pull any excess cable
into the trunk area) securing with clamps and tie wraps where necessary.

 Loading...