NPort IA5150A/IA5250A Series Web Console Configuration
2. The following sections introduce these two convenient functions and the other settings listed in the Main
Menu on the left of the page.
ATTENTION
If your password, the ONLY way to start configuring
the NPort IA5150A/IA5250A
is to load the factory defaults
by using the
"Reset to default" button located on the top of the NPort IA5150A/IA5250A.
e
xport the configuration files when you have finished the configuration. After using the "Reset
to default" button to load the factory defaults, your configuration can be easily reloaded into
the NPort
IA5150A/IA5250A by using the Import function.
ATTENTION
If your NPort IA5150A/IA5250A application requires password protection, you must enable the cookie
function in your browser. If the cookie function is disabled, you will not be allowed to
enter the Web Console
screen.
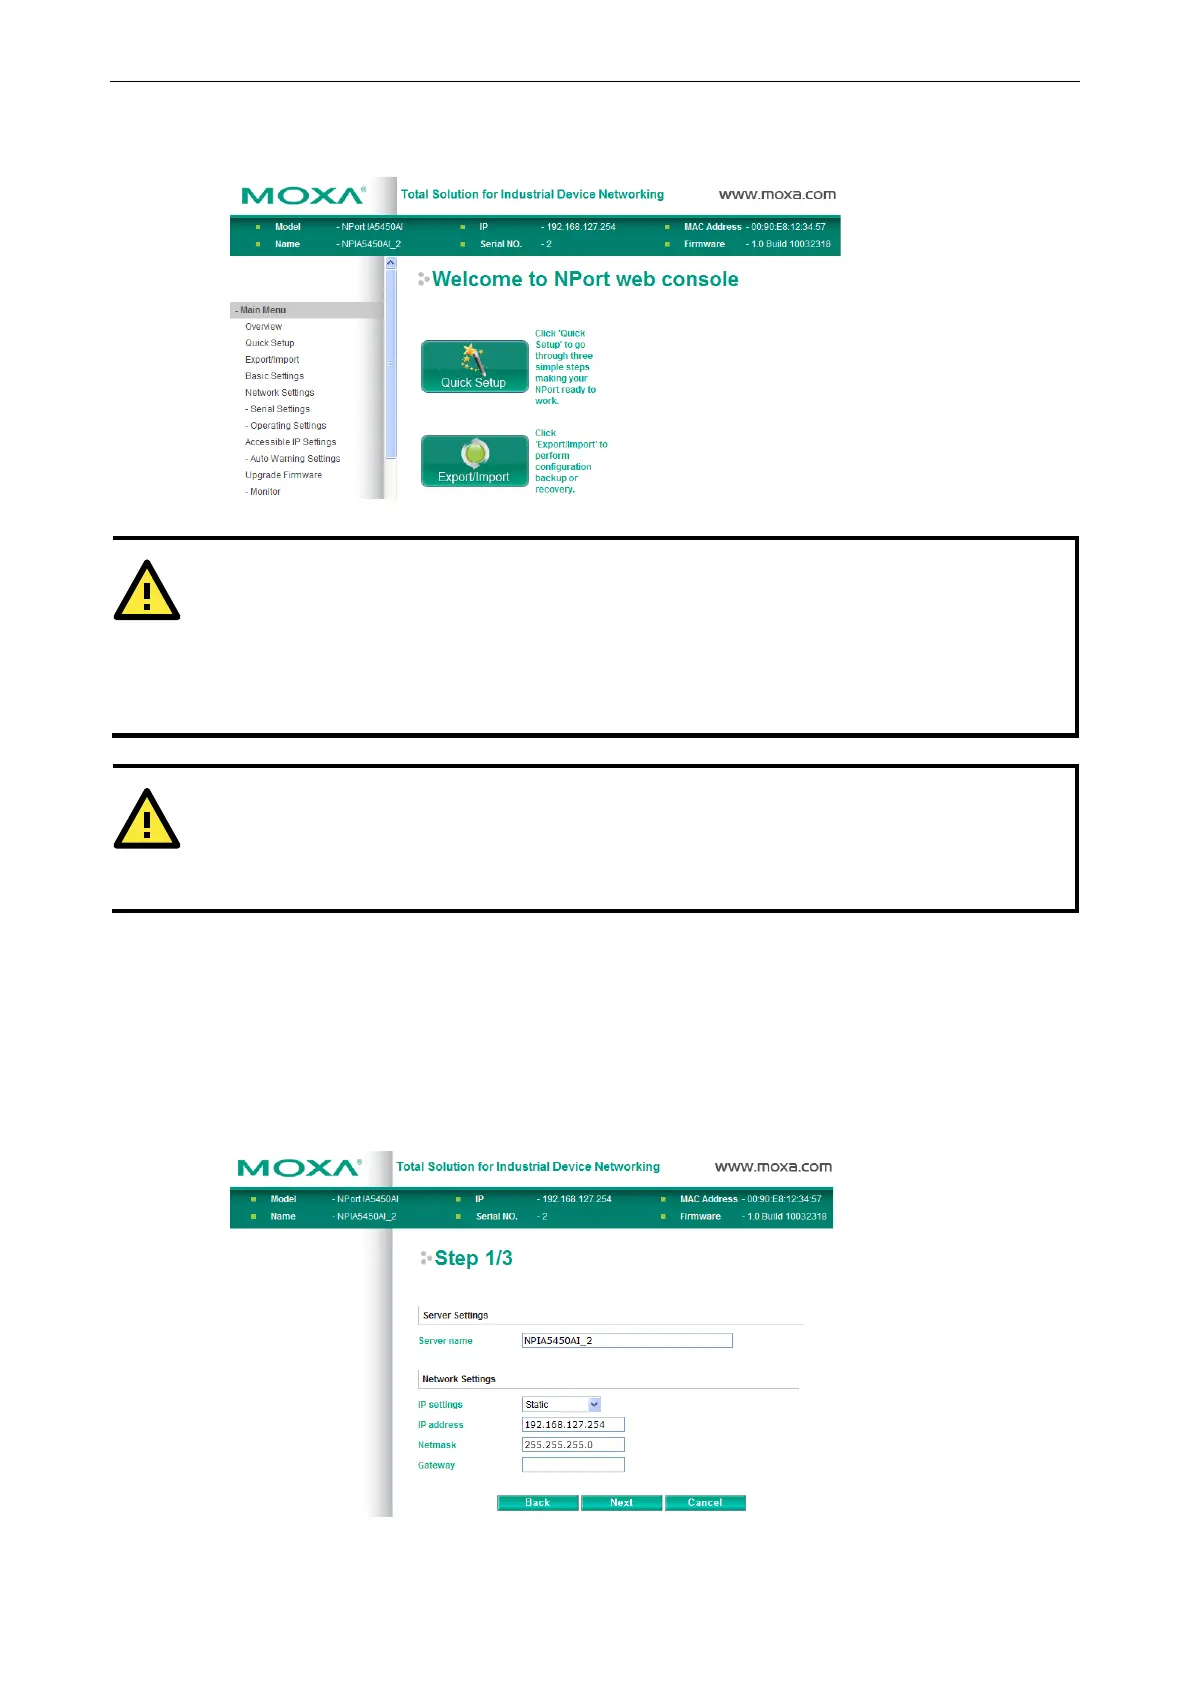
Quick Setup streamlines the configuration of your NPort into three basic and quick steps that cover commonly
used settings. While in Quick Setup you may click the Back button at any time to return to the previous step,
or the Cancel button to reverse all settings. For detailed information about the different settings, refer to the
“Basic Settings,” “Network Settings,” “Serial Settings,” and “Operating Settings,” sections in this chapter.
1. In Step 1/3, you must assign a valid IP address to the NPort IA5150A/IA5250A before the NPort can start
operating within your network. Your network system administrator should provide you with an IP address
and related settings for your network. In addition, the server name field is a useful way to specify the
location or application of different NPort IA5150A/IA5250As.
2. In the Step 2/3, you must specify the operation mode you will be using. If your operation mode is not Real
COM, TCP Server, TCP Client, or UDP mode, click Cancel and to go back to main menu and choose
 Loading...