24
selection, (En or dE). Press the Mode button to toggle the selection. De-Energized (dE)
is the f actory default for this selection.
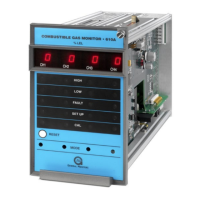
The Low LED on the f ront panel f lashes while the latching/non-latching option is
displayed. The display will indicate the current selection, (nL or LA). Press the Mode
button to toggle the selection. Non-Latching (nL) is the factory default for this selection.
The last Low alarm option to appear on the display is the alarm set point (trip level). If this
level is reached or exceeded, the Low alarm outputs activate. The display ind ic ates the
current Low alarm set point. Press the Mode button repeatedly , unt il t he d esired Low
alarm set point appears on the display (5 to the High set point in increments of 5). The
Low set point cannot be set higher than the High set point. The f ac tory d ef ault for this
selection is 30. In case of common alarms, this option is available at t he master b oard
only.
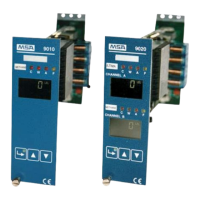
3.7.4 Calibration Level Option
Af ter the Low alarm options have been selected, the user chooses the Calibration Lev el .
The panel displays CL for 5 seconds, then the current calibration level. The ac c ept able
range of calibration level, in % LEL (lower explosive limit), is between 25 and 90,
inclusive. The factory default for this selection is 50.
3.7.5 Password Enabled/Disabled Option
Af ter the calibration level option has been selected t he P assword Enabled/Disabled
option displays. The display indicates the current selection, (PE or Pd). Press the Mode
button to toggle the selection. Password Disabled (Pd) is the factory default for this
selection.
If the Password Disabled is selected, the unit returns to normal operation. If this setting is
changed f rom Password Disabled to Password Enabled, the user enters a new
password. The unit displays the lef t digit of the existing password (f lashing on the
display). The right digit is blank until the left digit has been selected. Press the Mode
button repeatedly until the desired value displays. Once the left digit is correct , wait f or
f ive seconds and the right digit of the display begins flashing and the lef t d igit is blank.
Press the Mode button repeatedly, until the desired value displays then returns to normal
operation.
3.7.6 LED Test
Press and hold the Reset button for 5 seconds. All LEDs and display segments will flash
f or as long as the Reset button is pressed. When the button is released, t he LE Ds wi l l
return to their normal state reflecting the current status condition of each channel.