CRANKSHAFT, PISTON AND CONNECTING ROD
68
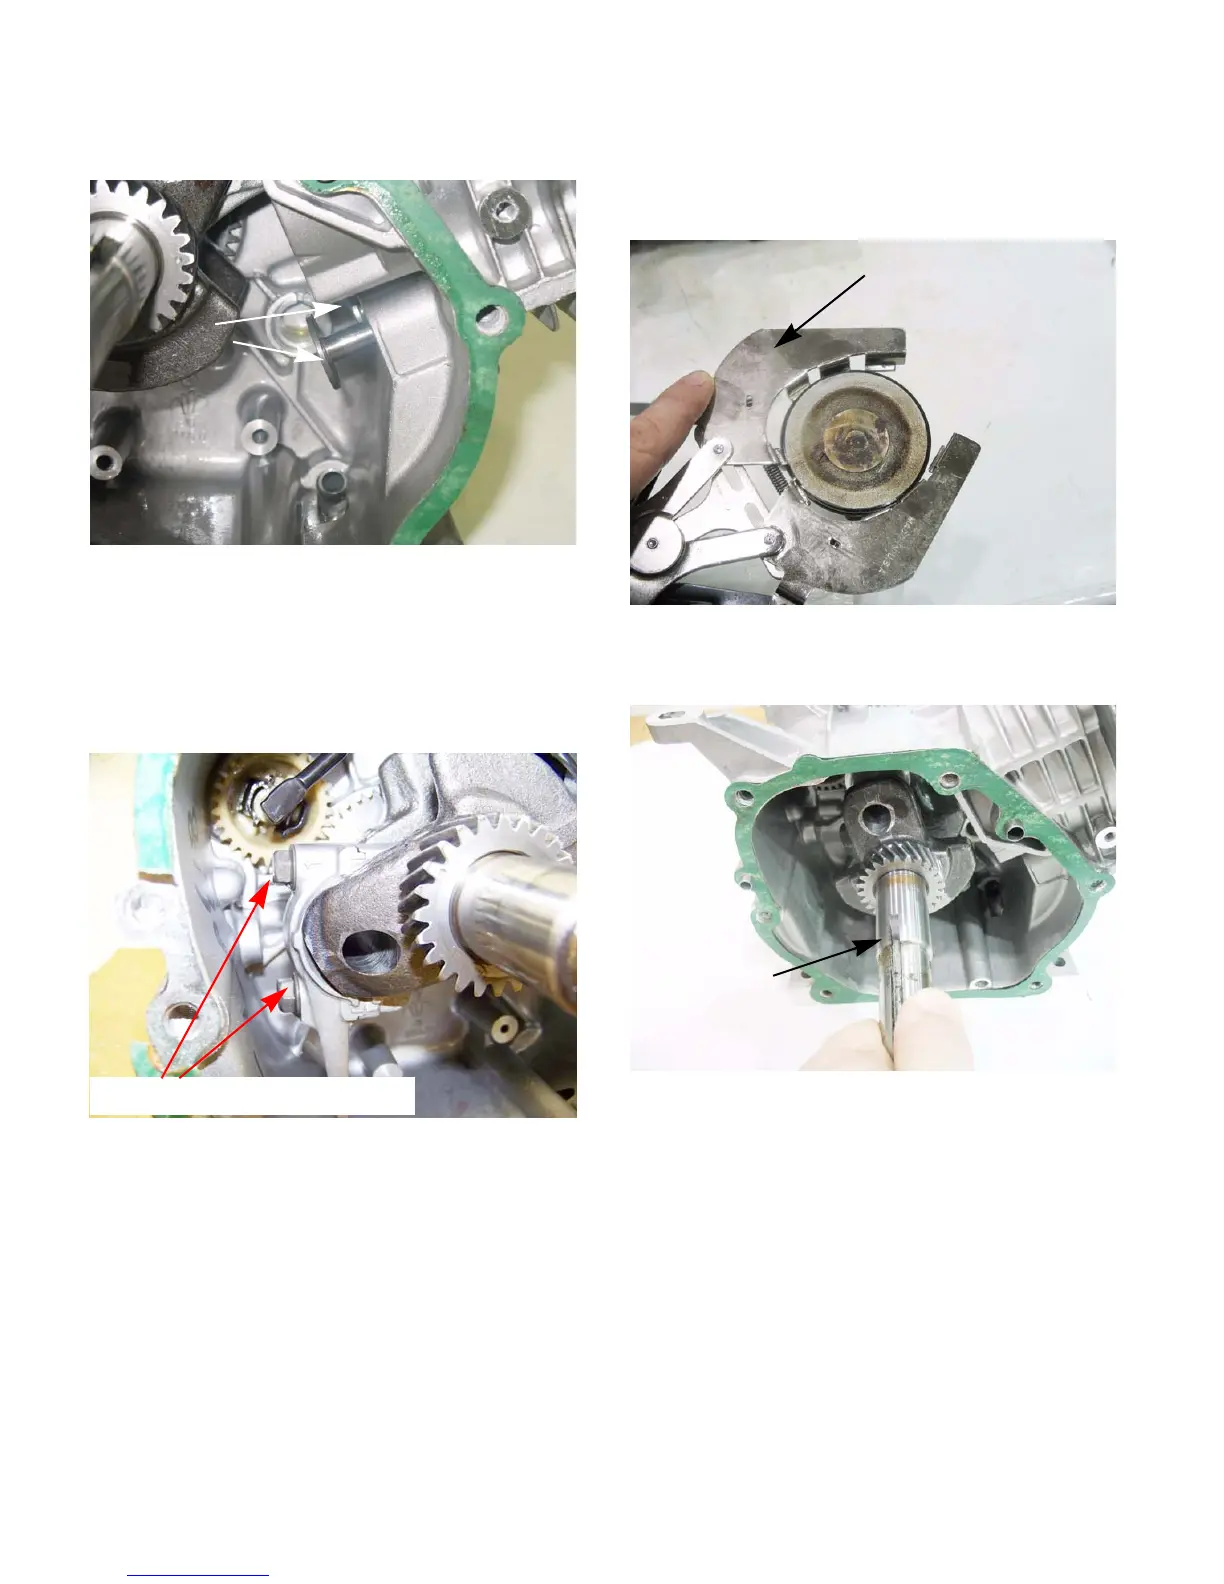
13. Remove the valve tappets. See Figure 10.3.
NOTE: Keep track of which tappet was originally
riding on which lobe. Be sure there are reassem
-
bled that way.
14. Remove the connecting rod cap using a 10mm
wrench.
See Figure 10.4.
NOTE: Rotating the crank shaft after the con-
necting rod bolts are removed will help to sepa-
rate the connecting rod from the cap.
15. Push the piston out of the cylinder.
16. Remove the piston rings from the piston using a
pair of piston ring pliers.
See Figure 10.5.
17. Remove the crank shaft. See Figure 10.6.
Figure 10.3
Valve tappets
Figure 10.4
Remove the connecting rod bolts
Figure 10.5
Piston ring pliers
Figure 10.6
Remove the
crankshaft
www.mymowerparts.com
For Discount White Outdoor Parts Call 606-678-9623 or 606-561-4983
 Loading...