Turning the Power On and Making the Initial Settings 11
2. Setting the IP address, etc.
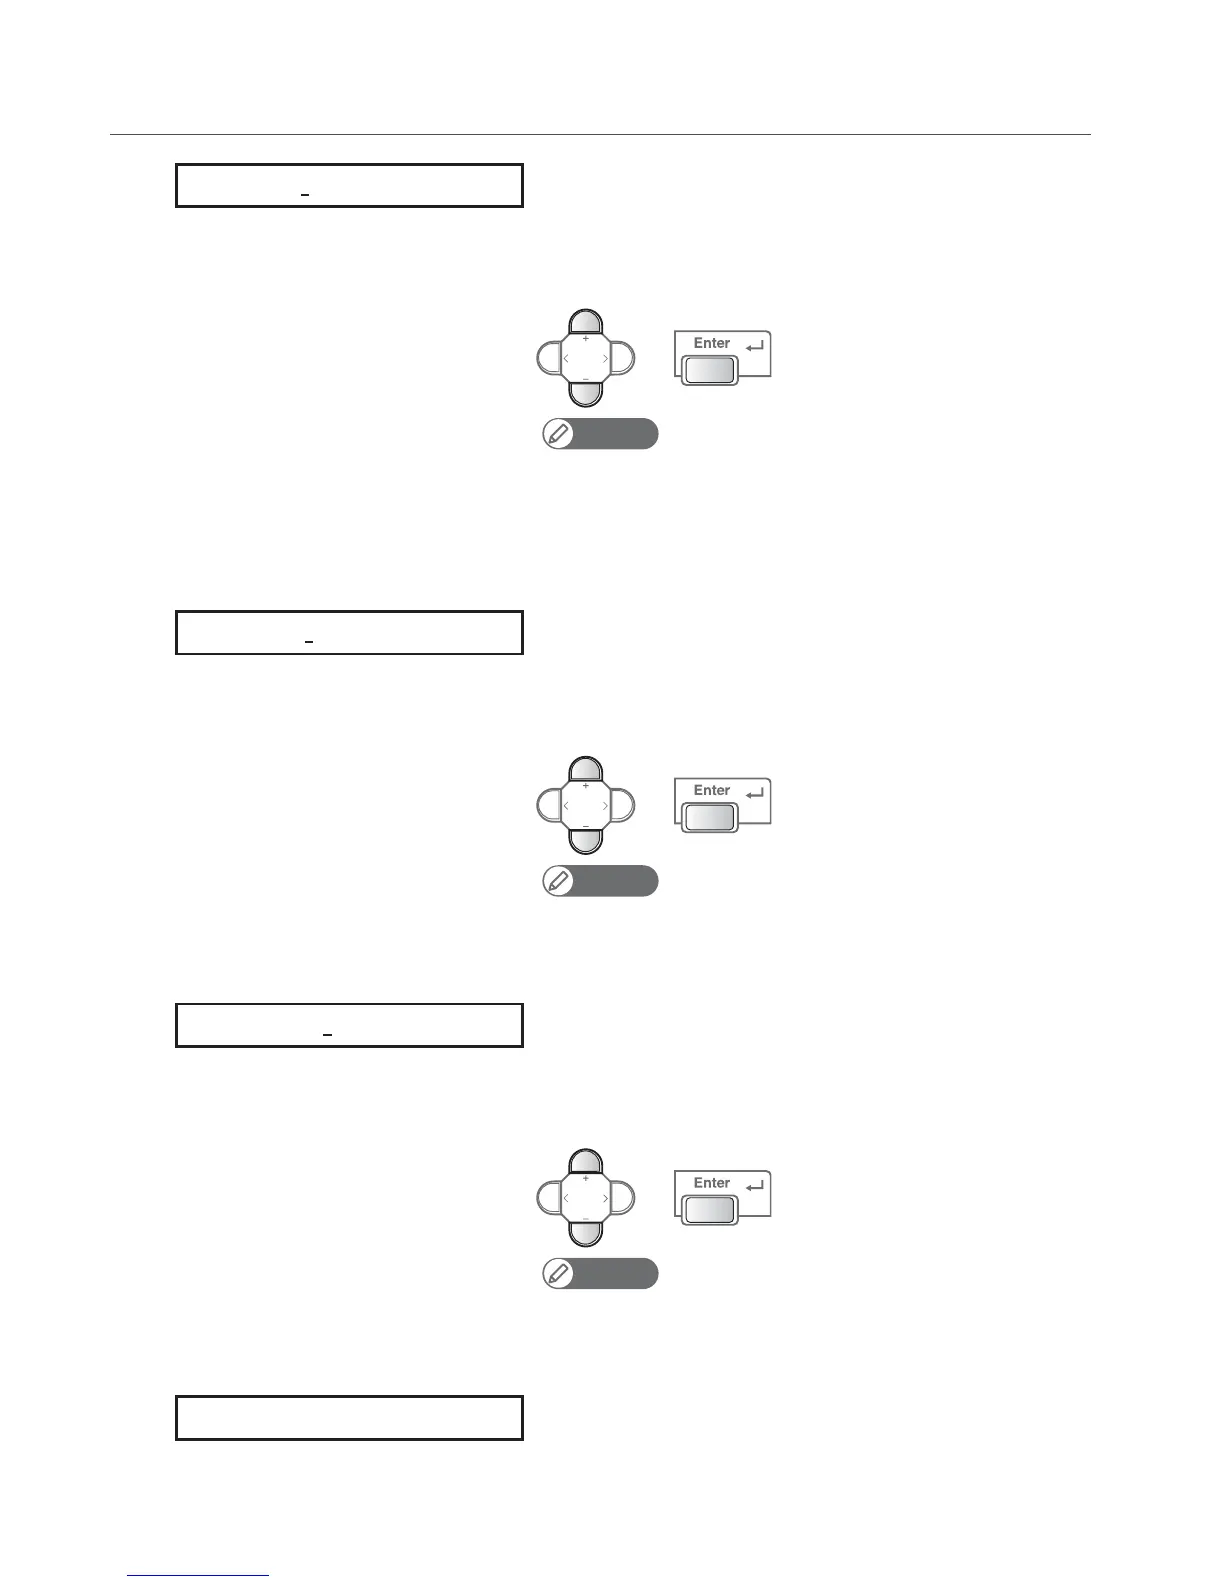
[1]
Sets the IP address of the printer.
• Use the [+] key to increase a setting value.
• Use the [ - ] key to decrease a setting value.
• Press the [Enter] key to confirm. The cursor will move on to the next.
• Confirm your input for each value.
Note
• Set an IP address that is different from the IP address of the computer that the printer
will be connected to.
• Be sure to set the IP address after consulting the network administrator.
• The IP address can alternatively be set later using Panel setup menu and ValueJet
Finder.
[2]
Sets the subnet mask of the printer.
• Use the [+] key to increase a setting value.
• Use the [ - ] key to decrease a setting value.
• Press the [Enter] key to confirm. The cursor will move on to the next.
• Confirm your input for each value.
Note
• If the printer is to be connected peer-to-peer to a computer, you can leave the
settings at the default values.
• Be sure to set the subnet mask after consulting the network administrator.
[3]
Sets the gateway.
• Use the [+] key to increase a setting value.
• Use the [ - ] key to decrease a setting value.
• Press the [Enter] key to confirm. The cursor will move on to the next.
• Confirm your input for each value.
Note
• If the printer is to be connected peer-to-peer to a computer, you can leave the
settings at the default values.
• Be sure to set the gateway after consulting the network administrator.
The printer starts initialization operations.
• That completes the initial settings.
IP: 192. 168. 1. 253
MASK: 255. 255. 255. 0
GW: 1 9 2. 1 6 8. 1. 2 5 4
Initializing
 Loading...