14 Setup via the control panel
Step 2 Initial charging of ink
1. Initialcleaning
[1]
Press the [Enter] key when the message on the left appears.
[2]
When the message on the left appears, make sure the waste ink tank
is empty, and press the [Enter] key.
Note
You can see whether the tank is empty by looking through the
eyehole.
The message on the left will appear.
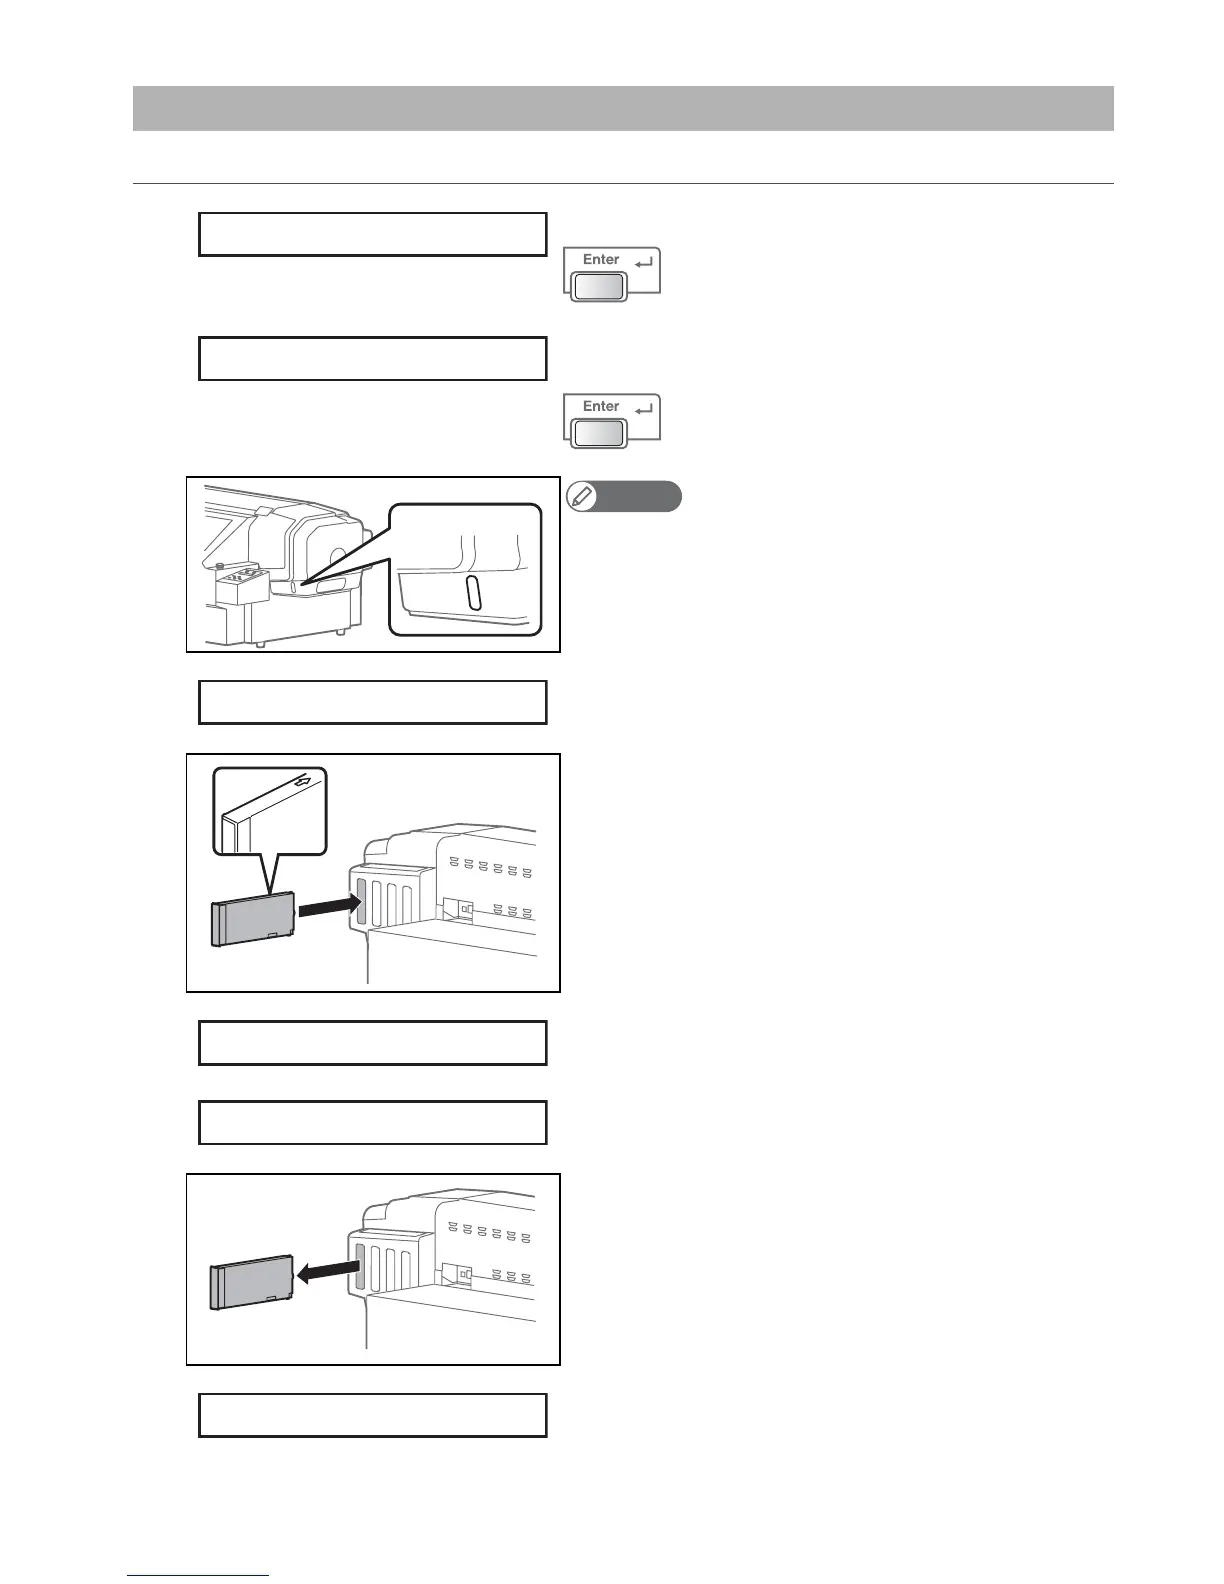
[3]
Insert cleaning cartridges into all the cartridge slots.
• The arrow should face up.
• Insert all the way to the end.
The message on the left will appear.
• Start charging cleaning fluid.
When cleaning fluid charging ends, the message on the left will
appear.
[4]
Remove all cleaning cartridges.
The message on the left will appear.
• Cleaning fluid starts to be discharged.
Start Ink Charge ->E
Empty WasteInk ->E
Insert CleaningCart.
Busy-Washing **%
Remove Cartridges
Busy-Washing **%
 Loading...