1-6 | ni.com
Chapter 1 Getting Started with the cDAQ Chassis
The NI-DAQmx software is included on the disk shipped with your kit and is available for
download at ni.com/drivers. The documentation for NI-DAQmx is available after
installation from Start»All Programs»National Instruments»NI-DAQmx. Other
NI documentation is available from
ni.com/manuals.
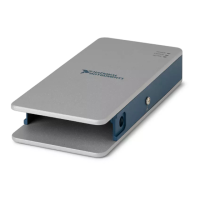
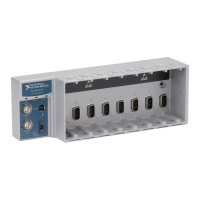
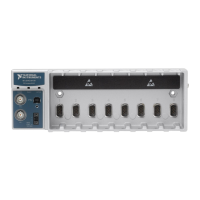
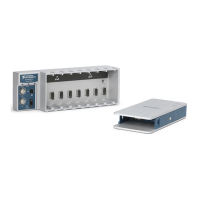
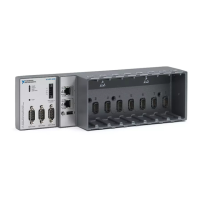
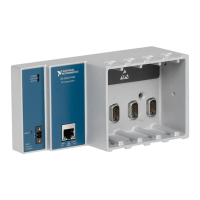
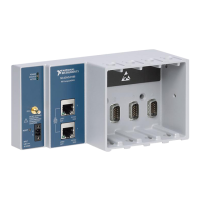
6. (Optional) Mount the cDAQ chassis to a panel, wall, or DIN rail, or attach the desktop
mounting kit, as described in the Mounting the cDAQ-9185/9189 section.
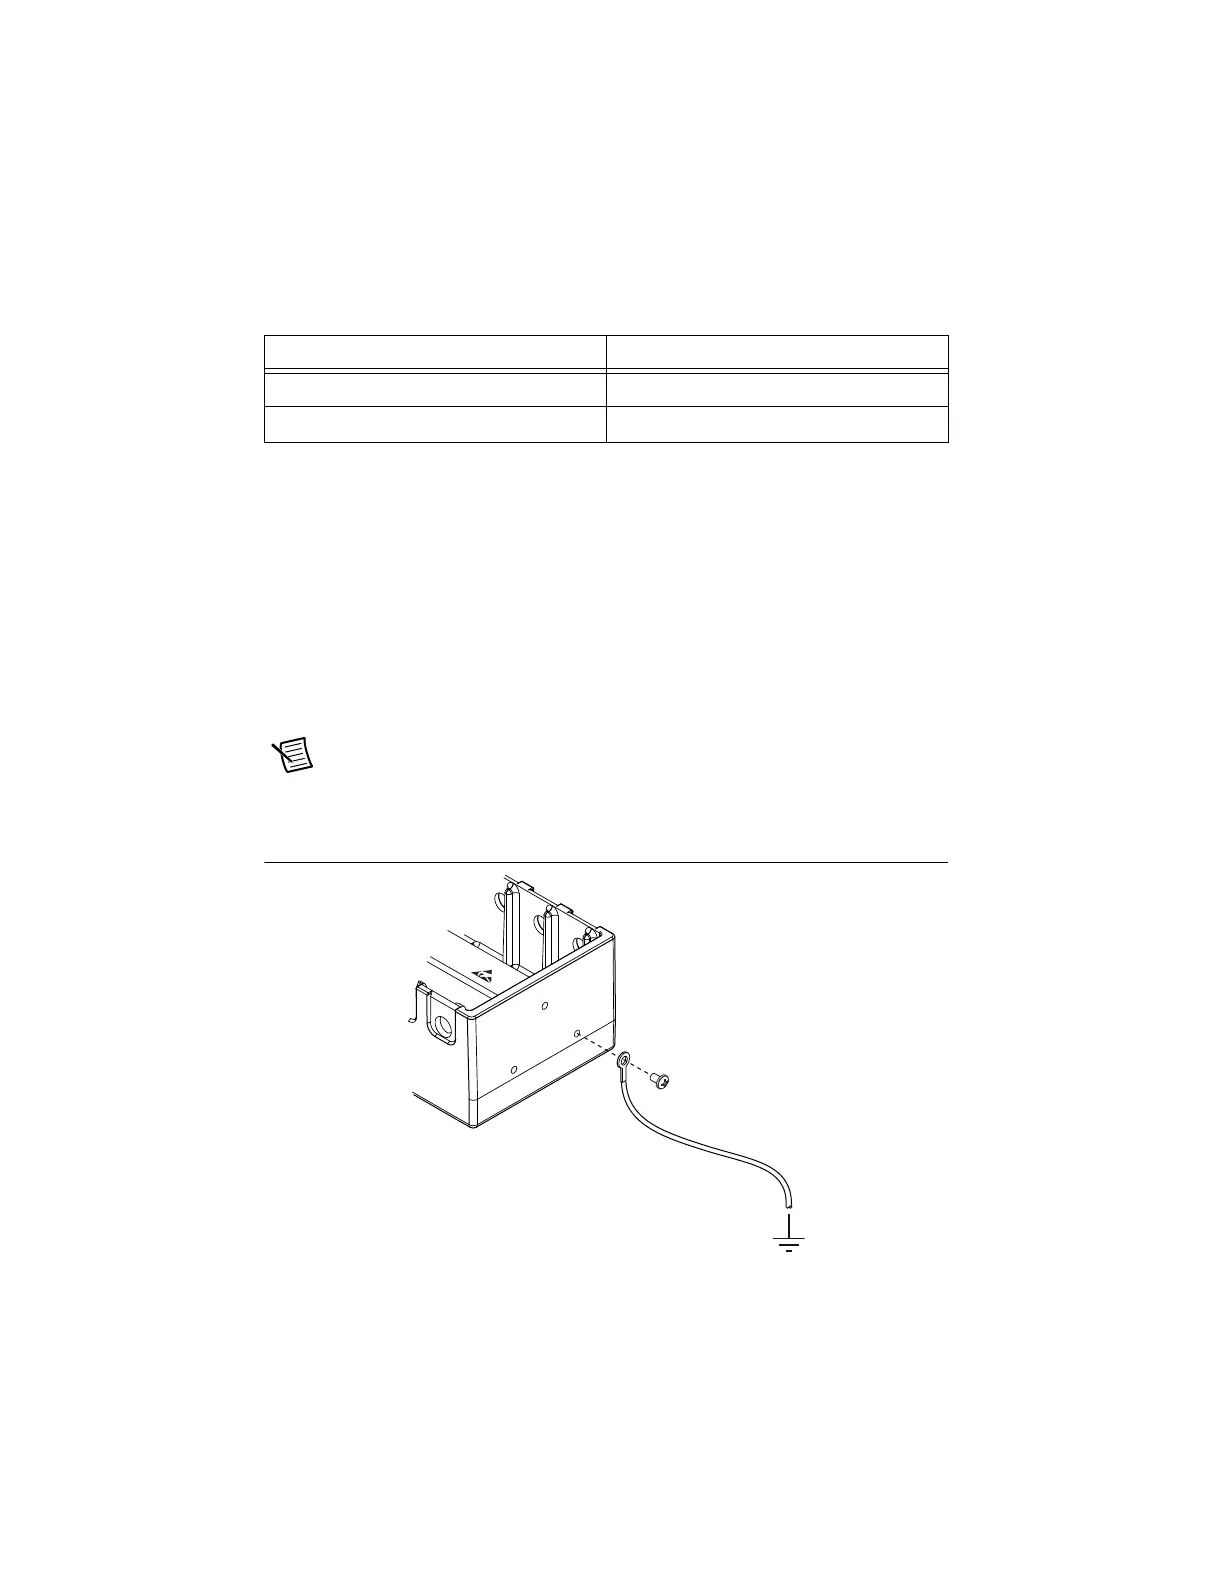
7. Attach a ring lug to a 1.31 mm
2
(16 AWG) or larger wire. Connect the ring lug to the chassis
ground terminal on the cDAQ chassis using the chassis grounding screw as shown in
Figure 1-3. Attach the other end of the wire to the grounding electrode system of your
facility. Refer to the Chassis Grounding Screw section for more information about making
this connection.
Note If you use shielded cabling to connect to a C Series module with a plastic
connector, you must attach the cable shield to the chassis grounding terminal using
1.31 mm
2
(16 AWG) or larger wire. Use shorter wire for better EMC performance.
Figure 1-3. Ring Lug Attached to Chassis Ground Terminal
8. Make sure that no signals are connected to the C Series module.
Table 1-1. cDAQ Chassis NI-DAQmx Software Support
cDAQ Chassis Earliest NI-DAQmx Version Support
cDAQ-9185 NI-DAQmx 17.1
cDAQ-9189 NI-DAQmx 17.1
Artisan Technology Group - Quality Instrumentation ... Guaranteed | (888) 88-SOURCE | www.artisantg.com
 Loading...