© National Instruments | 1-7
cDAQ-9185/9189 User Manual
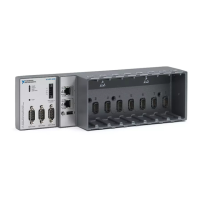
9. Align the C Series module with the cDAQ chassis slot.
10. Squeeze both C Series module latches, insert the module into the module slot, and press
until both latches lock the module in place.
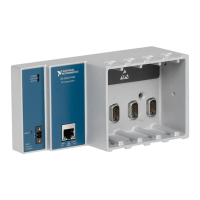
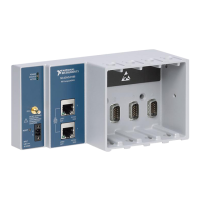
11. Wire the C Series module as indicated in the C Series module documentation.
Note Connect I/O cable shields to the chassis grounding screw, shown in
Figure 1-3, unless otherwise specified in the C Series module documentation. Refer
to the Chassis Grounding Screw section for more information about making this
connection.
12. Connect one end of the Ethernet cable to an Ethernet port on the chassis, and the other end
directly to your computer or any network connection on the same subnet as your computer.
Refer to the Ethernet Cabling section for information about the Ethernet cable.
13. Power the chassis using the included power supply or the included power connector with
an external 9 V DC to 30 V DC power source. For information about wiring your external
power source to the power connector, refer to the Wiring External Power to the cDAQ
Chassis section. The cDAQ chassis requires an external power supply that meets the
specifications listed in the specifications document for your cDAQ chassis.
Note When operating the cDAQ-9185/9189 in hazardous locations, you must use
the power connector with an external power supply rated for hazardous locations.
The power supply included in the cDAQ-9185/9189 kit is intended only for desktop
use. For all other applications use the included 2-position power connector plug and
a power supply rated for your application power requirements. Visit
ni.com to find
hazardous locations-certified power supplies.
The POWER and STATUS LEDs light. The POWER LED lights as long as power is being
supplied to the cDAQ chassis. The STATUS LED turns off after firmware boots. Refer to
the LEDs section for information about the LEDs on the cDAQ chassis.
14. To add the chassis to your software configuration, open NI MAX on your Windows host
computer. Expand Devices and Interfaces»Network Devices.
Figure 1-4. Network Devices in MAX
Artisan Technology Group - Quality Instrumentation ... Guaranteed | (888) 88-SOURCE | www.artisantg.com
 Loading...