22
2. Projecting an Image (Basic Operation)
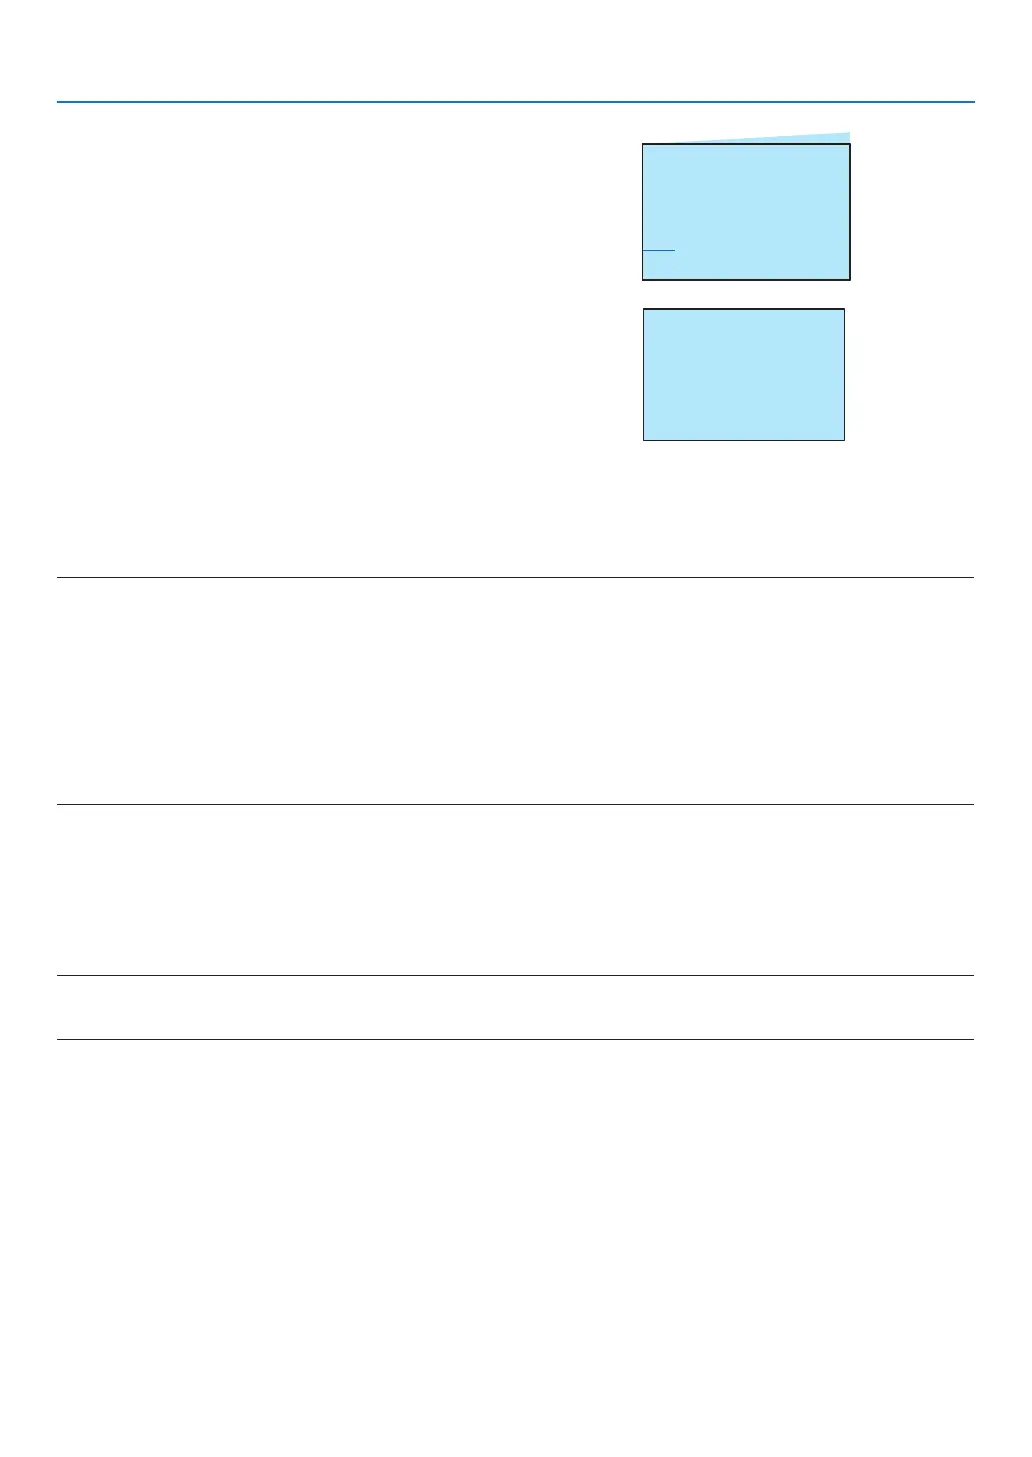
3. Align the left (or right) side of the screen with the left
(or right) side of the projected image.
● Use the shorter side of the projected image as the
base.
● In the right example, use the left side as the base.
Align left side
4. Press the ▼ button to select V KEYSTONE and then
use the ▲▼ button so that the top and bottom sides
of the projected image are parallel.
● Adjust the vertical keystone distortion.
5. Repeat steps 2 and 4 to correct keystone distortion.
6. After completing Keystone correction, press the EXIT
button for some time to turn off the menu.
NOTE:
• The arrow mark looks white when there is no keystone adjustment in existence.
• The arrow mark indicating the adjustment direction turns red.
• The arrow mark disappears when the maximum H/V keystone adjustment limit reaches.
• The keystone prompt box will disappear if you press the keystone button again when it is displaying. Press the
ENTER button again to switch the six correction items.
• The adjustable range is subject to source of signal input.
• For further details about keystone function, please turn to page 49-52.
• When using the VIEWER, you cannot use the ▼ button on the panel to directly call up the keystone correction
menu.
To return the keystone adjustments to default:
1. The Keystone screen will be displayed on the screen.
2. Press ▼ button to select Reset.
3. Press the or the ENTER button.
● The adjustments will be reset.
NOTE:
All adjusted values set in the [KEYSTONE] adjustment are reset to initial values