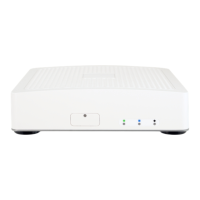
Security Gateway Manual Netgate-4200
Install the SSD
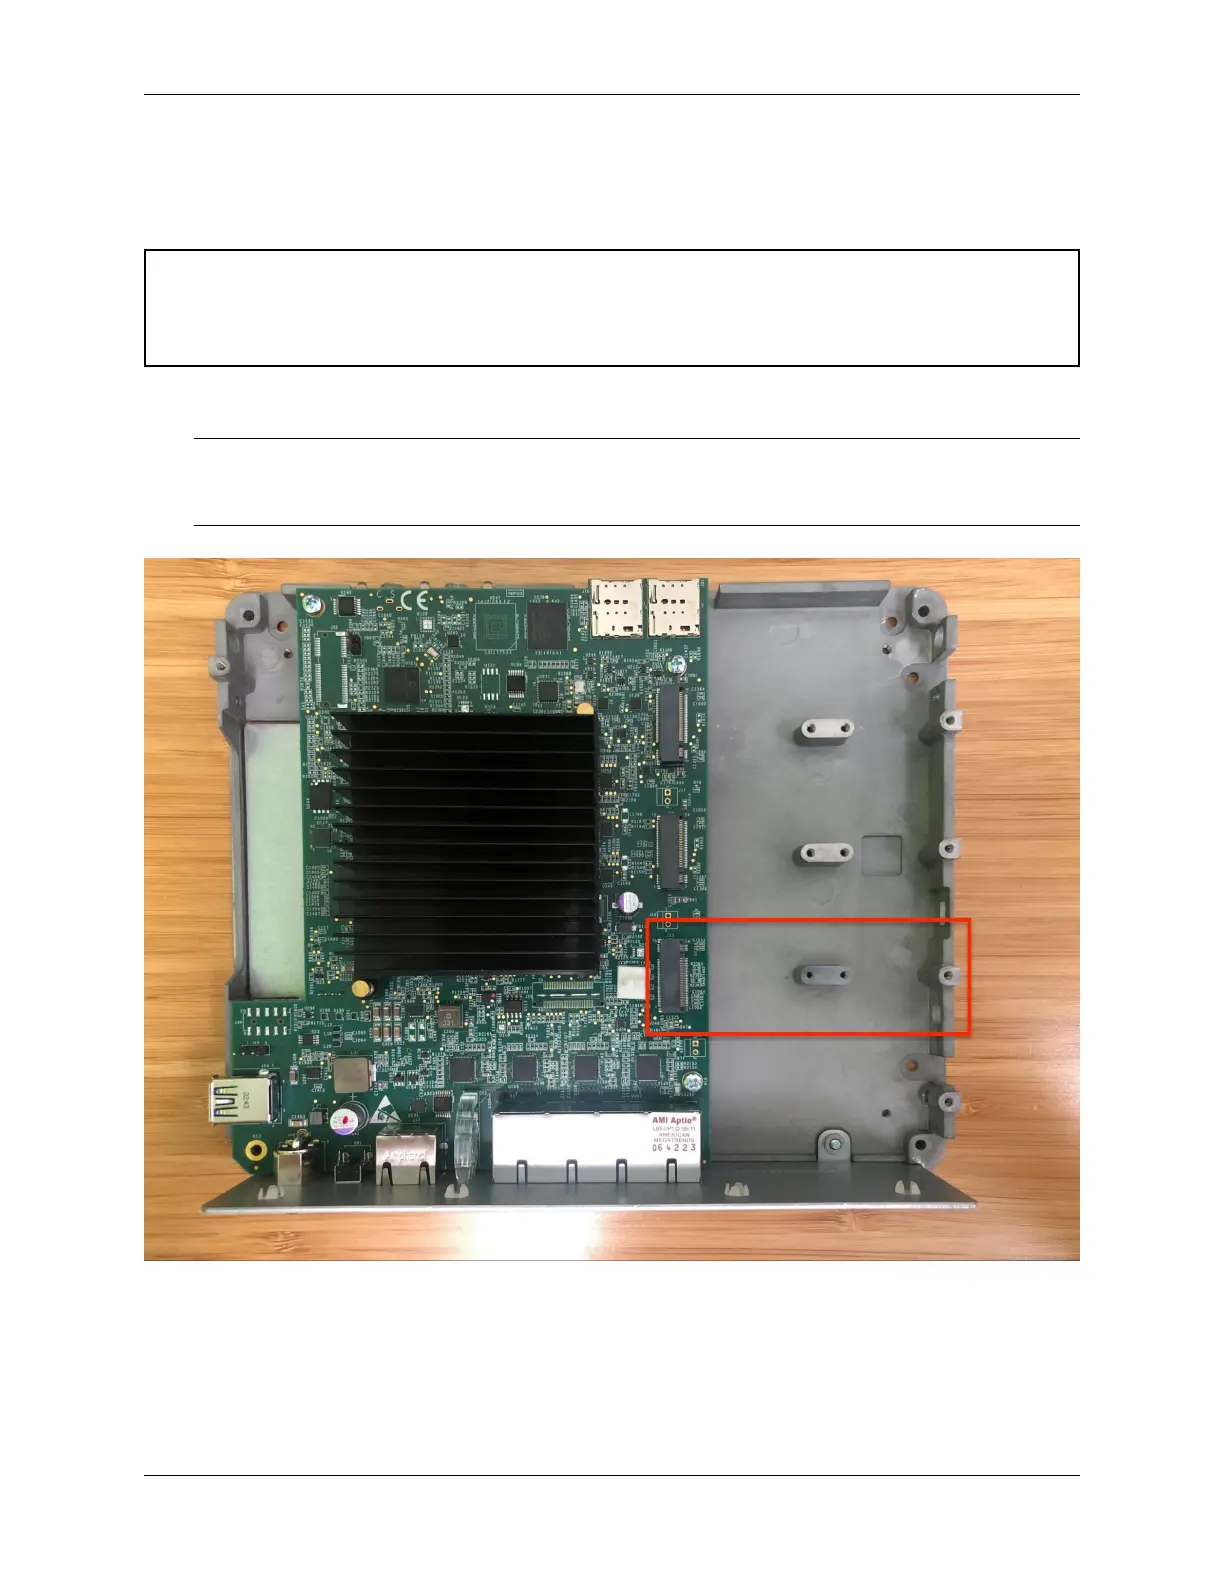
Now that the lid is removed, it is time to install the SSD.
Danger: Reminder:
• Anti-static protection must be used throughout this procedure.
• Any hardware damage incurred during this procedure is not covered by the hardware warranty.
1. Locate M.2 socket #3 labeled J13. This is the socket in which the M.2 NVMe SSD will be installed.
Note: As mentioned earlier in this document and in Which M.2 card sockets support an M.2 PCIe NVMe SSD?,
the Netgate 4200 currently supports M.2 B+M-Key or M-Key PCIe NVMe SSDs only in socket #3 labeled J13.
This is the rear socket nearest to the I/O panel.
Fig. 34: Netgate 4200 top-down internal view with M.2 socket #3 (J13) highlighted
2. Insert the M.2 card into socket #3 (J13) at an approximate 30° angle
© Copyright 2024 Rubicon Communications LLC 88