Get Started
19
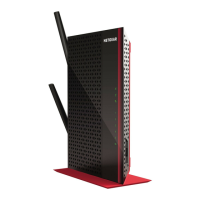
AC1200 WiFi Range Extender
Note: If your computer or mobile device cannot join the new WiFi network of
the extender, see Improve the Connection Between the Extender and
the WiFi Router on page 118.
Access the Extender over WiFi and Use Smart Setup
If your WiFi router does not support WPS, access the extender over WiFi and use the
browser-based NETGEAR genie
®
Smart Setup to connect the extender to an existing WiFi
network.
The extender has a default NETGEAR_EXT WiFi network name (SSID) in the 2.4 GHz band
so you can access it over WiFi. After you have used Smart Setup to connect the extender to
an existing WiFi network, the extender changes its default NETGEAR_EXT network name to
the name of the existing WiFi network and adds _2GEXT to the end of the 2.4 GHz network
name and _5GEXT to the end of the 5 GHz network name, for example:
• Existing network name. MyNetworkName
• New extended 2.4 GHz network name. MyNetworkName_2GEXT
• New extended 5 GHz network name. MyNetworkName_5GEXT
To access the extender over WiFi and use Smart Setup to connect the extender to an
existing WiFi network:
1. Place the extender close to the WiFi router.
Note: In a later step in this procedure, after you have established a connection
to the WiFi router, you can place the extender at its permanent location.
2. Plug the extender into an electrical outlet.
3. If necessary, press the
Power button.
The Device to Extender LED and the two Link Rate LEDs light amber during the startup
process. After about one minute, these LEDs turn of
f.
4. Make sure that your computer or mobile device is not connected to an Ethernet network.
If the computer or mobile device is already connected to an Ethernet network, you might
not be able to connect to the extender.
5. Open a WiFi network manager on your computer or mobile device to find and connect to the
default NETGEAR_EXT WiFi network o
f the extender.

 Loading...