Configure System Information
87
Insight Managed 8-Port Gigabit Ethernet Smart Cloud Switch with 2 SFP Fiber Ports
You can use a WiFi or wired connection to connect your computer to the network, or
connect directly to a switch that is off-network using an Ethernet cable.
2. Launch a web browser.
3. In the address field of your web browser
, enter the IP address of the switch.
If you do not know the IP address of the switch, see Access the Switch on page 11.
The login window opens.
4. Enter the switch’
s password in the password field.
The default password is password. If you added the switch to a network on the Insight
app before and you did not yet change the password through the local browser interface,
enter your Insight network password.
The System Information page displays.
5. Select System> Services > DHCP Snooping > Binding Configuration.
The Static Binding Configuration page displays.
6. From the Interface menu, select the interface on which the DHCP client is authorized.
7. In the MAC Address field, specify the MAC address for the binding to be added.
This is the key to the binding database.
8. From the VLAN ID menu, select the ID of the VLAN the client is authorized to use.
9. In the IP Address field, specify the IP address of the client.
10. Click the Add button.
The DHCP snooping binding entry is added to the database.
The Dynamic Binding Configuration table shows information about the DHCP bindings that
were dynamically (that is, automatically) learned on each interface on which DHCP snooping
is enabled.
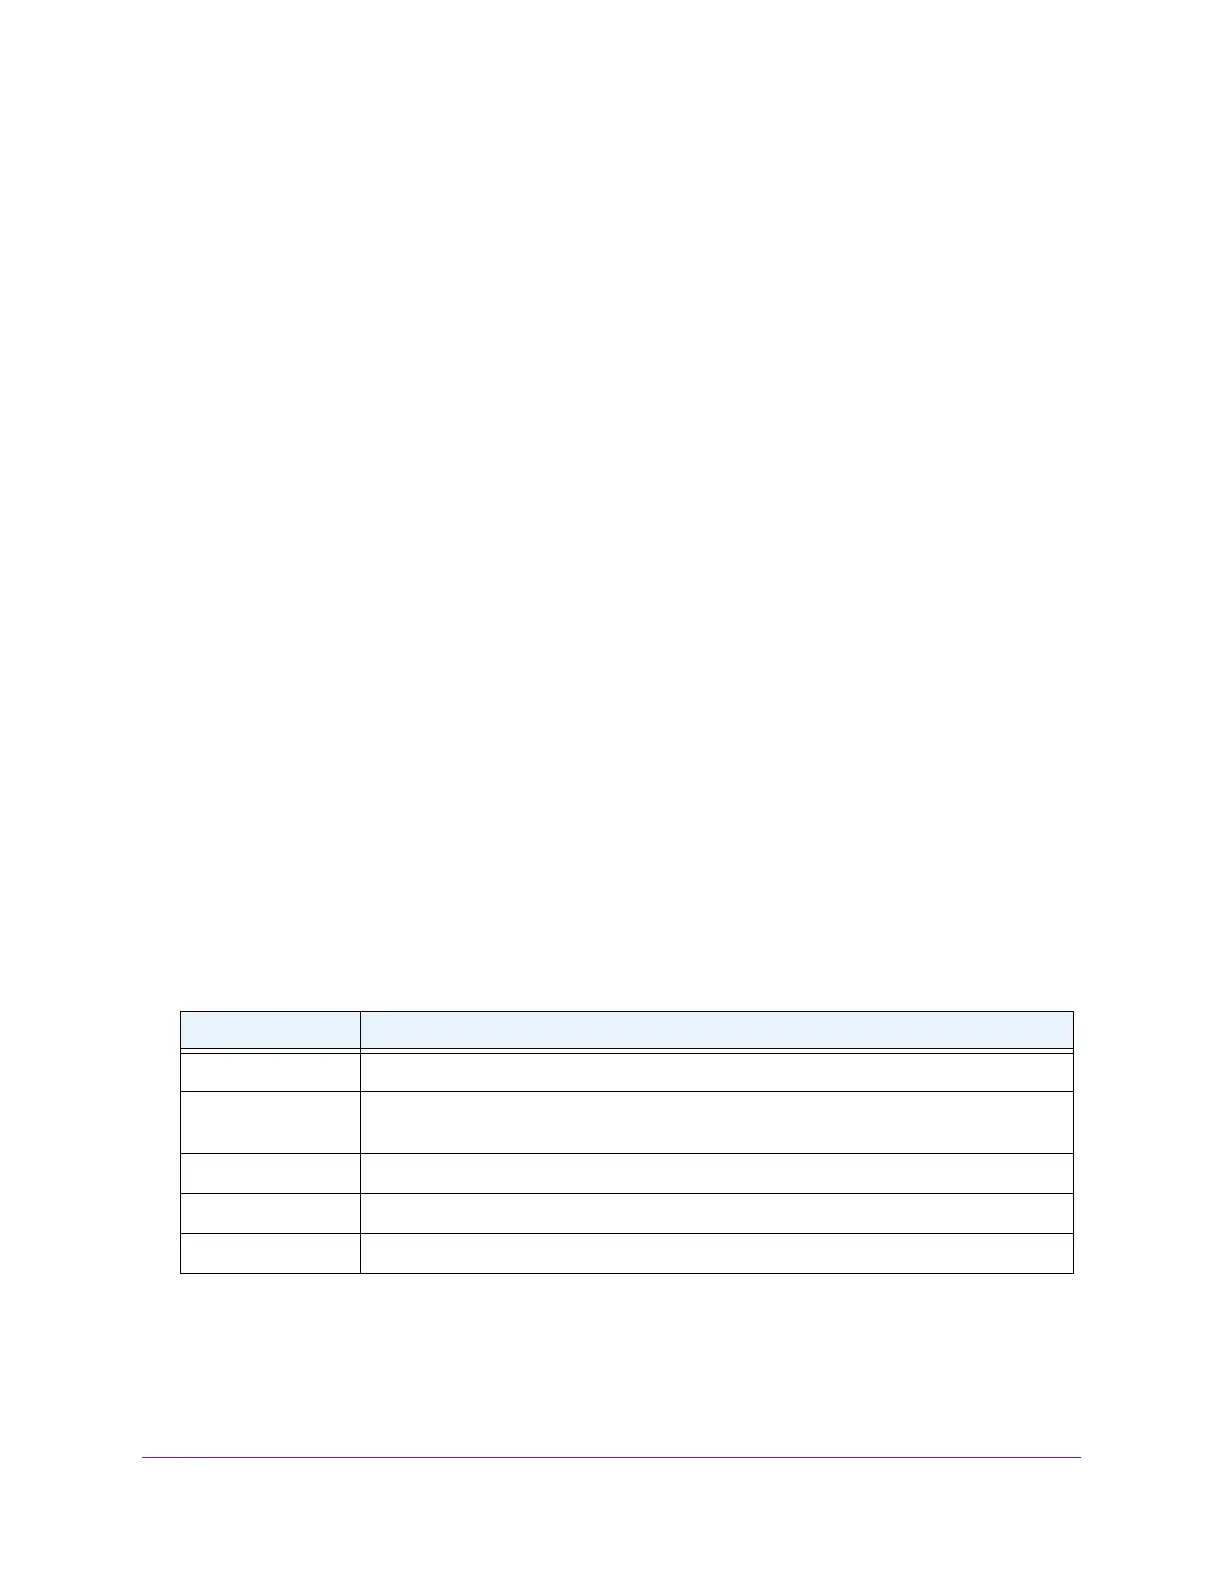
The following table describes the dynamic bindings information.
Table 20. DHCP Dynamic Configuration information
Field Description
Interface The interface on which the DHCP client message was received.
MAC Address The MAC address associated with the DHCP client that sent the message. This is the
key to the binding database.
VLAN ID The VLAN ID of the client interface.
IP Address The IP address assigned to the client by the DHCP server.
Lease Time The remaining IP address lease time for the client.
 Loading...