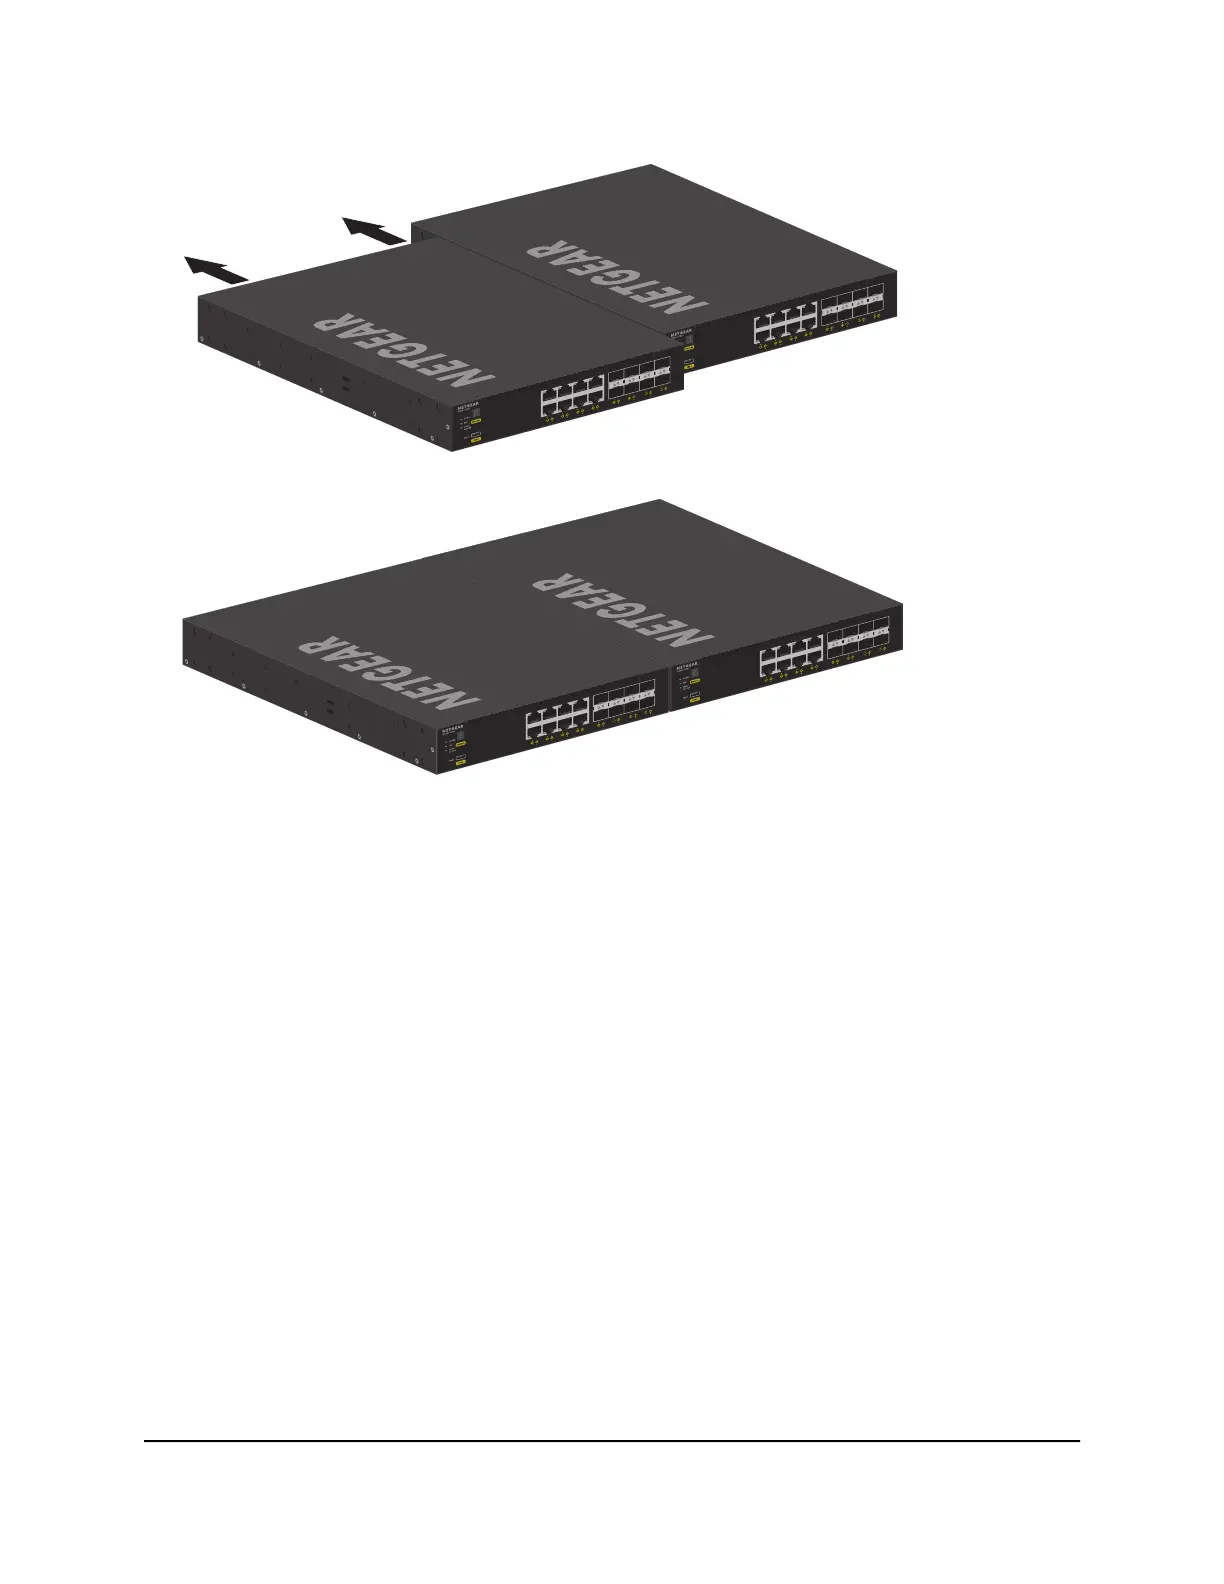
4.
Attach the brackets supplied in the mounting kit to the left side of the left switch and
to the right side of the right switch by inserting the small screws through each bracket
and into the mounting holes in the switches.
•
Flush-mounting example: Use the small brackets with a depth of 2.75 inches
(7 cm) and the small screws.
•
Set-back mounting example: Use the medium-sized brackets with a depth of
4.75 inches (12 cm) and the small screws.
5. Tighten the screws with a No. 1 Phillips screwdriver to secure each bracket to the
switch.
Hardware Installation Guide59Installation
Fully Managed Switches M4350 Series

 Loading...


