Configure System Information
63
Smart Managed Pro Switches MS510TX and MS510TXPP
5. Select System > SNMP > SNMPv1/v2 > Trap Flags.
The Trap Flags page displays.
6. Configure the following options:
• All. Globally activate or disable all traps by selecting the corresponding radio button.
By default, the Enable radio button is selected.
• Authentication. When authentication is enabled, SNMP traps are sent when events
involving authentication occur. By default, the Enable radio button is selected.
7. Click the Apply button.
Your settings are saved.
View the Supported MIBs
This page displays a list of all MIBs supported by the switch.
To view the supported MIBs:
1. Connect your computer to the same network as the switch.
You can use a WiFi or wired connection to connect your computer to the network, or
connect directly to a switch that is off-network using an Ethernet cable.
2. Launch a web browser.
3. In the address field of your web browser, enter the IP address of the switch.
If you do not know the IP address of the switch, see Access the Switch on page 12.
The login window opens.
4. Enter the switch’s password in the Password field.
The default password is password.
The System Information page displays.
5. Select System > SNMP > SNMPv1/v2 > Supported MIBs.
The Status page displays.
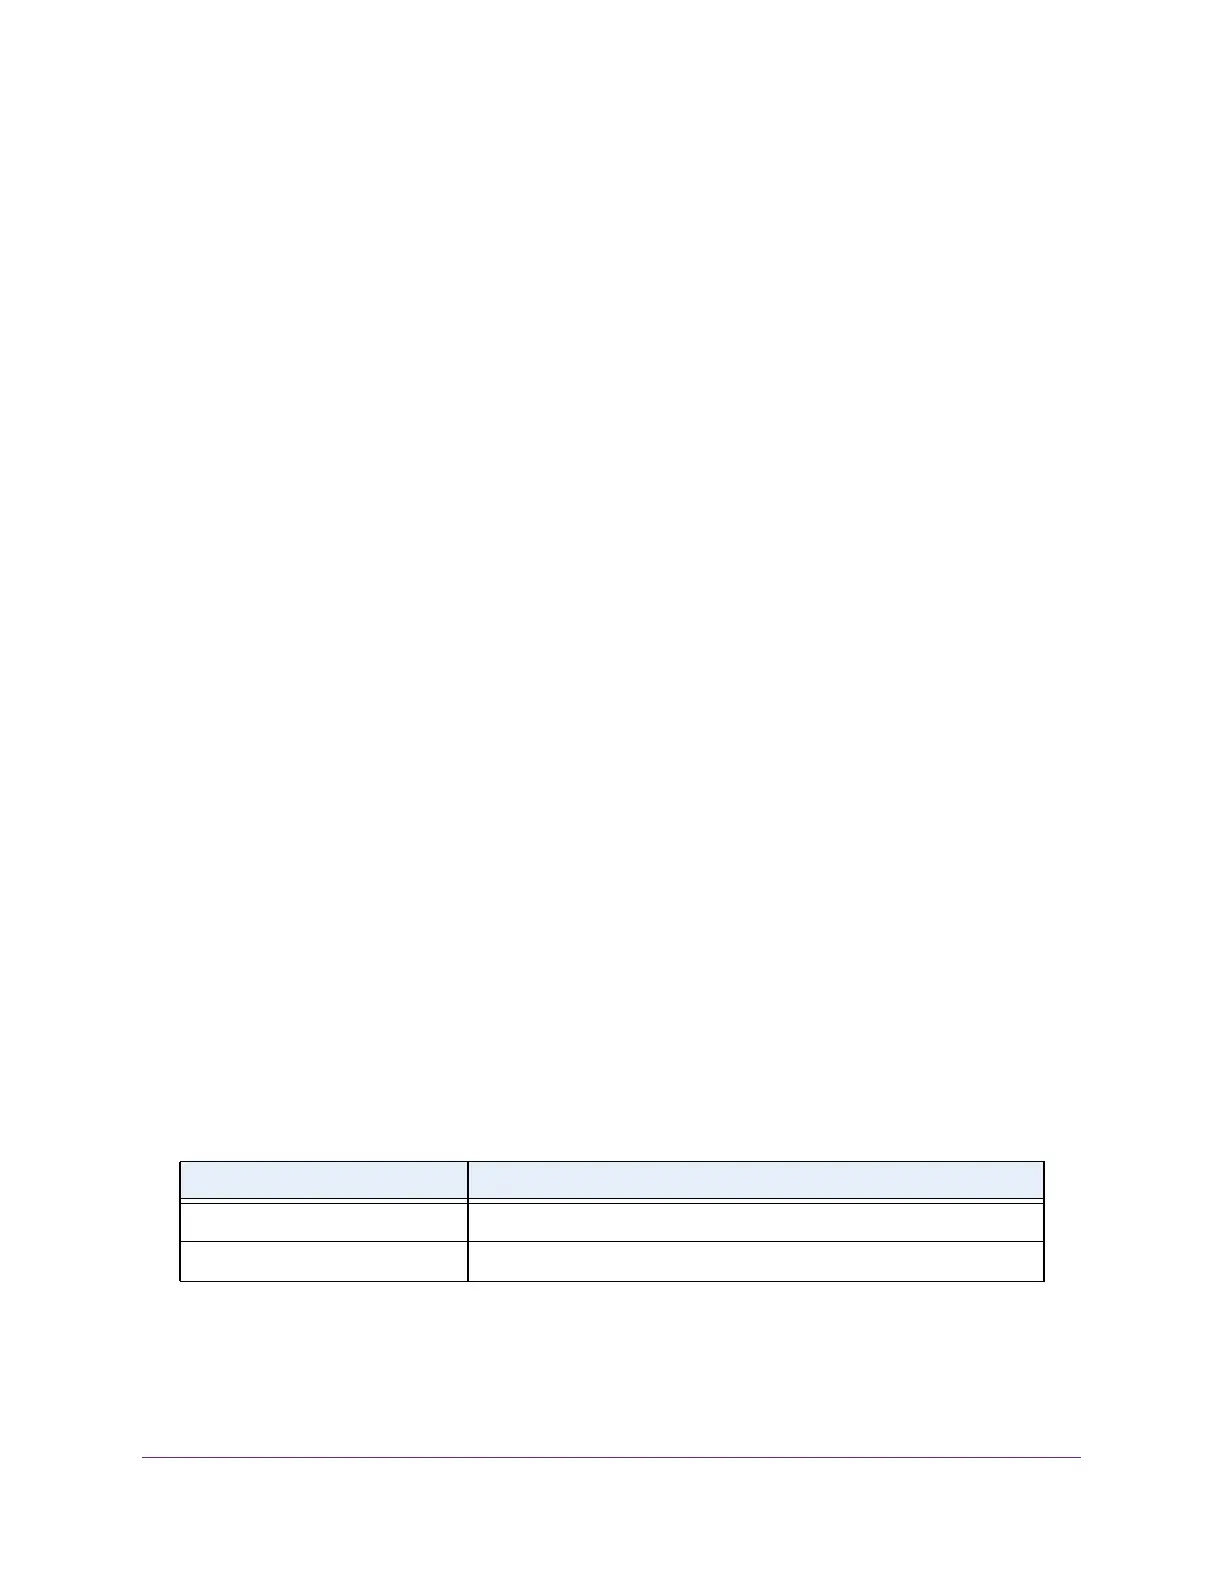
The following table describes the fields on the Status page.
Table 17. SNMP supported MIBs
Field Description
Name The RFC number (if applicable) and the name of the MIB.
Description The RFC title or MIB description.