6. Right-click the USB device and select Map network drive.
The Map Network Drive window opens.
7.
Select the drive letter to map to the new network folder.
8. Click the Finish button.
The USB storage device is mapped to the drive letter that you specified.
9.
To connect to the USB storage device as a different user, select the Connect using
different credentials check box, click the Finish button, and do the following:
a. Type the user name and password.
b. Click the OK button.
Access a Storage Device That Is Connected
to the Router From a Mac
From a computer or device on the network, you can access a storage device that is
connected to the router.
To access the device from a Mac:
1. Connect a USB storage device to a USB port on your router.
2.
If your USB storage device uses a power supply, connect it.
You must use the power supply when you connect the USB storage device to the
router.
When you connect the USB storage device to the router’s port, it might take up to
two minutes before it is ready for sharing. By default, the USB storage device is
available to all computers on your local area network (LAN).
3. On a Mac that is connected to the network, select Go > Connect to Server.
The Connect to Server window opens.
4.
In the Server Address field, enter smb://readyshare.
5. When prompted, select the Guest radio button.
If you set up access control on the router and you allowed your Mac to access the
network, select the Registered User radio button and enter admin for the name
and router admin password for the password. For more information about access
control, see Allow or block access to your network on page 45.
6. Click the Connect button.
User Manual120Share USB Storage Devices
Attached to the Router
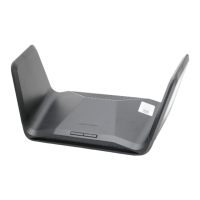
Nighthawk AX8 8-Stream AX6000 WiFi Router
 Loading...
