14. To specify the destination folder, click the Browse button and select a destination folder.
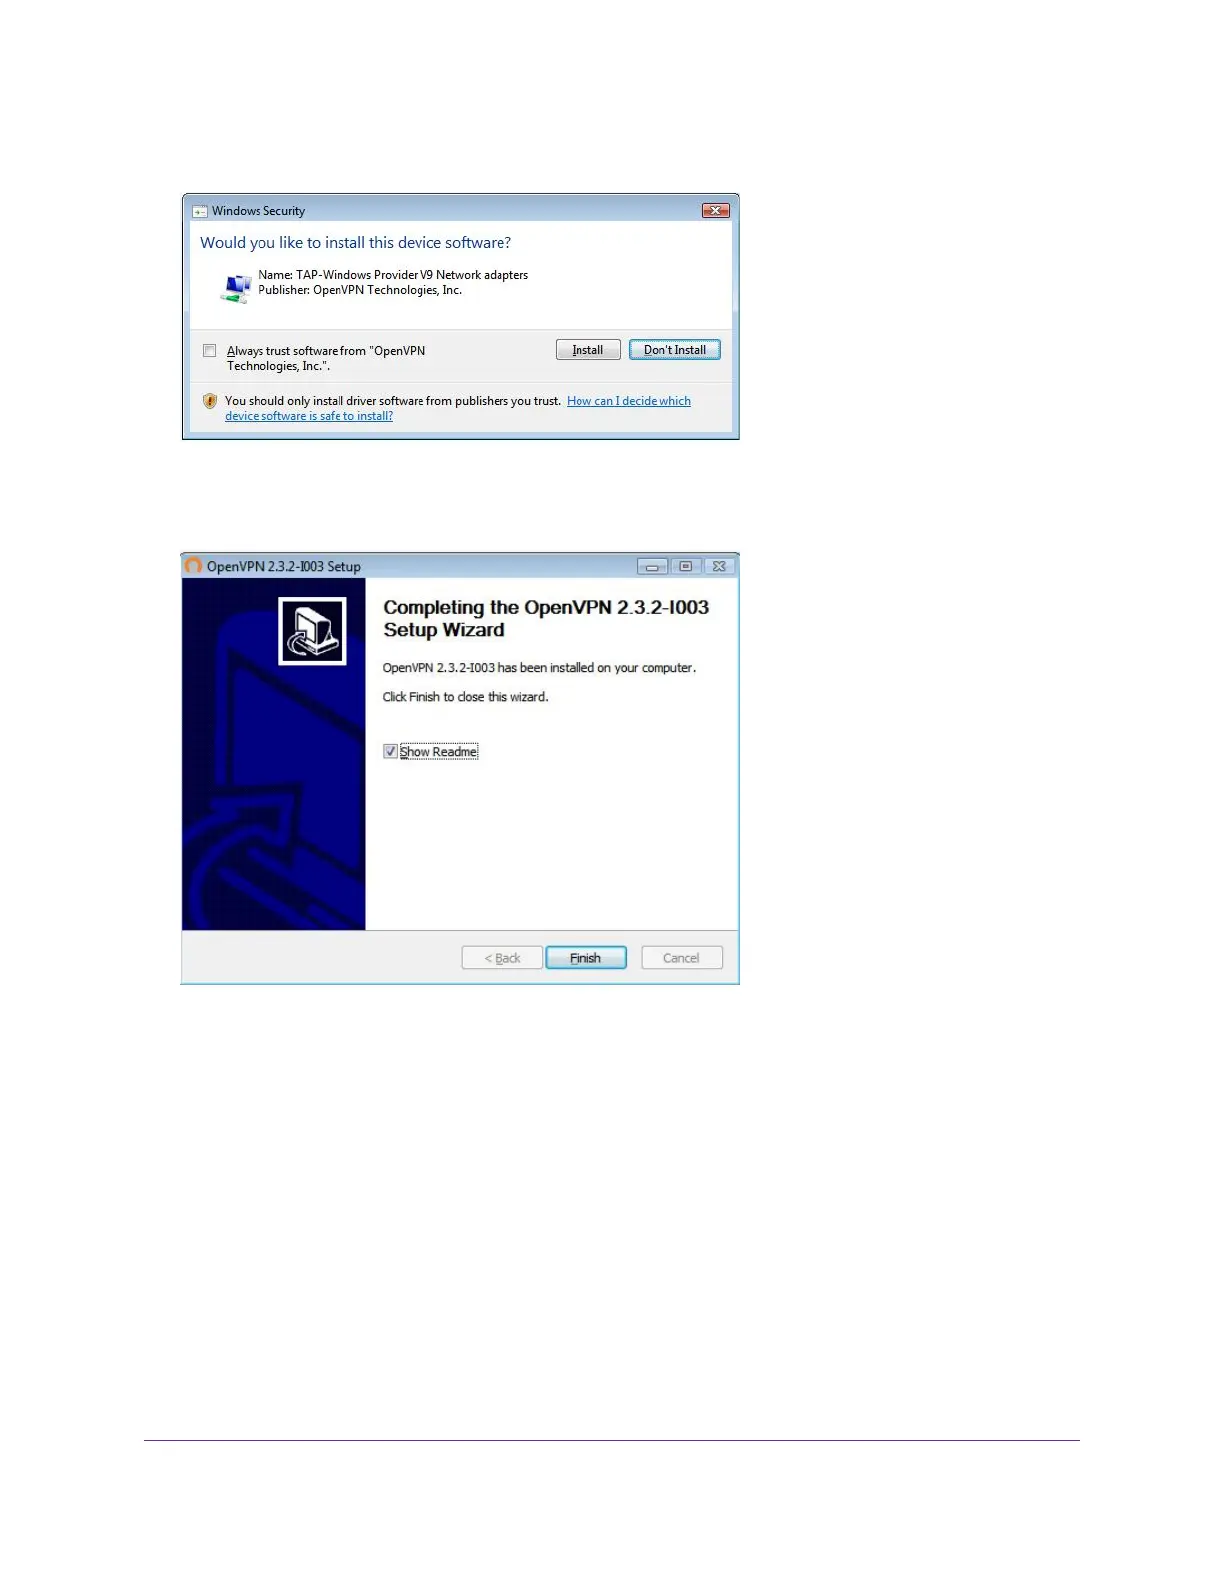
15. Click the Install button.
The window displays the progress of the installation and then displays the final installation page.
16. Click the Finish button.
17. Unzip the configuration files that you downloaded and copy them to the folder where the VPN client is
installed on your device.
For a client device with Windows 64-bit system, the VPN client is installed at C:\Program
files\OpenVPN\config\ by default.
18. For a client device with Windows, modify the VPN interface name to NETGEAR-VPN:
a. On your computer, go to the Networks page. If you are using Windows 10, select Control Panel >
Network and Sharing Center > Change adapter settings.
b. In the local area connection list, find the local area connection with the device name TAP-Windows
Adapter.
c. Select the local area connection and change its name (not its device name) to NETGEAR-VPN.
If you do not change the VPN interface name, the VPN tunnel connection will fail.
Use VPN to Access Your Network
129
Nighthawk X10 AD7200 Smart WiFi Router
 Loading...