6000 Vortex Series Getting Started • 11
4. Connect the power cord:
Attach the power cord to the controller
and plug it into a wall outlet.
This instrument is configured at the factory for the line voltage and frequency
appropriate for your country. If you are unsure of how your unit is configured,
see “Changing the AC-Voltage Selection” on page 53.
5. Optically isolate the laser:
Take precautions to prevent back
reflections into the laser head. Isolation can be achieved by angling
your optics or with the use of an optical isolator. The degree of
isolation required depends on how you are using the laser; contact
New Focus technical support for help with your particular
application.
Starting the Vortex for the First Time
The following section takes you through the basic steps of starting up
and shutting down the laser. The controls and functions are described
in more detail in the following chapter.
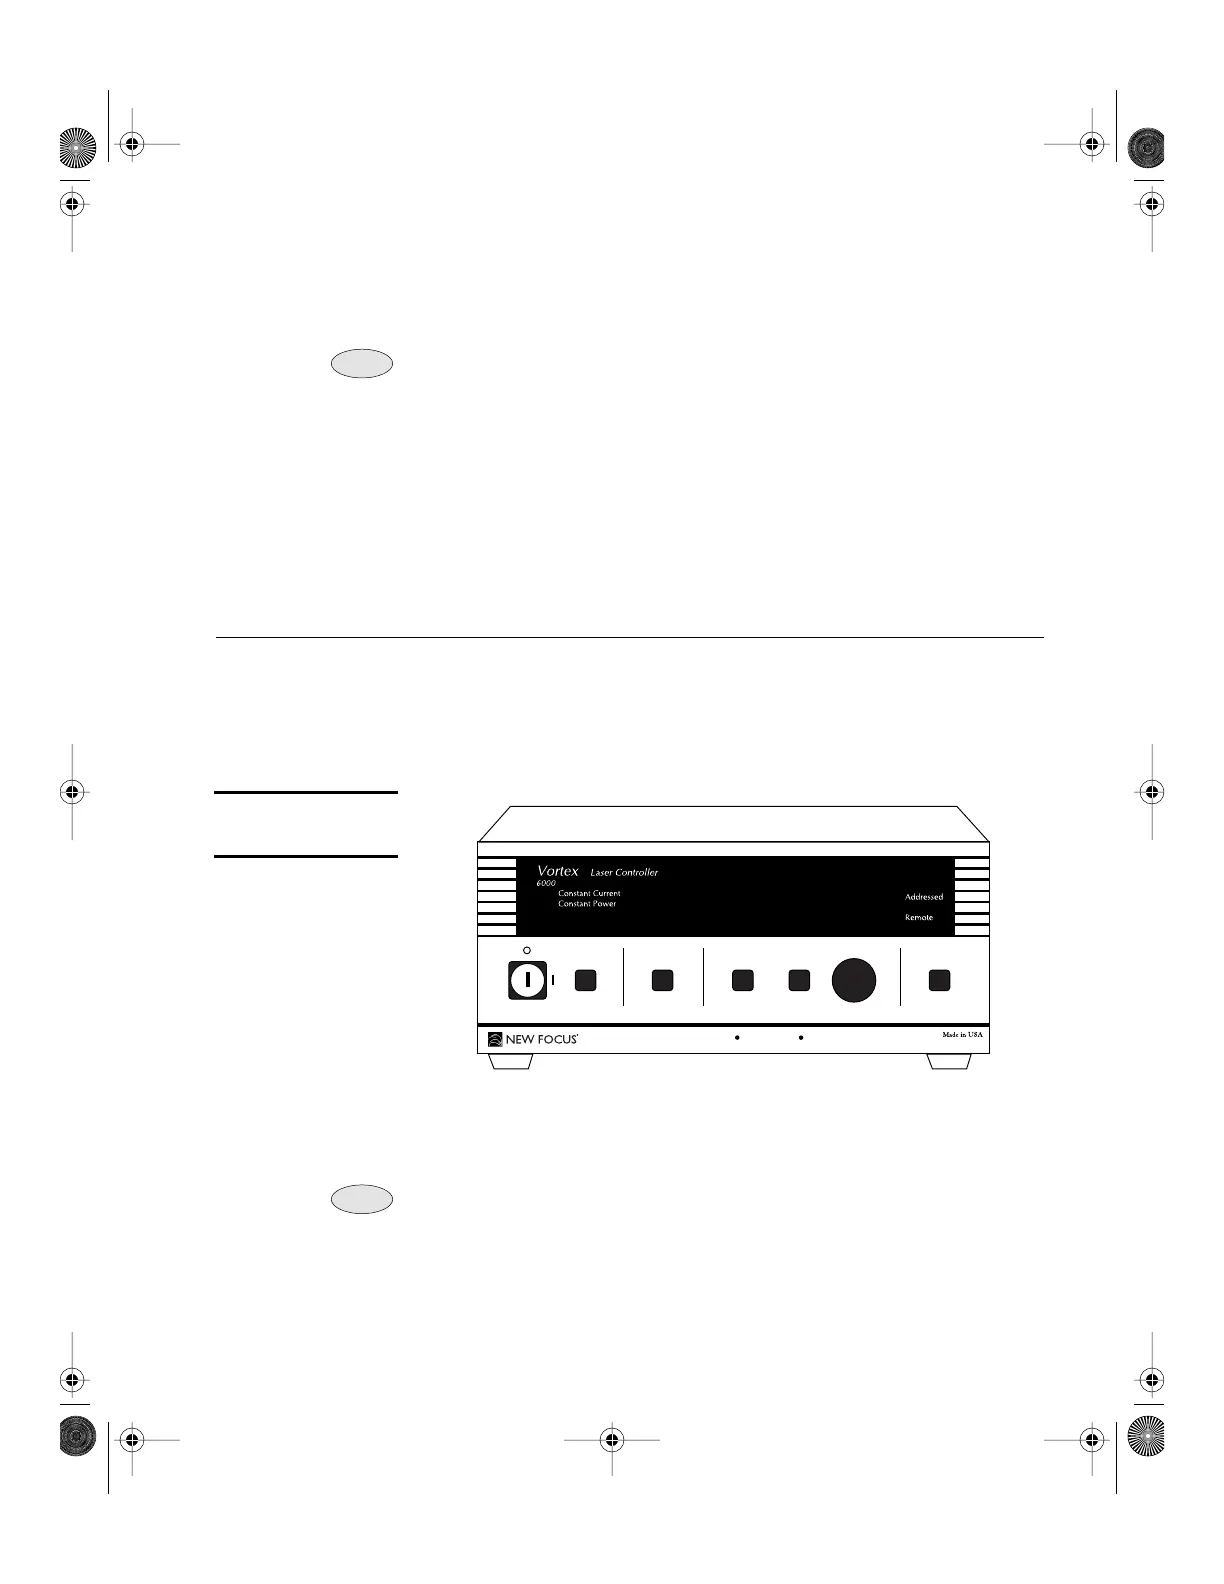
Figure 4:
Vortex Front Panel
1. Turn on the system:
Turn the keyswitch to “ON” (position “
|
”).
The system will start up in constant-current mode with the current
set to 0 mA, and the system ID will scroll across the display.
After turning the keyswitch, allow the system a minimum of 20 minutes to
reach a stable temperature before turning on the laser diode (step 4).
Once the keyswitch is turned on, the system can be operated
remotely through the IEEE-488 (GPIB) or RS-232 ports. Refer to
the “Computer Control” chapter beginning on page 29 for details.
Note:
Note:
45.0 mA
GPIB Address
Baud Rate
Display SetPower
Mode
Local
TM
Note:
Note:
Vortex6000.book Page 11 Tuesday, February 19, 2002 3:25 PM
Artisan Technology Group - Quality Instrumentation ... Guaranteed | (888) 88-SOURCE | www.artisantg.com