9
07610-004-45-09-D
Electrical and grounding conductors must comply with the applicable portions of the
National Electric Code ANSI/NFPA 70 (latest edition) and/or other electrical codes.
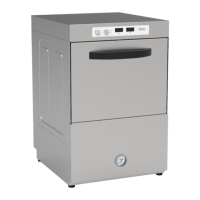
The data plate is located on the left-front of the dishmachine. Refer to the data plate for
machine operating requirements, machine voltage, total amperage, and serial number.
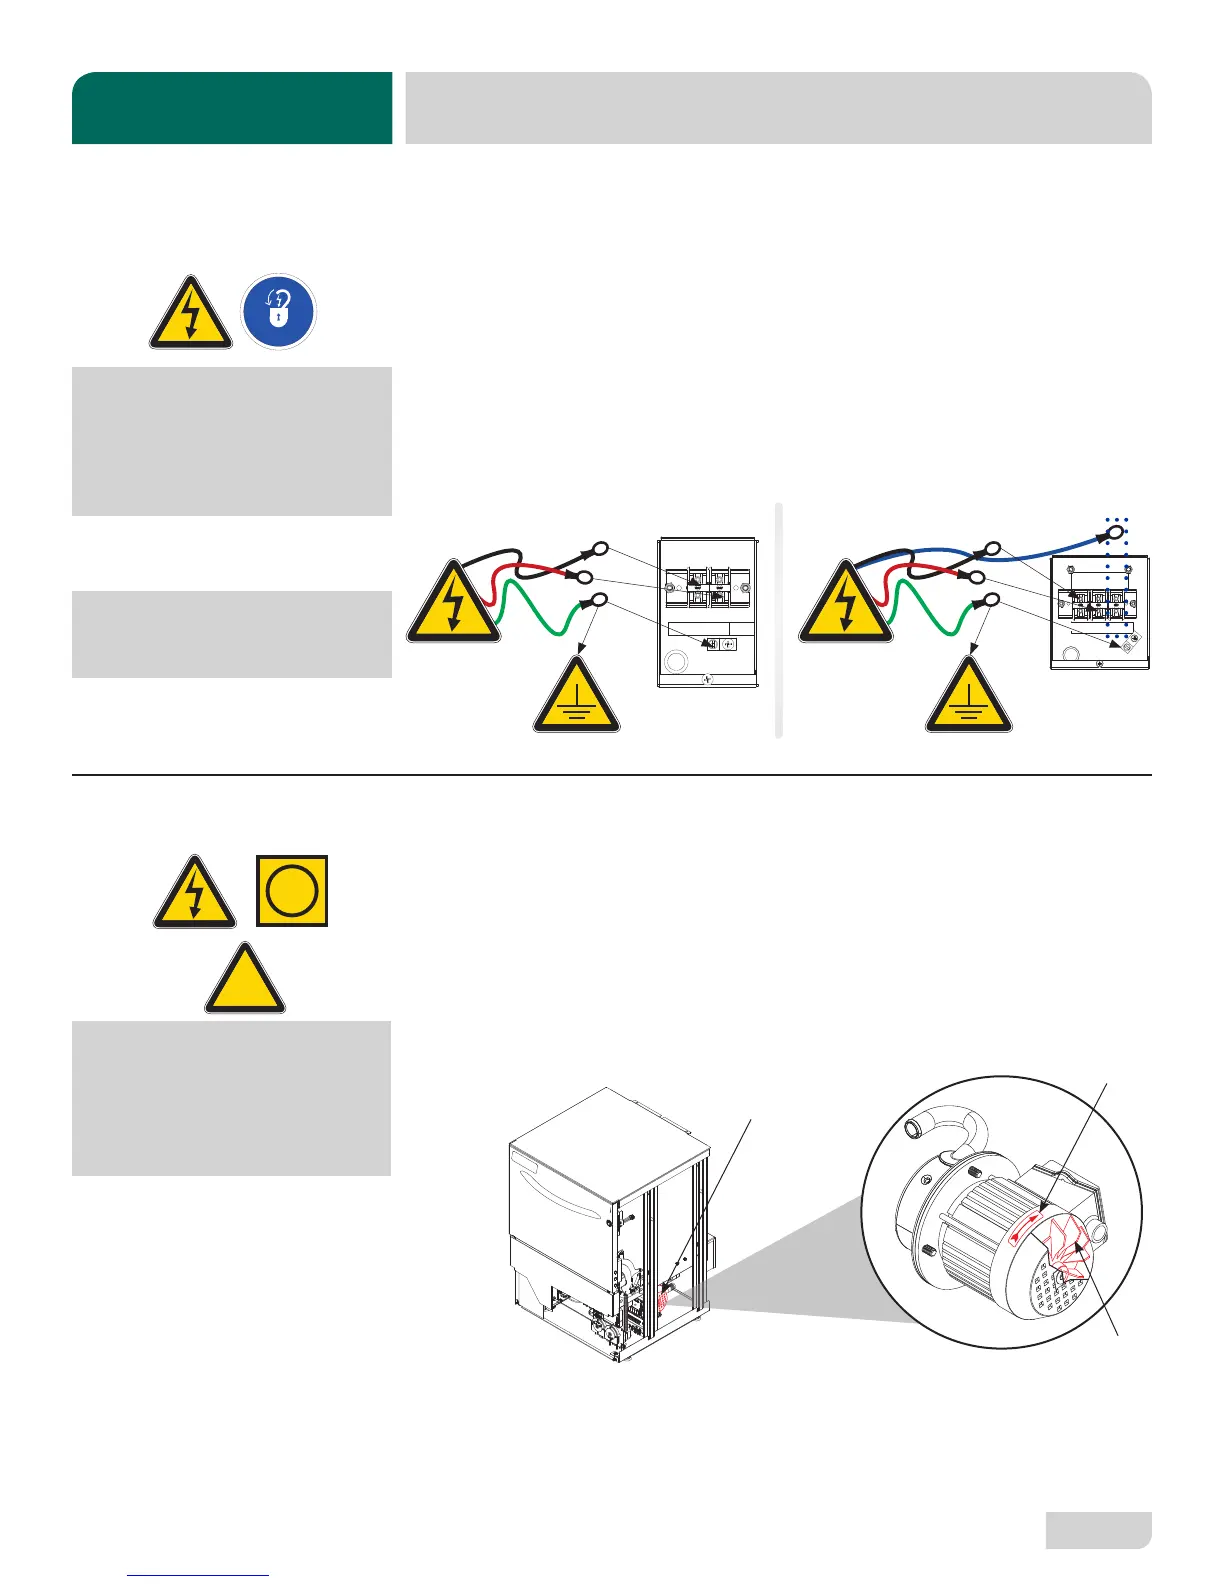
Remove the back panel and set aside. Remove the terminal block box cover. Install
3/4” conduit into the hole in the bottom of the terminal block box. Route power wires and
connect to terminal block. Install the grounding wire onto the lug provided. “DE-OX” or
another similar anti-oxidation agent should be used on all power connections.
208/230 V 460 V
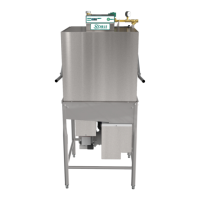
On 3-Phase machines only, correct pump motor rotation must be veried before
the machine is operated. Failure to do so can result in damage to the machine and
components.
1. Follow the "Filling the Wash Tub" section.
2. Using a 7/16 nutdriver, remove front kick panel and keep hardware. Using a
phillips screwdriver, remove right dress panel and keep hardware. Leave start
switch wires connected.
3. Locate the wash pump motor and identify the arrow decal which shows the
correct motor rotation.
4. Press the "Start" button on the right dress panel and immediately open the door.
5. This will stop the cycle. Observe rotation of motor fan.
6. If incorrect, disconnect electrical power and reverse the L1 and L2 connections
at terminal block shown in the section above. Replace panels.
INSTRUCTIONS
INSTALLATION
ELECTRICAL POWER
CONNECTIONS
Disconnect electrical
power at the breaker or
disconnect switch and
tag-out in accordance with
procedures and codes.
L1 N
Ground
L1 L2 L3
Ground
3Φ
On the 460 V machine, the
imbalanced wild leg goes
to L3.
MOTOR ROTATION
i
CAUTION! On 3-Phase
machines only, correct
pump motor rotation
must be veried
before operation!
!
CAUTION
Motor Fan
Wash Pump Motor
Arrow Decal