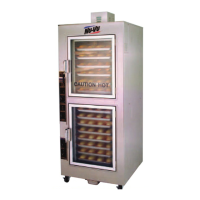
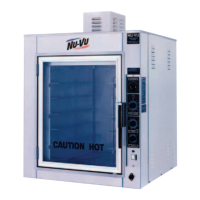
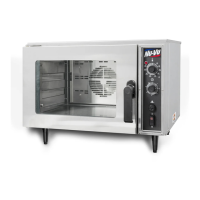
SERVICE AND REPLACEMENT GUIDE SUB–123 OWNER'S MANUAL
H. Connect the new leads to the unit's wiring: WHITE to the tagged group of white wires, BLUE to
the tagged blue (or black) wire leading from the Proofer Humidity Control Circuit Board [10]. All
connections must be clean and tight.
I. Replace the Side Access Panel and restore electrical power to the unit. Test the Humidity Element
for proper operation, and then replace the Water Pan.
TEMPERATURE CONTROL, How To Adjust:
PLEASE CALL THE NU-VU
®
SERVICE DEPARTMENT AT (800) 338-9886 BEFORE
ATTEMPTING TO ADJUST THE TEMPERATURE CONTROL!
A. Place a reliable thermometer (or the thermocouple of a test instrument) on a pan in the center of
the Oven or Proofer. Turn the Oven or Proofer
ON
and set the Temperature Control [22 or 32] to
its normal operational setting. Allow the equipment to reach a stable operating temperature.
B. Compare the Temperature Control setting to the reading on the test instrument. If there is a
difference of more than 25
°
in the Oven or 15
°
in the Proofer you should call the NU-VU
®
Service
Department for advice on adjusting or replacing components.
C. If the difference is less than 25
°
in the Oven or 15
°
in the Proofer, a simple adjustment of the dial
may solve the problem:
1. Remove the Knob of the Temperature Control by pulling it straight out from the face of the
Control Panel.
2. Hold the black plastic Knob securely with the back of the clear plastic dial toward you. Use a
#1 Phillips screwdriver to loosen these screws from 3/4 to 1 full turn, but
do not remove
them!
3. To increase
the temperature inside the Oven or Proofer, carefully rotate the index line on the
clear dial clockwise. Each "click" of adjustment is equal to approximately 5
°
of temperature
change in the Oven and 2
°
of temperature change in the Proofer. To decrease
the inside
temperature rotate the clear dial counter-clockwise.
4. Gently tighten the dial screws and install the Control Knob. Check the Control setting against
the test instrument and repeat this procedure if necessary.
D. If this procedure fails to bring the temperature reading within the desired specs, try replacing the
appropriate Temperature Control Sensor. If the temperature is still too far off, replace the
appropriate Temperature Control Circuit Board.
TEMPERATURE OR HUMIDITY CONTROL, How To Replace:
MAKE SURE ALL POWER TO THE UNIT IS OFF. FAILURE TO DO SO MAY CAUSE
SEVERE EQUIPMENT DAMAGE OR PERSONAL INJURY!
The Oven Temperature as well as the Proofer
Temperature and Humidity Controls are all
replaced with the same procedure. Only the
Humidity Control in units having the AUTOMIST
option is different.
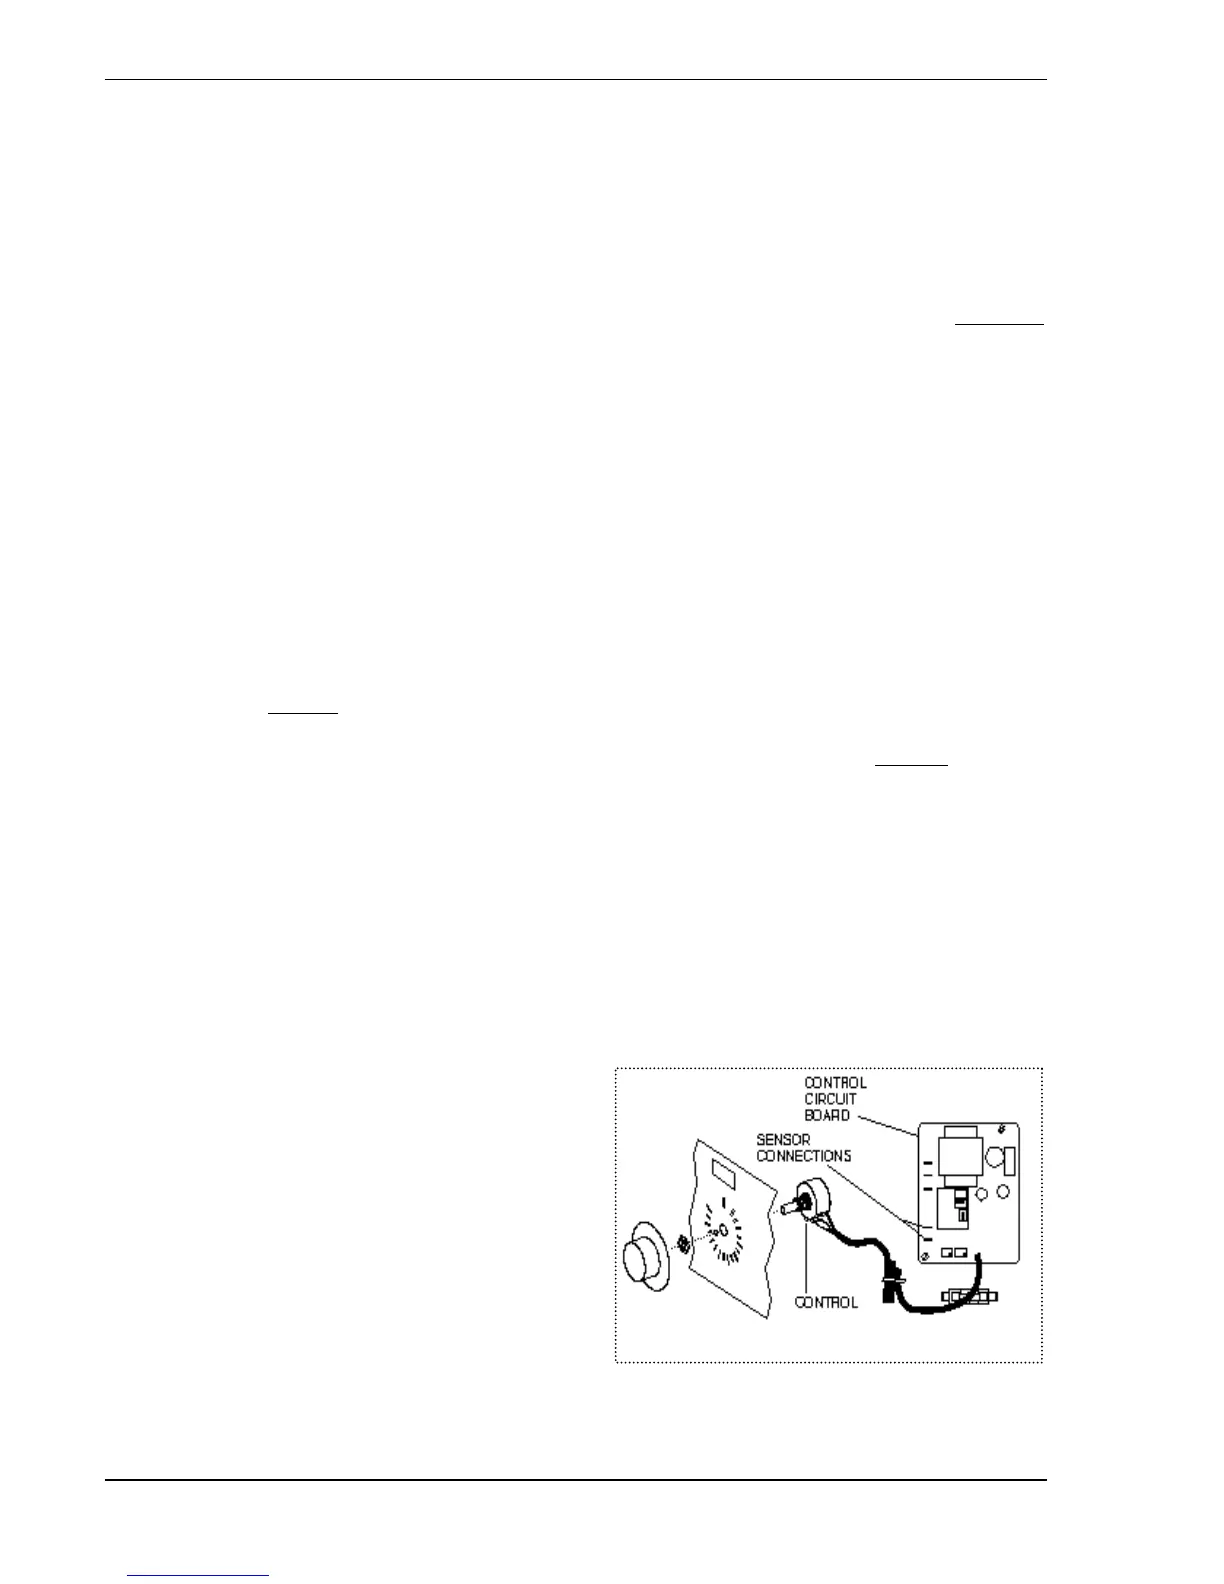
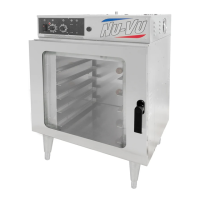
Standard Controls - -
A. Remove the Control Panel on the face of the
unit to expose the wiring connections for the
Control you wish to replace.
B. Remove the appropriate Control Knob by
pulling it straight out from the face of the
Control Panel.
Fi
. #12
Control Assembl
NU-VU
®
FOOD SERVICE SYSTEMS MENOMINEE, MICHIGAN 49858-0035
page
32
Sales Fax (906) 863-5889 ♦ Service Fax (906) 863-6322 (800) 338-9886