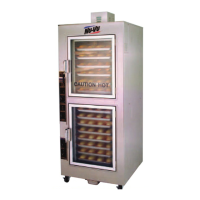
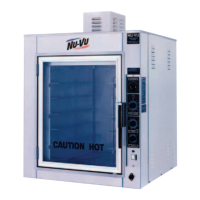
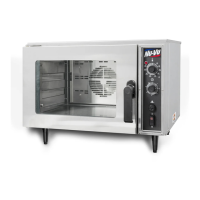
SUB–123 OWNER'S MANUAL SERVICE AND REPLACEMENT GUIDE
C. Remove the retaining nut from the front of the Control and pull the Control out from behind the
Control Panel.
D. Label and disconnect all wiring to the Oven Temperature [4], Proofer Temperature [8] or Proofer
Humidity [10] Control Circuit Board including
the Control Sensor leads.
E. Remove the mounting screws from the corners of the Control Circuit Board and lift the Circuit
Board and Control from the unit.
F. Position the replacement Circuit Board on the mounting plate and secure it in place; seat the
mounting screws firmly but
do not overtighten!
G. Position the Temperature or Humidity Control in the Control Panel. Secure the Control in place
with the retaining nut. Seat the nut firmly but
do not overtighten!
IMPORTANT: THE CONTROL INDEXING TAB MUST BE FULLY INSERTED INTO THE
TAB LOCATING HOLE IN THE CONTROL PANEL!
H. Attach all electrical wiring as labeled, including the Sensor leads. Make sure all connections are
clean and tight.
IMPORTANT: THE RED LEAD FROM THE SENSOR CABLE MUST BE INSTALLED ON
THE TC “-“ TERMINAL FOR PROPER OPERATION OF THE SENSOR!
I. Replace the Control Panel on the face of the unit, being careful not to pull or pinch any wires
while replacing the panel.
J. Restore electrical power to the unit and test the replacement Control for proper operation. We
recommend that any replacement Temperature Control be checked for proper adjustment (refer to
START–UP
and
TEMPERATURE CONTROL, How to Adjust
).
AUTOMIST Humidity Control Only - -
A. Remove the Control Panel from the face of the unit to expose the wiring connections for the
AUTOMIST Humidity Control [81].
B. Remove the Knob from the Humidity Control by pulling it straight out from the face of the
Control Panel.
C. Remove the mounting screws from the Humidity Control and pull it out from the back of the
Control Panel.
D. Label and disconnect all electrical wiring to the Humidity Control.
E. Attach the electrical wiring to the replacement Humidity Control as labeled. All connections must
be clean and tight.
F. Position the replacement Humidity Control on the back of the Control Panel and secure it in place
with the two mounting screws. Install the Control Knob by pressing it onto the end of the Control
shaft.
G. Replace the Control Panel on the face of the unit, being careful not to pull or pinch any wires
while replacing the panel.
H. Restore electrical power to the unit, and test the replacement Humidity Control for proper
operation.
OVEN TEMPERATURE CONTROL SENSOR, How To Replace:
MAKE SURE ALL POWER TO THE UNIT IS OFF. FAILURE TO DO SO MAY CAUSE
SEVERE EQUIPMENT DAMAGE OR PERSONAL INJURY!
A. Remove the Control Panel from the face of the unit to expose the wiring connections for the Oven
Temperature Control Sensor [5]. Locate the Oven Temperature Control Circuit Board [4] and
disconnect the Sensor wires from the Circuit Board.
NU-VU
®
FOOD SERVICE SYSTEMS MENOMINEE MICHIGAN 49858-0035
(800) 338-9886 Sales Fax (906) 863-5889 ♦ Service Fax (906) 863-6322 page
33