Printing > 23
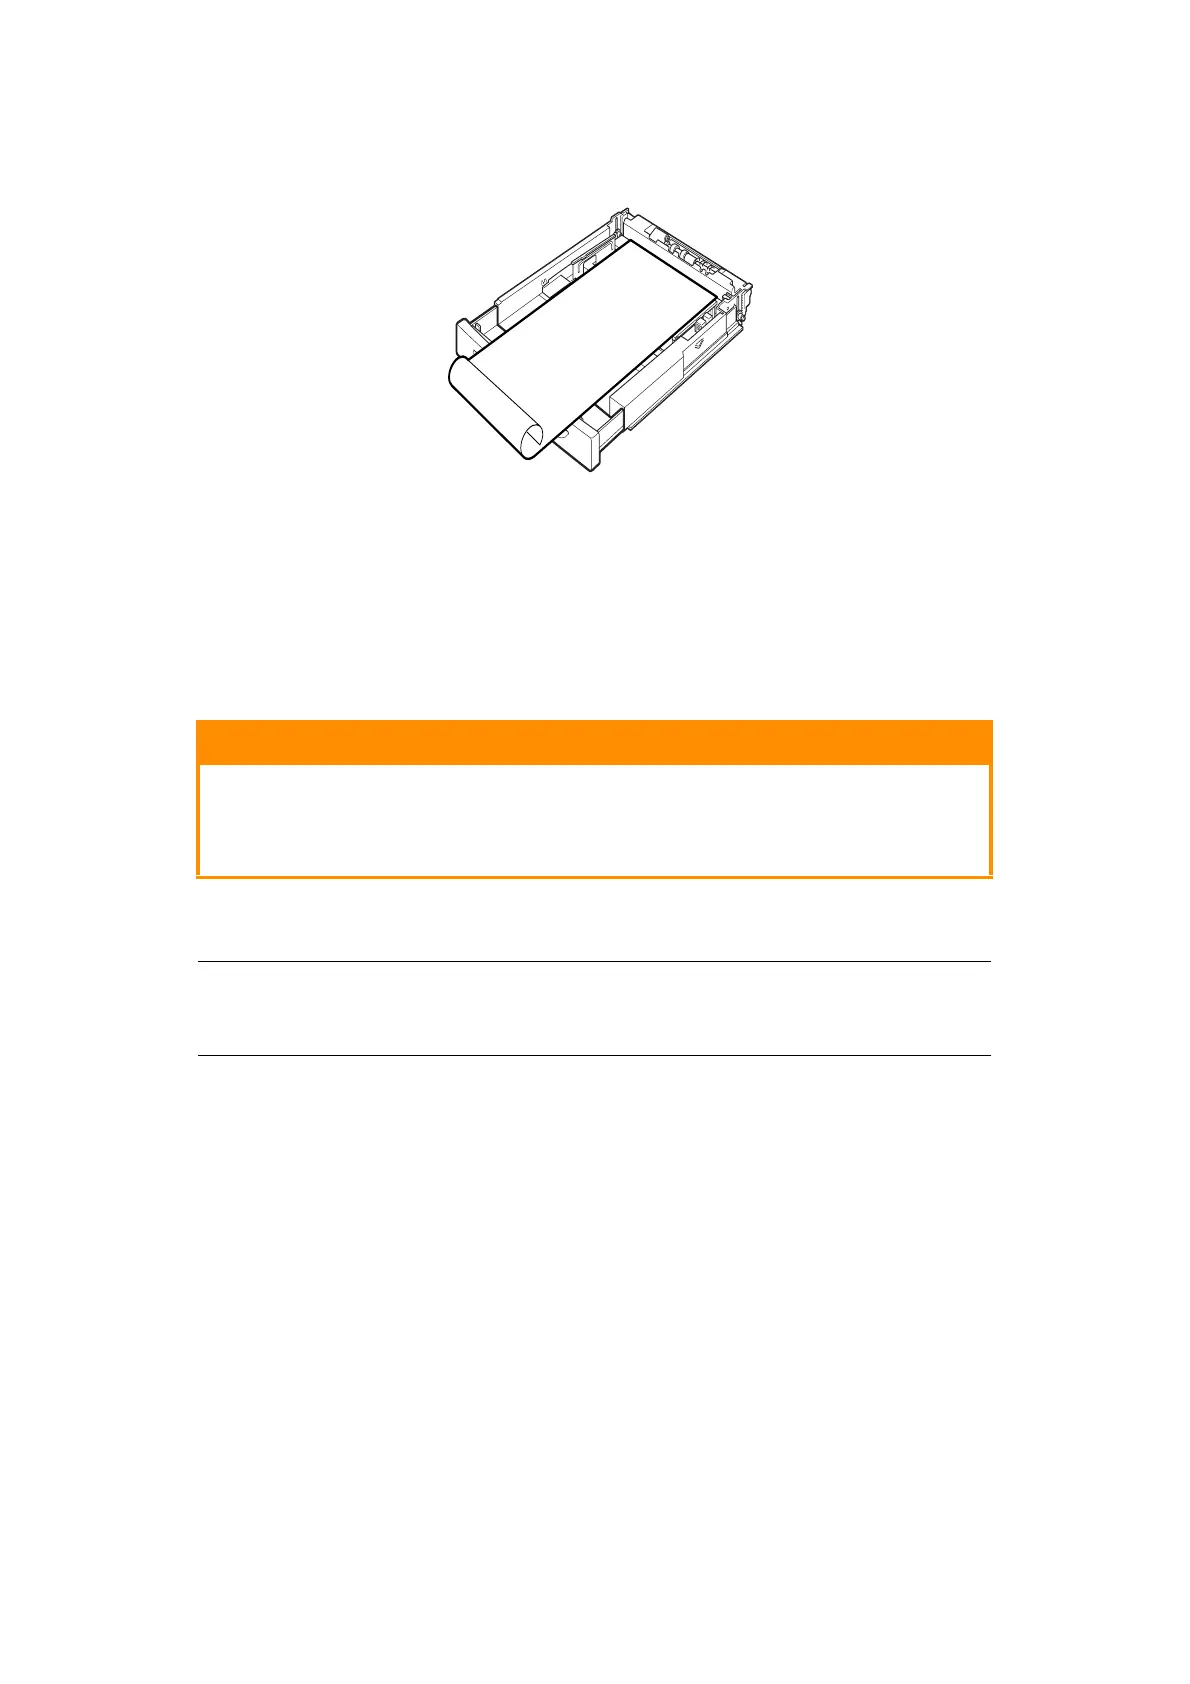
2. Load the paper with the side to be printed facing up. Curl up the back end of the
paper so that it will not fall from the tray.
3. Push the paper tray completely into the printer.
S
ETTING
C
USTOM
P
APER
S
IZES
Before printing, set the custom size on the printer driver.
You have to configure the settings on the control panel too when loading custom size paper
in Trays 1 to 4 for printing. For details on setting the control panel, refer to Setting Custom
Paper Sizes in the Reference Guide.
On the printer driver, set the custom size in the Paper Size dialog box. This section
explains the procedure using Windows XP as an example.
1. From the File menu, click Print.
2. Select Properties then select the Setup tab.
3. Select Option as needed: Source, Media Type, etc.
4. You may select a previously stored custom size from the list or you may add an
additional custom size.
5. To add a new custom size:
(a) Select Paper Feed Options.
(b) Click Custom Size.
(c) In the Name Field, Type a name for your custom size.
(d) Click on the Unit of measure radio button for the units you would like to use
(mm for millimetres or inch for inches.)
(e) In the Width field, enter the width of the custom size paper.
(f) In the Length field, enter the length of the custom size paper.
(g) Click Add to store the new custom size.
CAUTION!
When setting the paper size on the printer driver and the control
panel, specify the size of the actual paper used. Setting the wrong
size for printing will cause jam detection. This is especially true if
you configure a bigger size when using a narrow width paper.
NOTE
Only users with administrator’s rights can change the settings. Users without
the rights can only check the contents.