Getting started > 12
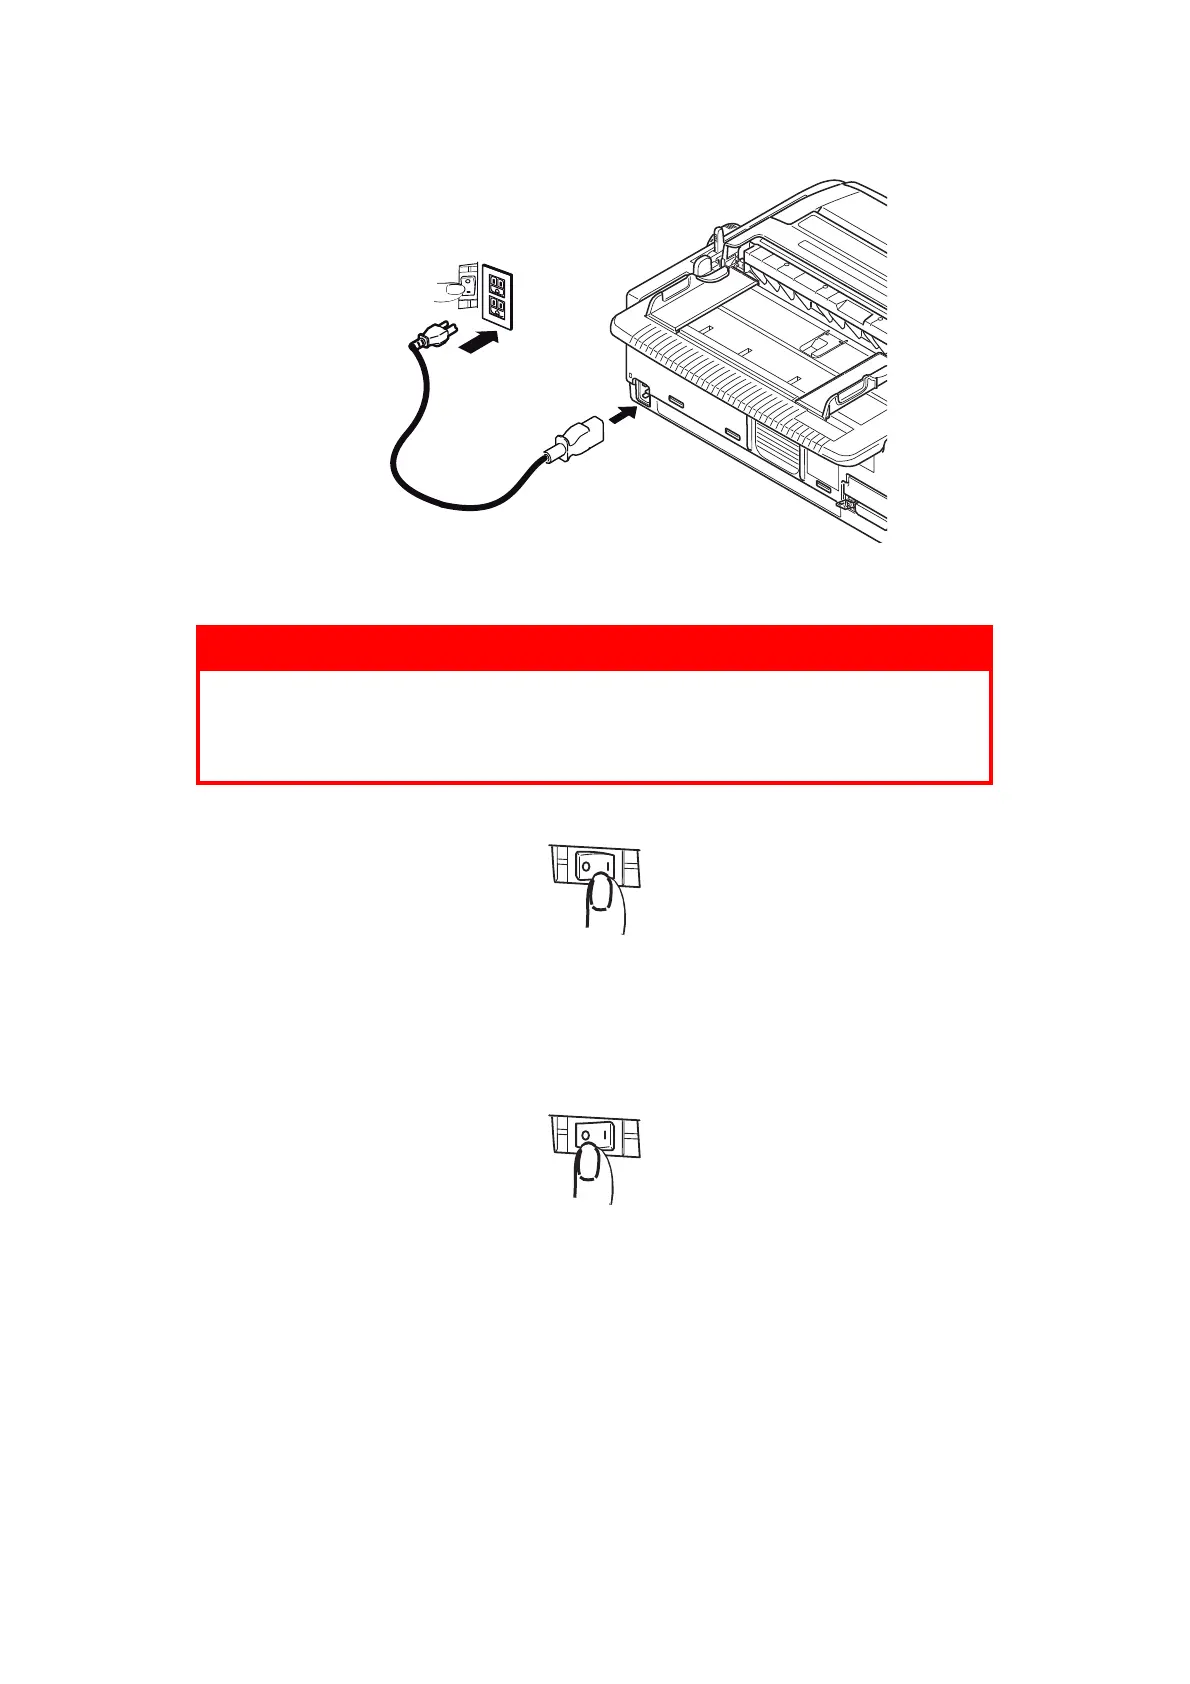
2. Connect the power cable connector (1) A/C Input (2) on the printer.
3. Connect the power cable to a 220/240 V AC (3a) power outlet and switch on the
outlet power (3b).
4. Turn the printer Power Switch to ON.
5. Check that the SLEEP, ALARM, SEL, TEAR, PRINT QUALITY, CHR PITCH and PRINT
SPEED indicators on the operator panel illuminate.
P
OWERING
OFF
YOUR
PRINTER
1. Turn the printer Power Switch to OFF.
WARNING!
Be careful when inserting a three-pronged AC plug. Before
plugging it in, check the position of the FG terminal. Incorrect
insertion may cause damage not only to the printer main body but
also peripheral devices and electric shock, smoke and ignition.