EasyManuals Logo

Oldham MX 43 User Manual

Oldham MX 43
80 pages
To Next Page IconTo Next Page
To Previous Page IconTo Previous Page
Page #29 background imageLoading...
Page #29 background image
5 Digital Modules
25
Module
address
Switches
(On: 1; OFF: 0)
M odule
Address
Switches
(ON = 1; OFF = 0)
1
2
3
4
5
1
2
3
4
5
1
1
0
0
0
0
17
1
0
0
0
1
2
0
1
0
0
0
18
0
1
0
0
1
3
1
1
0
0
0
19
1
1
0
0
1
4
0
0
1
0
0
20
0
0
1
0
1
5
1
0
1
0
0
21
1
0
1
0
1
6
0
1
1
0
0
22
0
1
1
0
1
7
1
1
1
0
0
23
1
1
1
0
1
8
0
0
0
1
0
24
0
0
0
1
1
9
1
0
0
1
0
25
1
0
0
1
1
10
0
1
0
1
0
26
0
1
0
1
1
11
1
1
0
1
0
27
1
1
0
1
1
12
0
0
1
1
0
28
0
0
1
1
1
13
1
0
1
1
0
29
1
0
1
1
1
14
0
1
1
1
0
30
0
1
1
1
1
15
1
1
1
1
0
31
1
1
1
1
1
16
0
0
0
0
1
32
0
0
0
0
0
Table 5: Addressing table (address depends on switch positions).
Remarks:
The physical address of a module (1 to 32) must be identical to the
address stated on the configuration program COM 43 in the controller.
During module replacement, all the configuration switches of a new module
must be positioned in the same configuration as those of the previous
module.
The 6 switch (FRAME FILLING/REMPLISS TRAME) must be set to OFF and the 7
switch (DELAY/TEMPORISATION) must be set to ON (options unused).
An analog-input module systematically takes 8 addresses.
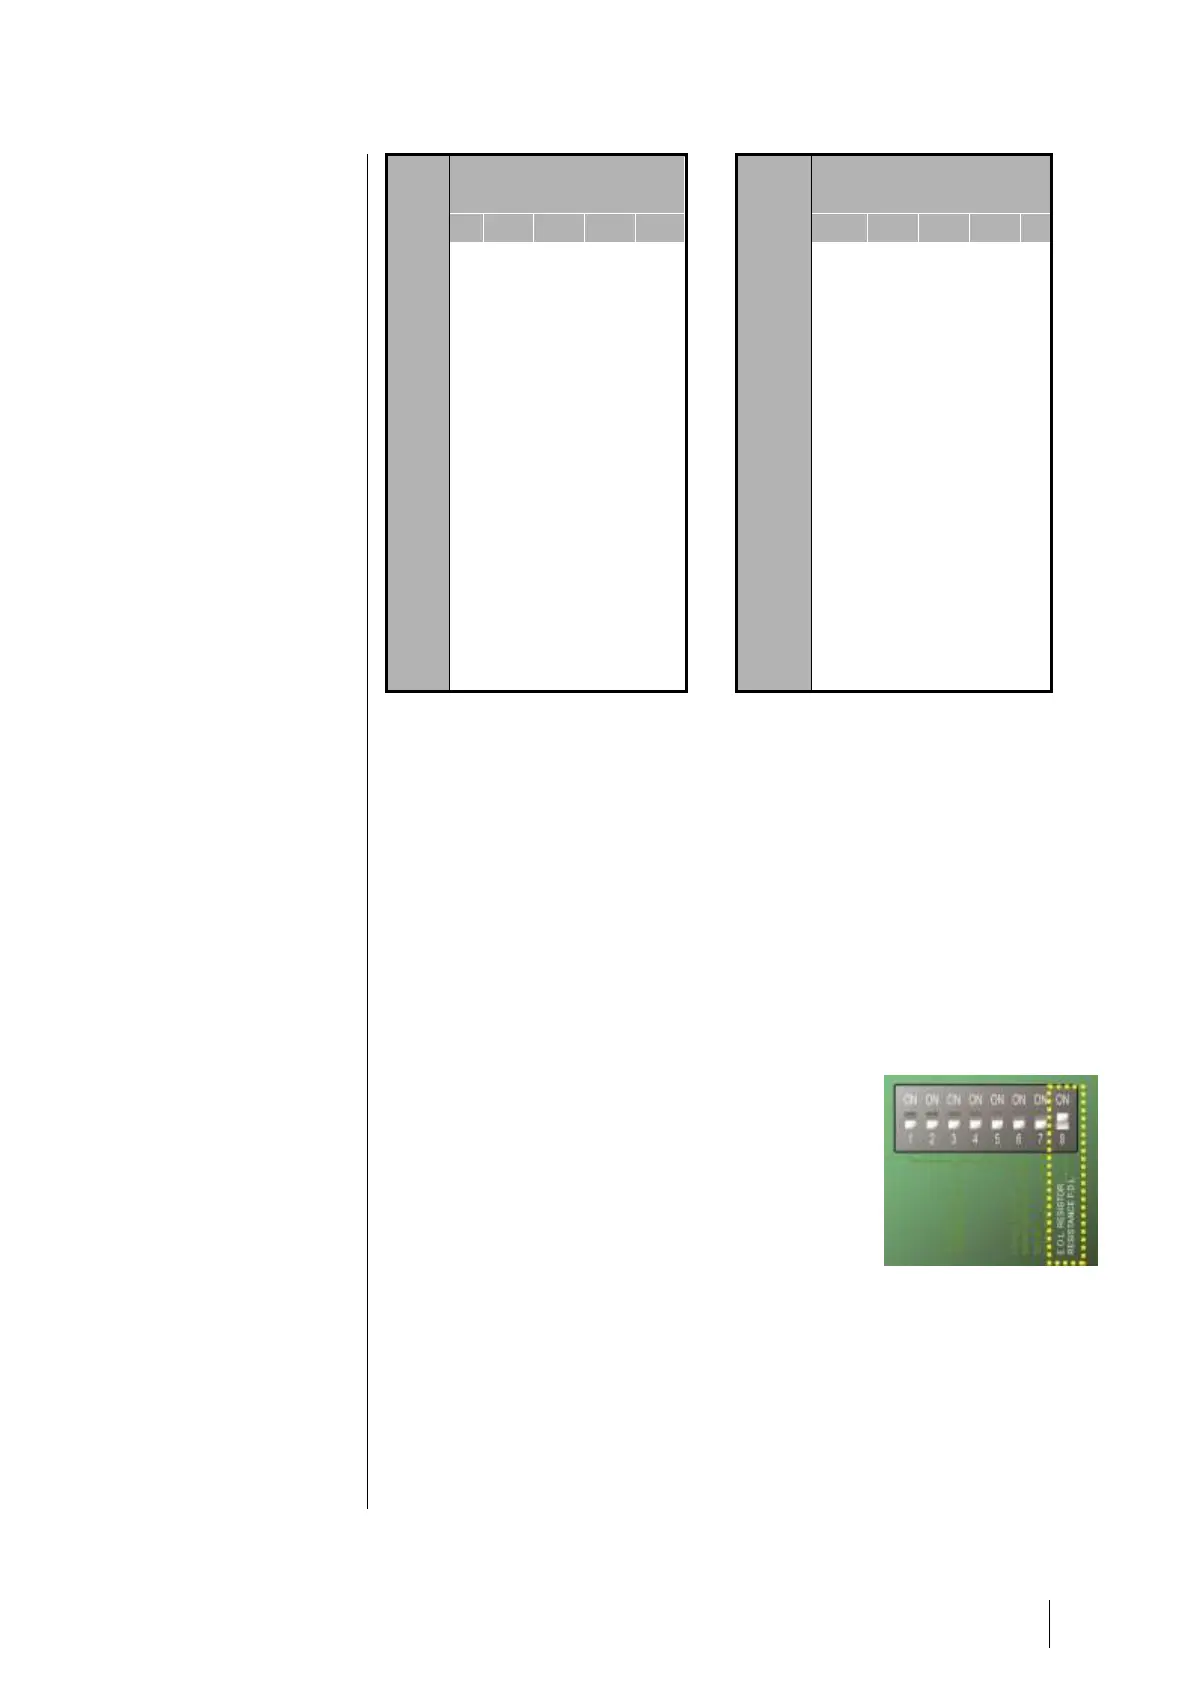
End of line Resistor
Solely for the last module of each line,
set switch no.8
(EOL RESISTOR/RESISTANCE F.D.L.) to ON
or set the jumper of the analog input
PCB to Closed.
Figure 18: End of line resistor switch in
position “ON”.

Questions and Answers:

Question and Answer IconNeed help?

Do you have a question about the Oldham MX 43 and is the answer not in the manual?

Oldham MX 43 Specifications

General IconGeneral
BrandOldham
ModelMX 43
CategoryController
LanguageEnglish

Related product manuals