16
3.5 Water Cooling Installation
The provided water pump is essential to your engraver's performance and longevity. When this laser works
without a properly maintained cooling system, its glass tube WILL explode from excess heat.
NEVER touch or adjust your engraver's water supply while the pump is connected to power.
To install your pump, fill a dedicated tank with at least 7.5 litres (1.6 gal.) of distilled water. Using deionised or tap water
will gradually degrade the quality of your engraver and may even cause dangerous mineral buildup in the cooling
system. NEVER use generic antifreeze for the same reason. Use custom laser-safe formulations or store your engraver
in a climate-controlled area.
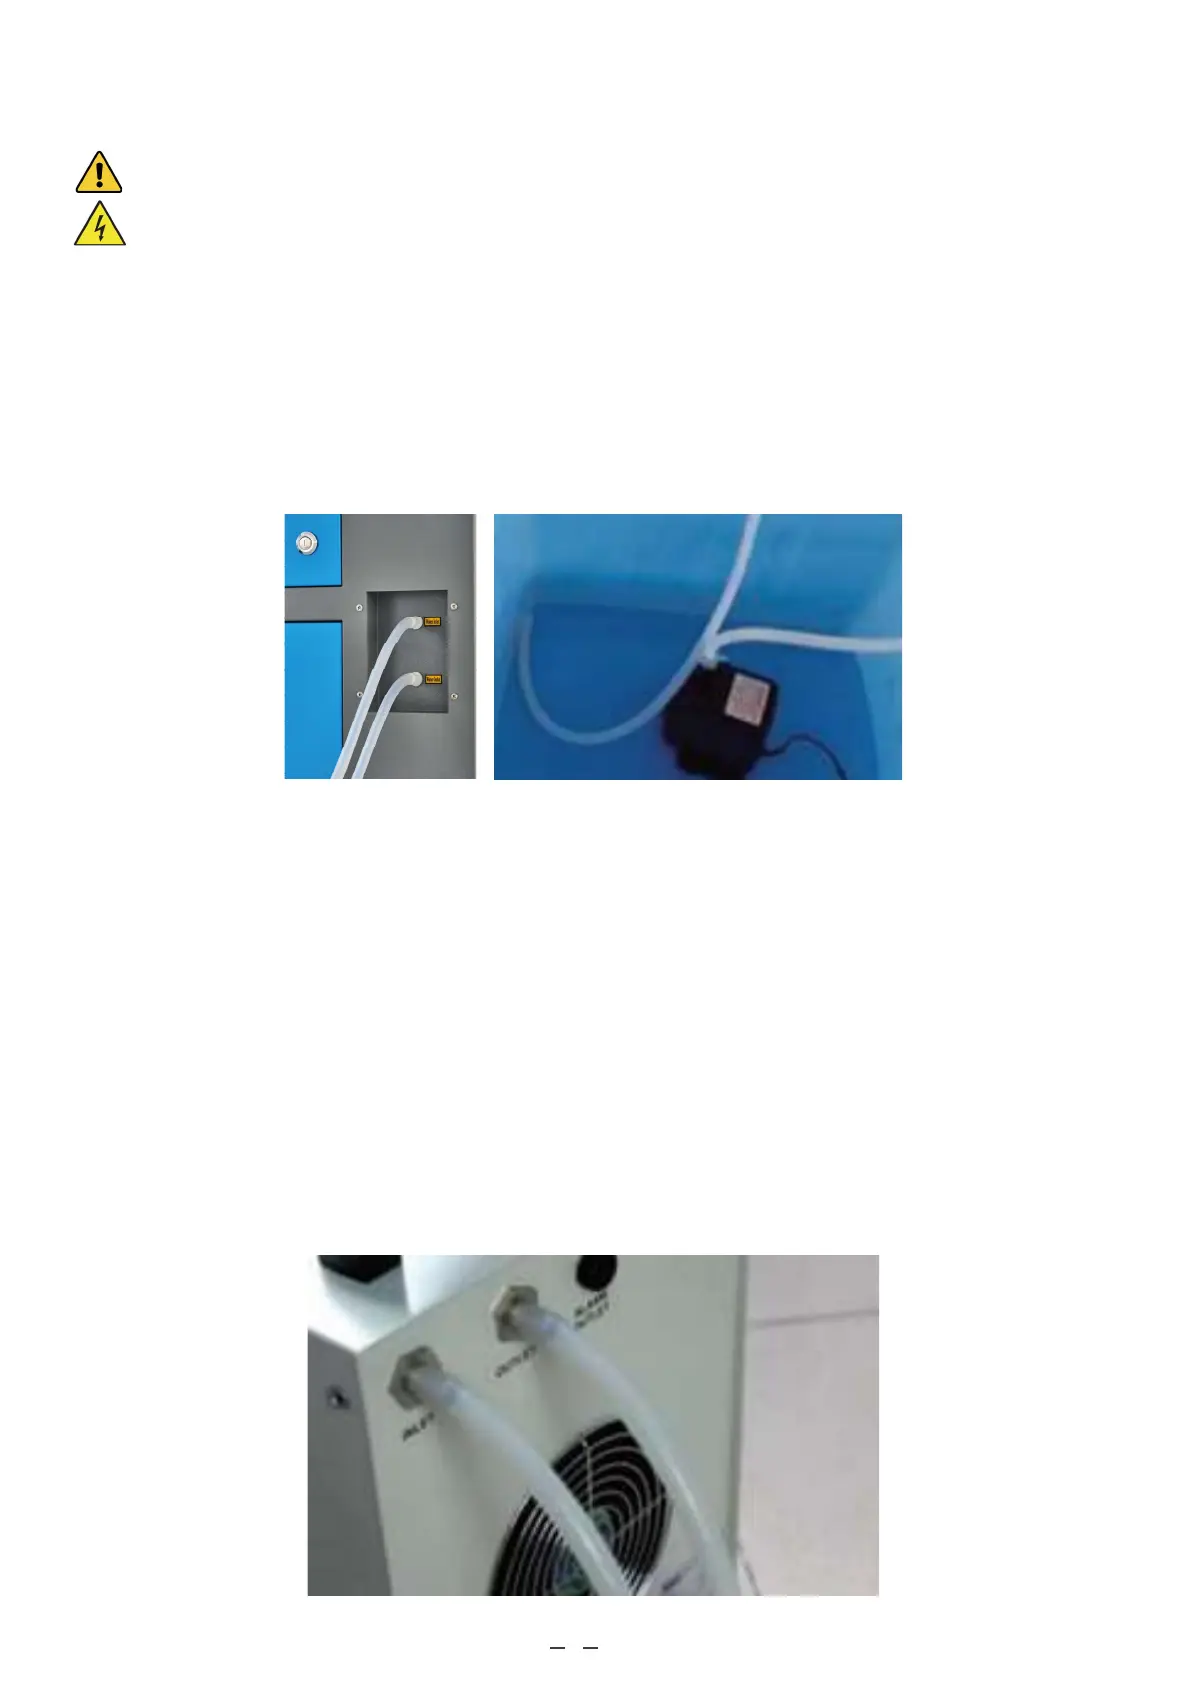
Connect the two hoses that came with your engraver to the water inlet and water outlet on the back of your engraver.
Attach the other end of the inlet tube directly to your pump and completely submerge the pump in your water tank. Place
the outlet tube into the tank in such a way that the returning water flows into the tank without splashing or other prob-
lems.
Connect the water pump to its power supply. For best results, use a power socket on a separate fuse from the engraver
itself. If no such socket is available, the pump can also be plugged into a dedicated socket located on the side of the
engraving cabinet. Once the pump is plugged in, water should begin to run through your machine and back into your
tank. ALWAYS obtain visual confirmation that the water is flowing through the laser tube before starting your laser.
NEVER allow the water in the tank to become too hot to cool the laser. Install a thermal alarm or periodically check the
water's temperature during prolonged use. If the water begins to reach 38°C (100°F), replace it with cooler water. Either
replace it in stages or turn off the laser during this process: never allow the laser to operate without a constant flow of
cooling water. It is also possible to add sealed bottles of frozen water to your tank to keep the water cool but never allow
the water to become ice cold itself, as this could shatter the heated glass CO₂ tube as well.
As an alternative to manually adjusting the water in your tank, you may also use an industrial water chiller to supply
temperature-controlled water to your machine. Follow its separate manual and again, for best results, plug it into a
separate fuse from the engraver itself. Remember to connect the chiller's outlet port with the engraver's inlet port and to
connect the chiller's inlet with the engraver's outlet.