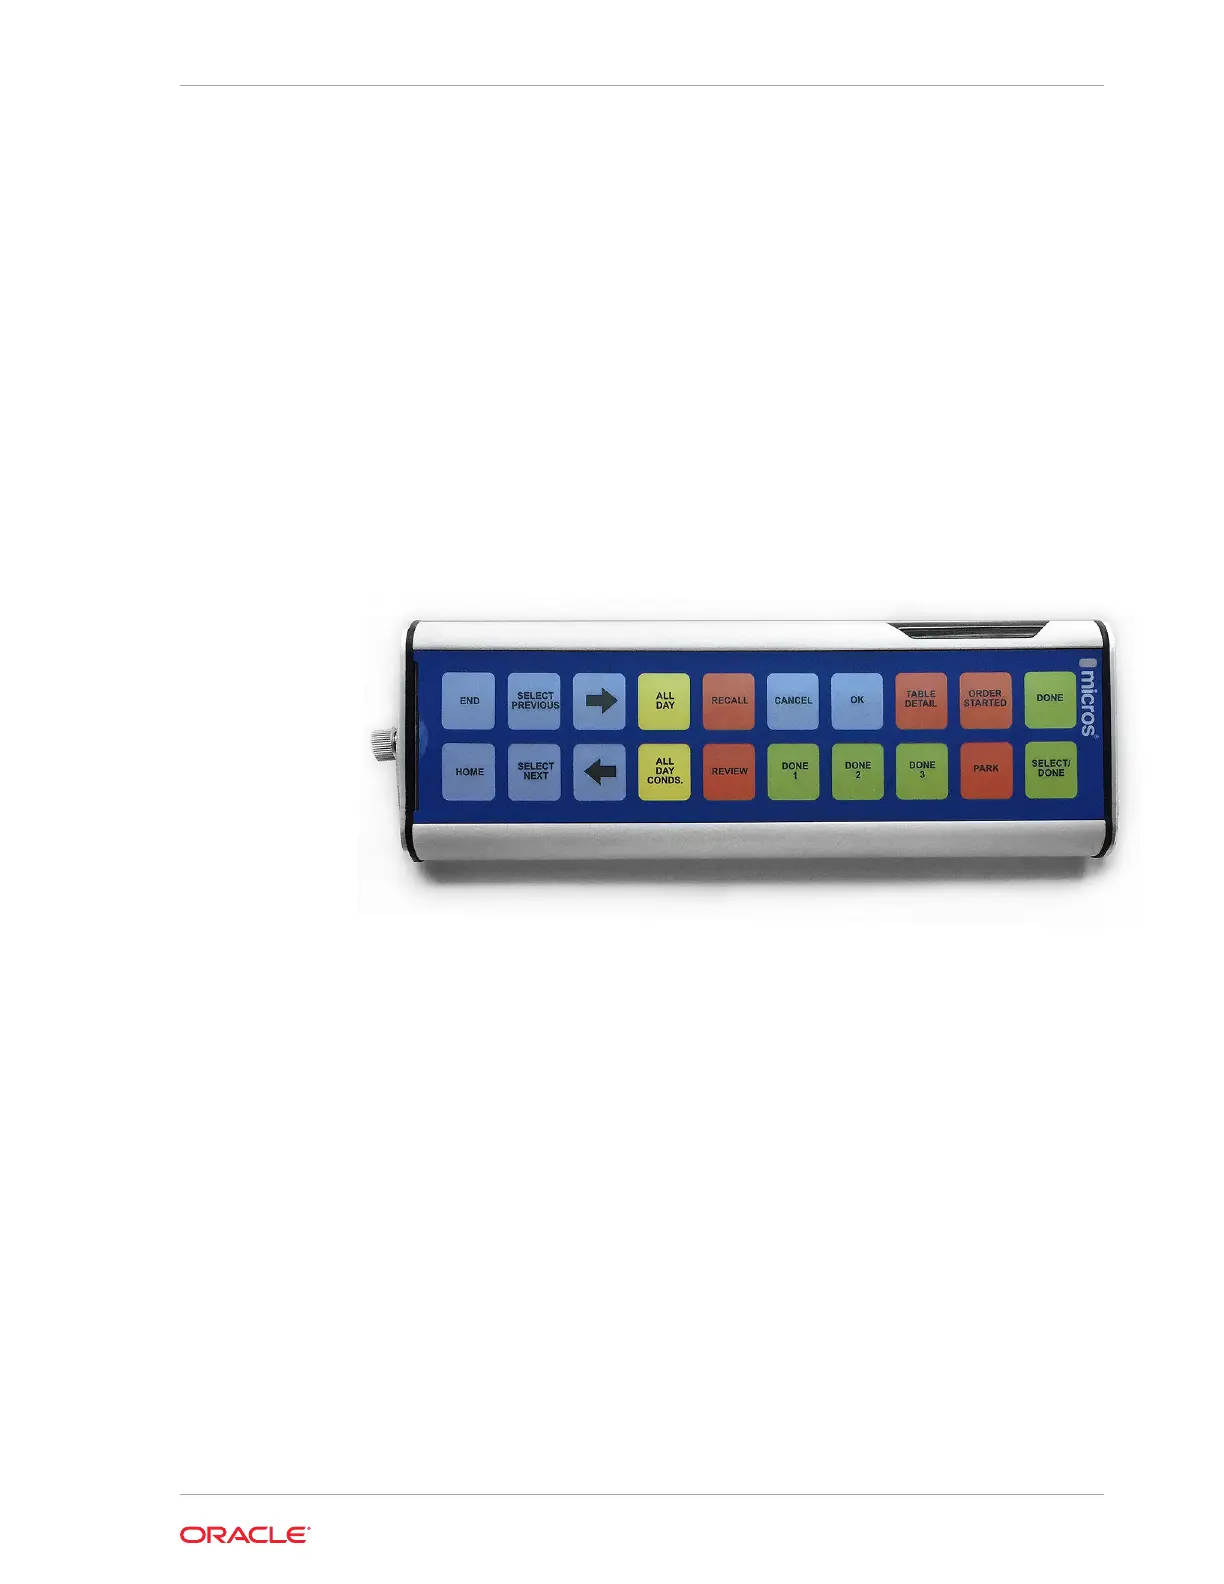
Connecting Bump Bars
The Oracle MICROS Express Station 4 Series supports both wired and wireless
Oracle MICROS bump bars.
• Wired Bump Bars: USB (wired) bump bars connect to an available USB port on
the Express Station.
• Wireless Bump Bars: Wireless bump bars connect to the Express Station via a
USB wireless adapter.
For detailed information about bump bars, refer to the following documents on
docs.oracle.com:
• The MICROS Bump Bar MBB-10 and MBB-20 User’s Guide
• The MICROS Wireless Bump Bar MWBB-10 and MWBB-20 User’s Guide
Shown above: The MICROS Wireless Bump Bar MWBB-20.
Securing the Express Station to the Wall Mount
The Express Station 4 Series can be mounted on a wall using an optional wall mount
bracket.**
1. Install the wall mount:
a. Ensure that the metal bracket is levelled with the integrated spirit level.
b. Mark the positions of the holes at the four corners.
c. Create the holes by drilling into the wall.
d. Secure the metal bracket to the wall with four screws. The mounting screws
are not provided. Ensure you are using the correct screws that meet the needs
of the installation, such as wood screws, dry wall screws, concrete screws, or
masonry screws.
Chapter 4
Connecting Bump Bars
4-5
 Loading...