4. Set the DPI to 100%.
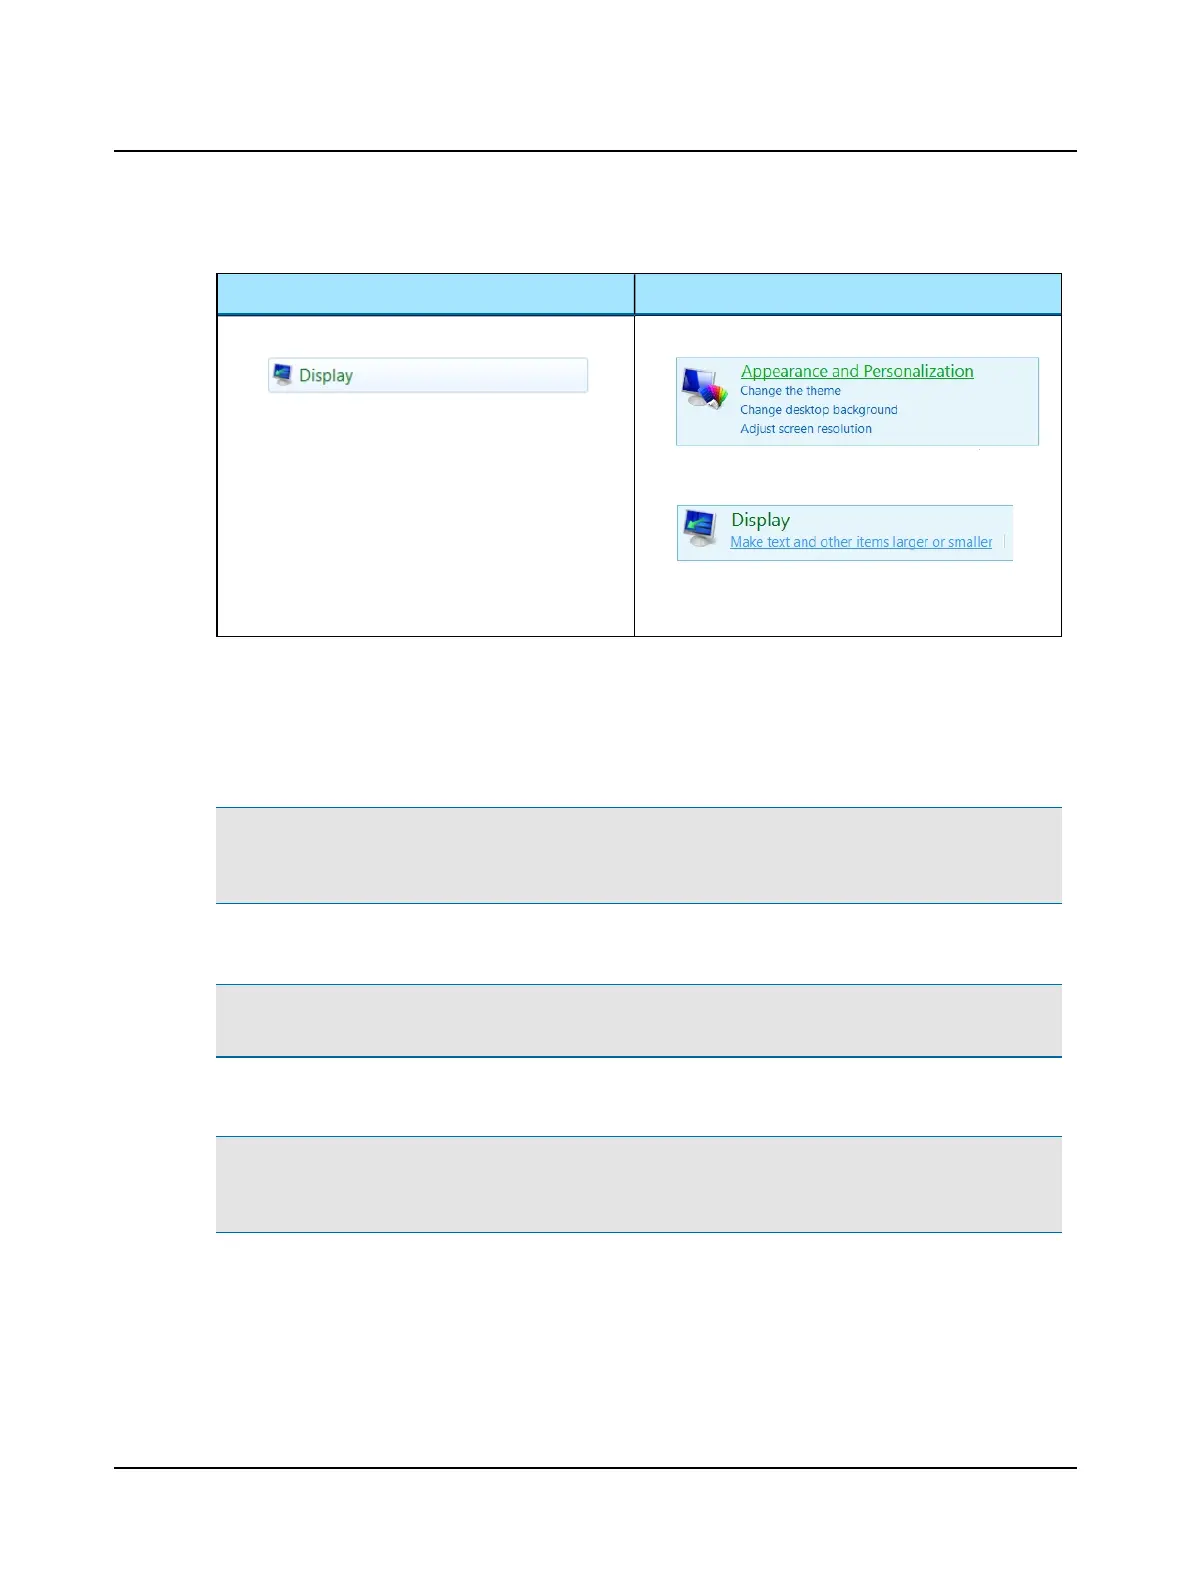
Windows 7 Windows 8
A. Click Display.
B. Select 100%.
C. Click Apply.
A. Click Appearance and Personalization.
B. Click Make text and other items larger or smaller.
C. Select 100%.
D. Click Apply.
5. For server-only installations, continue at Importing demo data ► 117.
6. For all other installations, continue at Connecting the goggles ► 115.
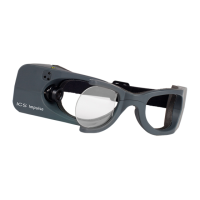
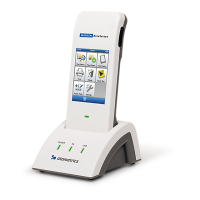
14.4 Connecting the goggles
Note• The current version of software does not support the previous version of the goggles where the connection to
the computer was through an interface box. The current version of goggles has a single USB cable that connects dir-
ectly to the computer.
1. Remove the cover from the lens of the goggles.
Note• Keep the cover. When the goggles are not in use, put the cover back on to prevent dust from accumulating on
the lens.
2. Connect the USB cable to the 2.0 USB connector on the computer.
Note• Installing the driver for the goggles takes a few minutes. The message Hardware not found displays in the
status bar until the driver is fully installed. A new driver is installed each time new goggles are connected to the USB
port or if the goggles are moved to a new USB port.
3. Continue to Installing the synchronized room video ► 116.
Otometrics - ICS Impulse USB
115
14 Installation and Setup