114 Chapter 8 : Contacts, Calendar, and other personal information
NOTE The fields that make up the contact header (name, photo, job title,
company) are unique to each account. You must open a specific account to edit
these fields.
6 Do one or both of the following:
• To add or change information: Tap a field (see Enter information in a
field).
NOTE In a linked contact, when you enter info in a field for the first time, you can
assign that info to any account by tapping the account button in the field.
• To delete a piece of contact information: Throw the item off the side
of the screen and tap Delete.
7 Ta p Done.
Add a photo to a contact
The photo you add appears onscreen when this contact calls you or when
you call the contact.
1 While creating (see Create a contact) or editing (see View, edit, or
delete contact information) a contact, do one of the following:
• To add or change the photo in the default account: Tap .
• In a linked contact, to add or change the photo of another account:
Tap the account button in the upper-right corner and tap the other
account (see Linked contacts).
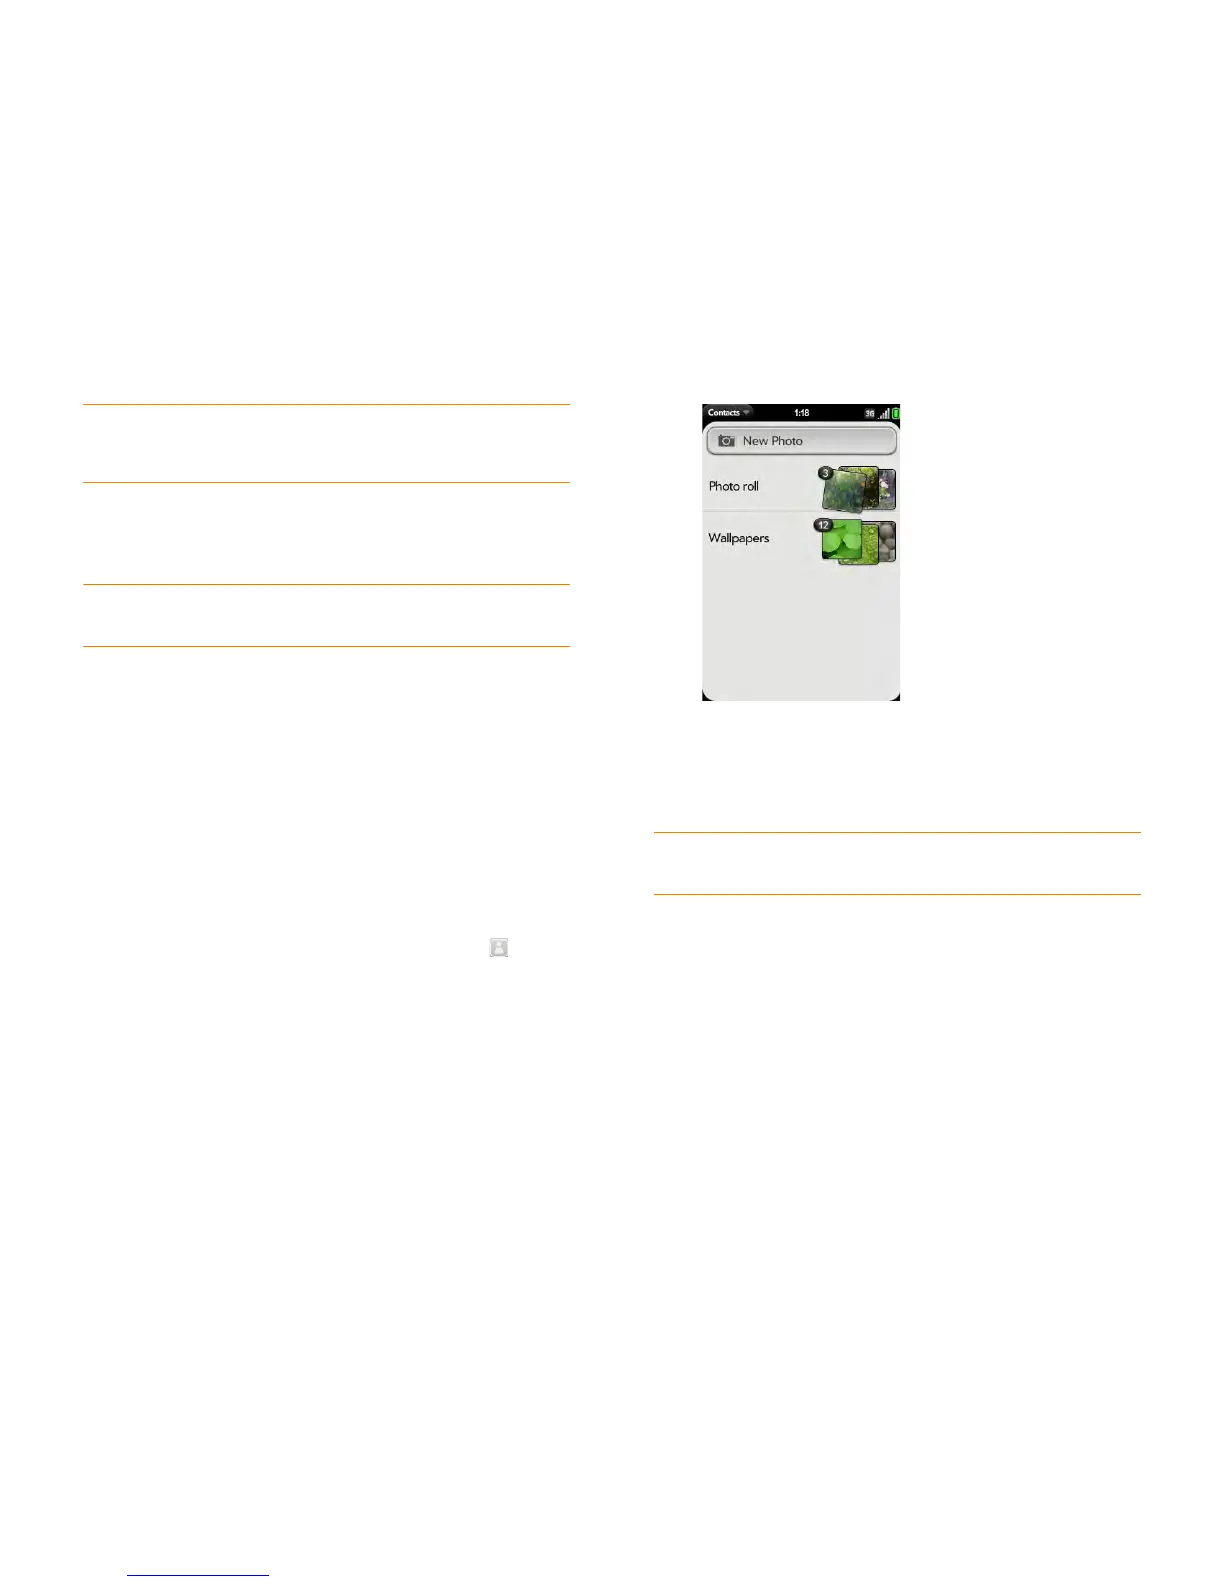
2 Do one of the following:
• To take a new photo: Tap New Photo, and take the picture.
• To use an existing photo: Tap the album containing the picture and
tap the picture.
3 (Optional) Do either or both of the following:
• To zoom out or in on a part of the picture: Pinch in or out on the
picture.
• To capture the portion of the picture you want: Tap and hold the
picture, and then drag the portion you want to the center of the
onscreen box. This portion becomes the contact photo.
4 Ta p Assign To Contact.
DID YOU KNOW? If you see a number attached to a contact’s photo, that's
because it's a linked contact (see Linked contacts).