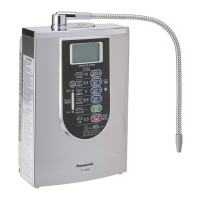
EN17
Installation
English
Keep all parts that are not used during installation, as they may be needed later if the unit is moved or the faucet
is changed.
Faucet without an aerator
• Water faucet to which the Alkaline
Ionizer can be installed with an
accessory.
Bulge
11 mm or more
2 13 mm or more, less than 24 mm
1
Remove the nut and adaptor.
Nut
Adaptor
(with gasket)
Bypass selector
Gasket
Do not remove the gasket and the lter
inside the bypass selector.
If these are removed, return them to the
original position.
Make sure foreign matter is not attached
to the lter and the gasket is not inclined.
Gasket and Filter
2
Insert the installation adaptor,
and tighten it with the nut.
Nut
Remove the screws
(4 pcs.)
Installation adaptor
(Accessory)
3
Tighten the 4 screws temporarily
and loosen the nut to leave a
3 to 4 mm gap.
Nut
3–4 mm
Screws
(4 pcs.)
4
Push the bypass selector
against the faucet and install the
4 screws as shown below.
z Top view
Water faucet
2 Installation adaptor
3 Screws
<OK>
<NG>
Water faucet
Bypass selector
5
Tighten the nut until the bypass
selector does not turn.
z Do not use any tools.
(Doing so may damage the nut.)
z Make sure the bypass selector is
not inclined.
Nut
Installation 3
 Loading...