Chapter 7 Appendix — Technical information
234 - ENGLISH
3) Press the <ENTER> button on the control panel.
f It will go into an IP address setting mode (where the self‑diagnosis display is blinking in 0.5 second
intervals).
f It will not go into the IP address setting mode even if the <ENTER> button on the remote control is pressed.
4) Press the <AUTO SETUP> button on the remote control or control panel.
f [DHCP] is set to [ON].
f The setting is reected to the [NETWORK] menu → [NETWORK SETUP] → [DHCP].
f The IP address setting mode is canceled when the <AUTO SETUP> button is pressed, and the setting is
displayed in the self-diagnosis display for approximately two seconds.
“IPo”
Display end
Note
f The IP address setting mode is canceled when no setting operation is performed for 10 seconds or longer in the IP address setting mode.
f The IP address will be set to the following factory default setting when the <DEFAULT> button on the remote control is press while in the IP
address setting mode.
[DHCP] OFF
[IP ADDRESS] 192.168.0.8
Specifying the IP address
Enter the IP address when there is no DHCP server in the network where the projector is to be connected.
1) Press the <ON> side of the <MAIN POWER> switch to turn on the power.
f The power indicator <ON (G)/STANDBY (R)> lights in red, and the projector enters the standby mode.
2) Press and hold the <STATUS> button on the remote control for three seconds or more.
f Currently set IP address is displayed in the self-diagnosis display at the side of the projector.
3) Press the <ENTER> button on the control panel.
f It will go into an IP address setting mode (where the self‑diagnosis display is blinking in 0.5 second
intervals).
f It will not go into the IP address setting mode even if the <ENTER> button on the remote control is pressed.
4) Press asqw to enter the IP address.
f Press qw to switch the display of the IP address in the self-diagnosis display. Press qw to display the
address to change, and then press as or the number (<0> ‑ <9>) buttons to set the address.
f Once all the addresses are entered, proceed to Step 5).
5) Press the <ENTER> button on the remote control or control panel.
f [IP ADDRESS] is set to the entered IP address.
f The setting is reected to the [NETWORK] menu → [NETWORK SETUP] → [IP ADDRESS].
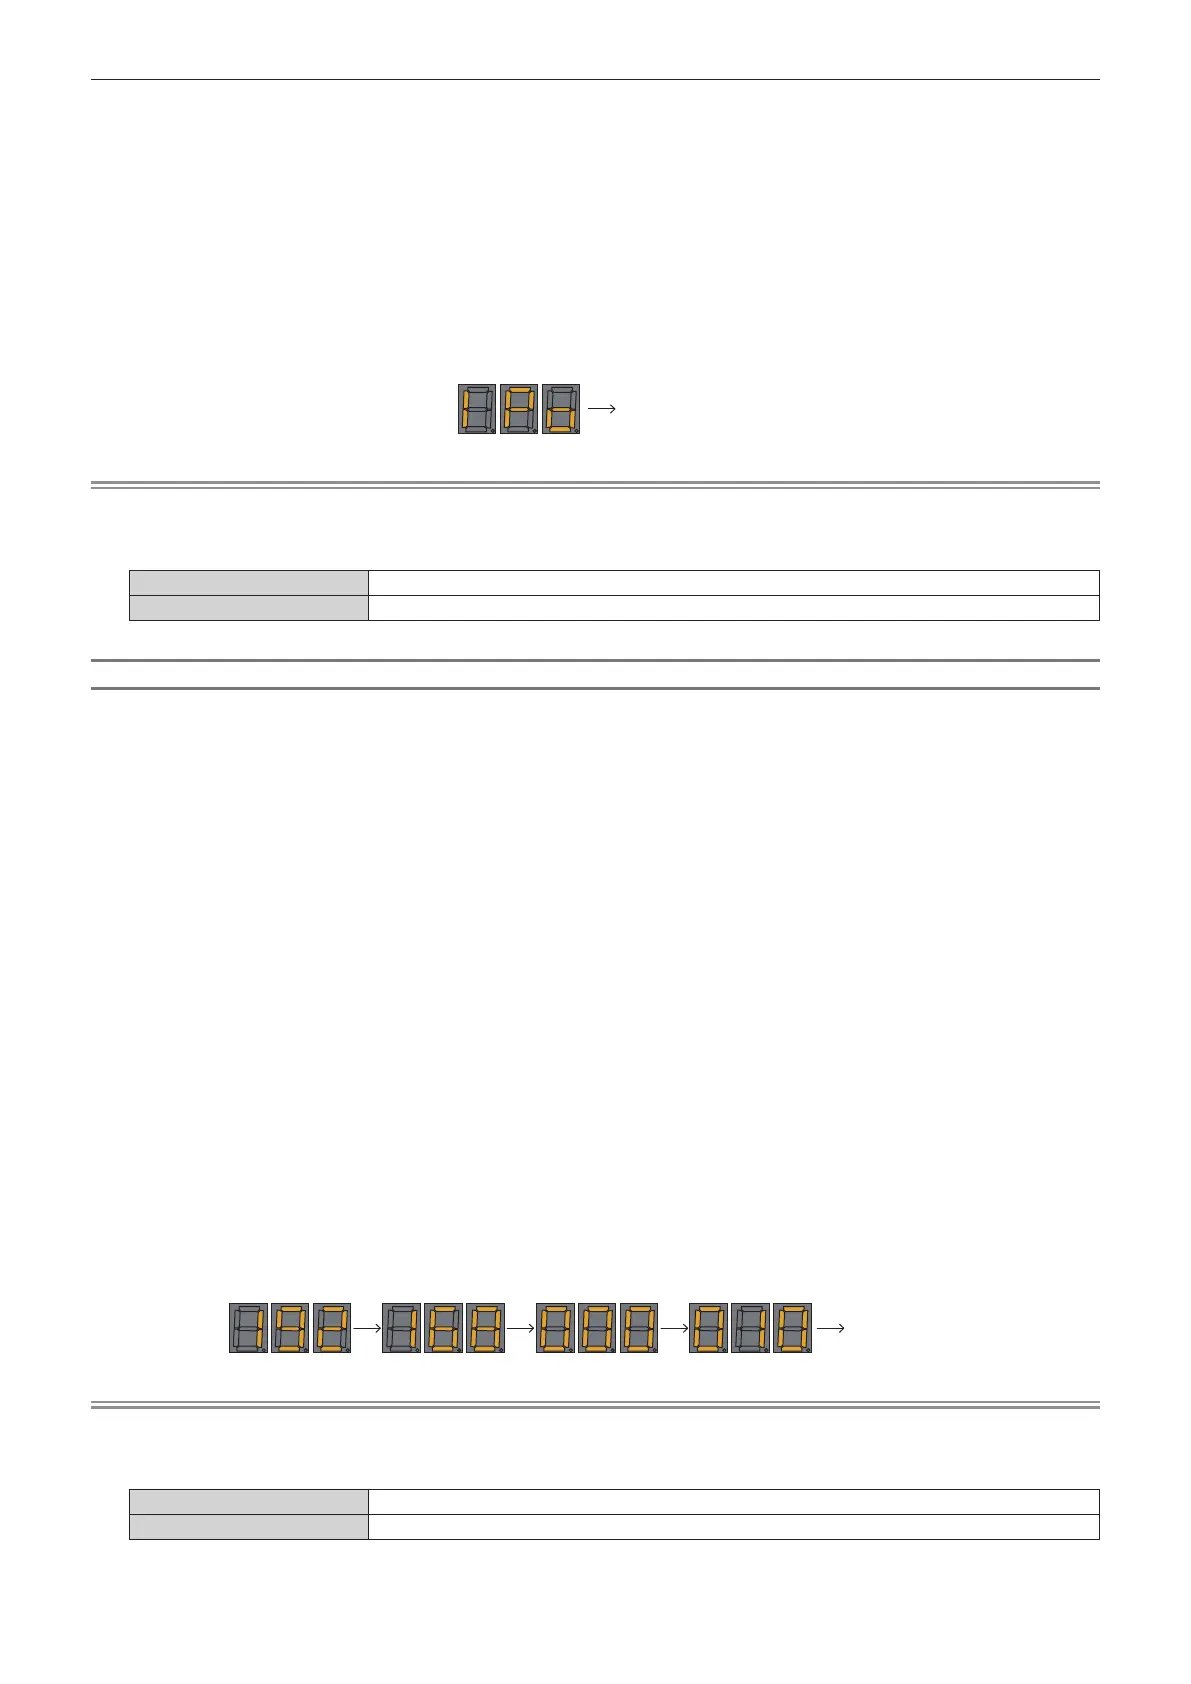
f The IP address setting mode is canceled when the <ENTER> button is pressed, and the settings are
displayed in the self-diagnosis display in two second intervals as follows. Next display is an example when
[IP ADDRESS] is set to 192.168.0.10.
“192” “168” “000” “010”
Display end
Note
f The IP address setting mode is canceled when no setting operation is performed for 10 seconds or longer in the IP address setting mode.
f The IP address will be set to the following factory default setting when the <DEFAULT> button on the remote control is press while in the IP
address setting mode.
[DHCP] OFF
[IP ADDRESS] 192.168.0.8

 Loading...


