Tab
Air lter unit
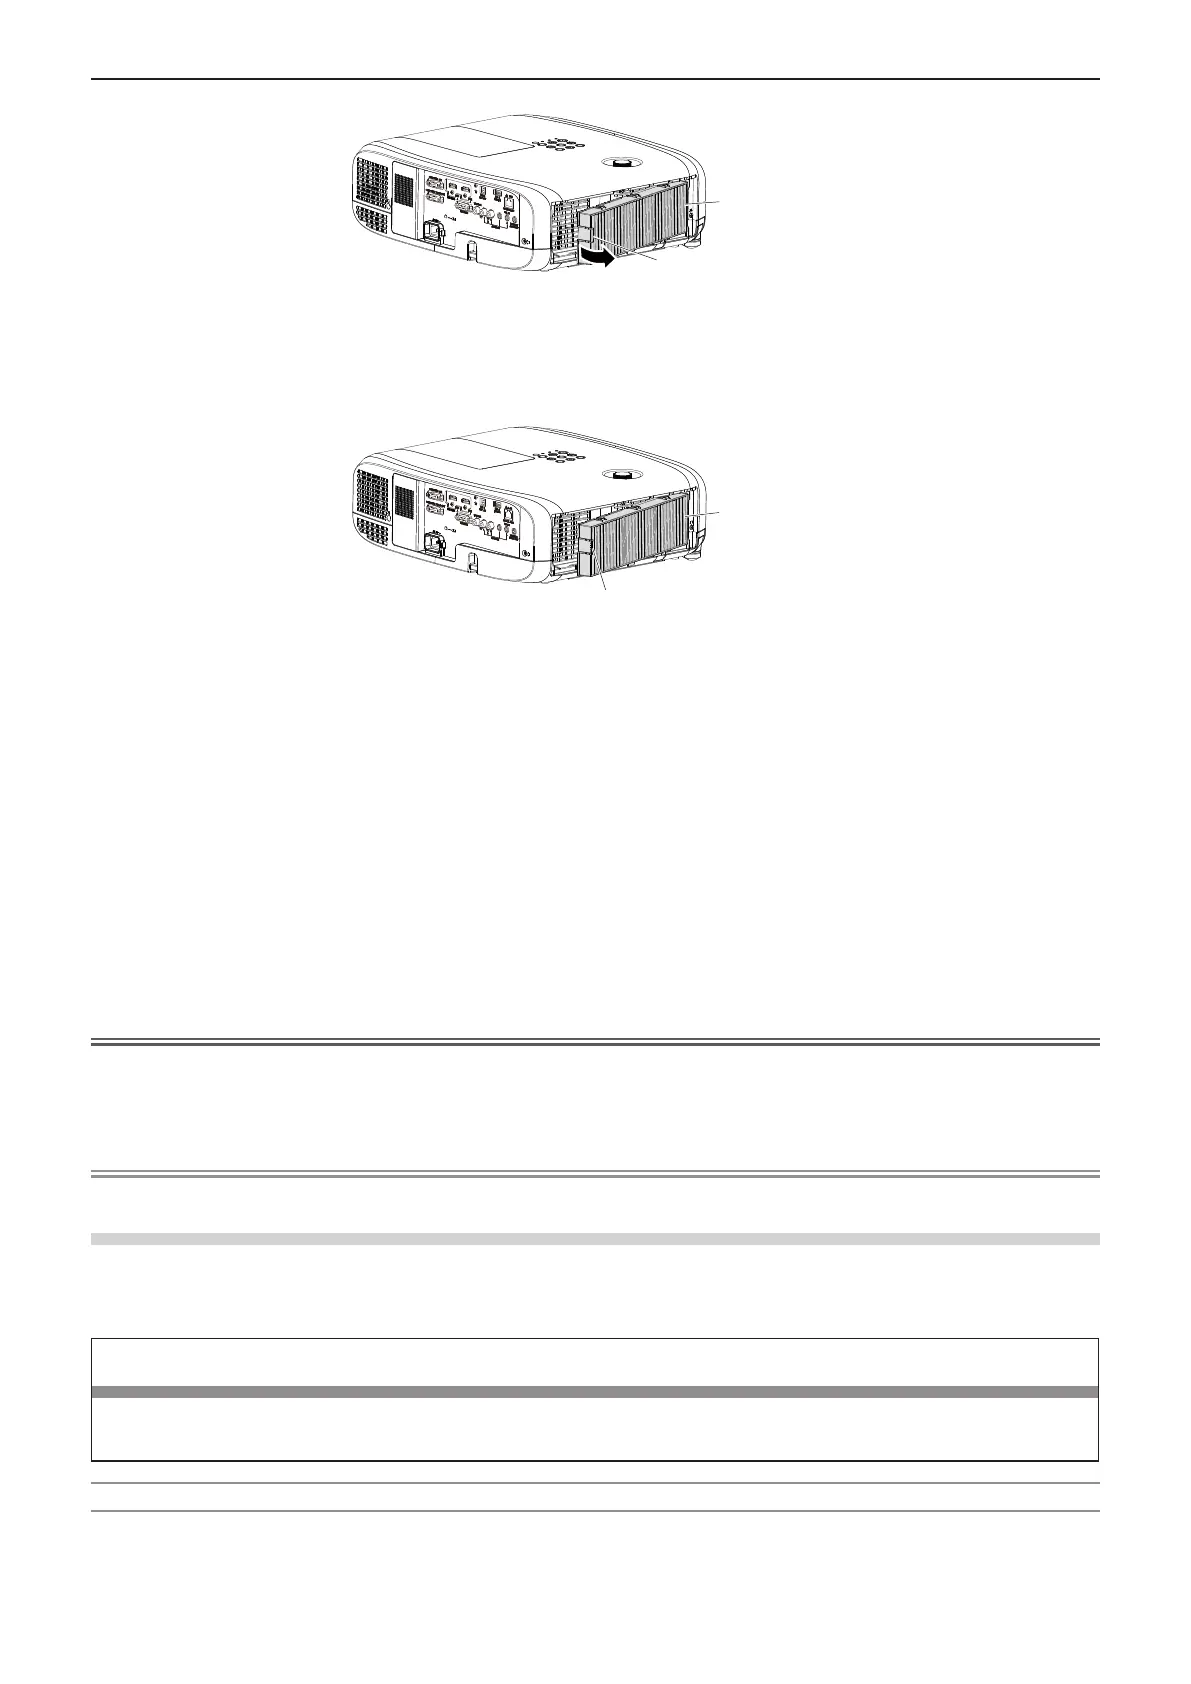
3) Attach the optional Replacement Filter Unit (Model No.: ET-RFV400) to the projector.
f Hold the air lter unit that the tab is in left side in the gure, put the right side in the gure rst, and press the tab until
make a click sound.
f Please press the tab of the air lter unit other than the pleated lter during installation.
Tab
Air lter unit
4) Attach the air filter cover to the projector.
f Perform Step 1) in “How to replace the air lter unit” (x page 128) in the reverse order.
f Make sure that the air lter cover is closed tightly.
5) Connect the power plug, press the power button <v/b> on the control panel or on the remote control
to turn on the power.
6) Press the <MENU> button to display the main menu, then press as to select [PROJECTOR SETUP].
7) Press the <ENTER> button, press as to select [FILTER COUNTER].
8) Press the <ENTER> button, press as to select [FILTER COUNTER RESET].
9) Press the <ENTER> button.
f [FILTER COUNTER RESET] conrmation message is displayed.
10) Press qw to select [OK], then press the <ENTER> button.
f The lter usage time is [0] after reset.
Attention
f When using the projector, be sure to attach the air lter unit. If it is not attached, the projector will suck in dirt and dust
causing a malfunction.
f Do not put anything into the air vents. Doing so may result in malfunction of the projector.
f The air lter unit to be replaced should be an unused product.
Note
f The replacement cycle of the air lter unit varies greatly depending on the usage environment.
Lamp unit
The lamp unit is a consumable component. Refer to “When to replace the lamp unit” (
Æ
page 130) for details about the
replacement cycle.
When purchasing the optional Replacement Lamp Unit (Model No.: ET-LAV400), consult your dealer.
Warning
Do not replace the lamp unit when it is hot. (Wait at least 1 hour after use.)
The inside of the cover can become very hot, take care to avoid burn injuries.
Notes on the replacement of the lamp unit
f The luminous source of the lamp is made of glass and may burst if you hit it against a hard surface or drop it.
Please handle with care.
f A Phillips screwdriver is required for replacement of the lamp unit.
ENGLISH
-
129
Chapter 6 Maintenance - Maintenance/replacement
 Loading...