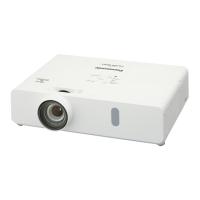
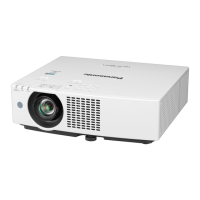
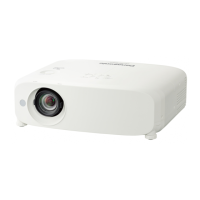
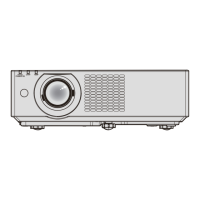
6
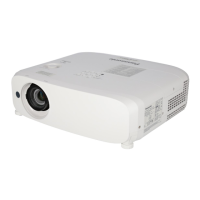
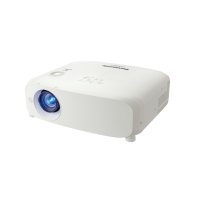
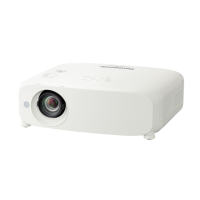
11 14 15 16
Projection direction
r Bottom
r Top
14 Control panel and Indicators
15 Lamp cover
The lamp unit is inside.
16 Vertical lens shift dial
Adjusts the vertical position of the projected image.
Attention
f Do not block the ventilation ports (intake and exhaust) of the projector.
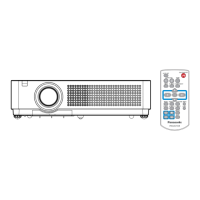
r Control panel and Indicators
1 Power button <v/b>
Sets the projector to the state where the projector is
switched off (standby mode). Also starts projection when
the power is switched off (standby mode).
2 Power indicator <ON(G)/STANDBY(R)>
Displays the status of the power.
3 Lamp indicator <LAMP>
Displays the status of the lamp.
4 Temperature indicator <TEMP>
Displays the status of the internal temperature.
5 Ambient Luminance sensor
Detects room's light and select proper image quality.
6 <MENU> button
Displays or hides the main menu. (
Æ
page 53)
7 <ENTER> button
Determines and executes an item in the menu screen.
8 <INPUT SELECT> button
Switches the input signal to project. (
Æ
page 47)
9 asqw buttons
Navigates the menu screen.
And use qw to adjust the volume level, use as to
page up or page down les such as PowerPoint
®
through
wireless manager.
10 <AUTO SETUP/CANCEL> button
Automatically adjusts the image display position while
projecting the image.(
Æ
page 46)
In addition, it acts as <CANCEL> button when using the
MEMORY VIEWER function.
26 -
ENGLISH
Chapter 1 Preparation - About your projector
 Loading...
