Projecting
Check the connections of the peripheral devices (Æ page 36) and connection of the power cord (Æ page 41) and
powering on the projector (Æ page 42) to start the projector. Select the image and adjust the state of the image.
Selecting the input signal
Select an input signal.
1) Press <COMPUTER 1>, <COMPUTER 2>, <VIDEO>, <HDMI 1>, <HDMI 2>, <DIGITAL LINK>, <MEMORY VIEWER>,
<Miracast> or <Panasonic APP> button on the remote control or <INPUT SELECT> button on the control panel.
f The image of the signal being input in the selected terminal is projected.
f You can check the input source through [DETAILED] / [SIMPLE] under the [DISPLAY OPTION] → [ON-SCREEN
DISPLAY] → [INPUT GUIDE] menu.
f You can also select the input source by pressing asqw on the [DETAILED] screen.
Attention
f Images may not be projected properly depending on the connected device and DVD, video tape, etc. to be played. Set the
[PICTURE] menu → [RGB/YC
B
C
R
] or [RGB/YP
B
P
R
]. (Æ page 60)
f Check the aspect ratio of the screen and the image and select the optimum aspect ratio under the [POSITION] menu.
(Æ page 69)
How to adjust the state of the image
If the projected image or the position is not correct when the positioning of the projector and the screen is correctly installed,
adjust the focus and zoom.
1) Adjust the projection angle.
f Install the projector on a at surface and parallel to the screen so that the projected screen is rectangular.
f If the screen is tilted downward, extend the adjustable feet and adjust the projection screen so that the projected screen
is rectangular.
f For details, see “Adjusting adjustable feet”. (
Æ
page 34)
2) Adjust the lens shift.
f Adjust the projection position with the vertical lens shift dial.
f For details, see “Adjusting the position using the vertical lens shift function”.
(
Æ
page 34)
3) Adjust the zoom and the focus.
f Rotate the zoom lever to zoom in and out the image.
f Rotate the focus lever to adjust the focus of the projected image.
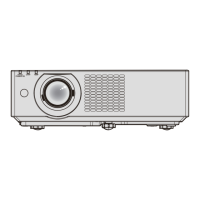
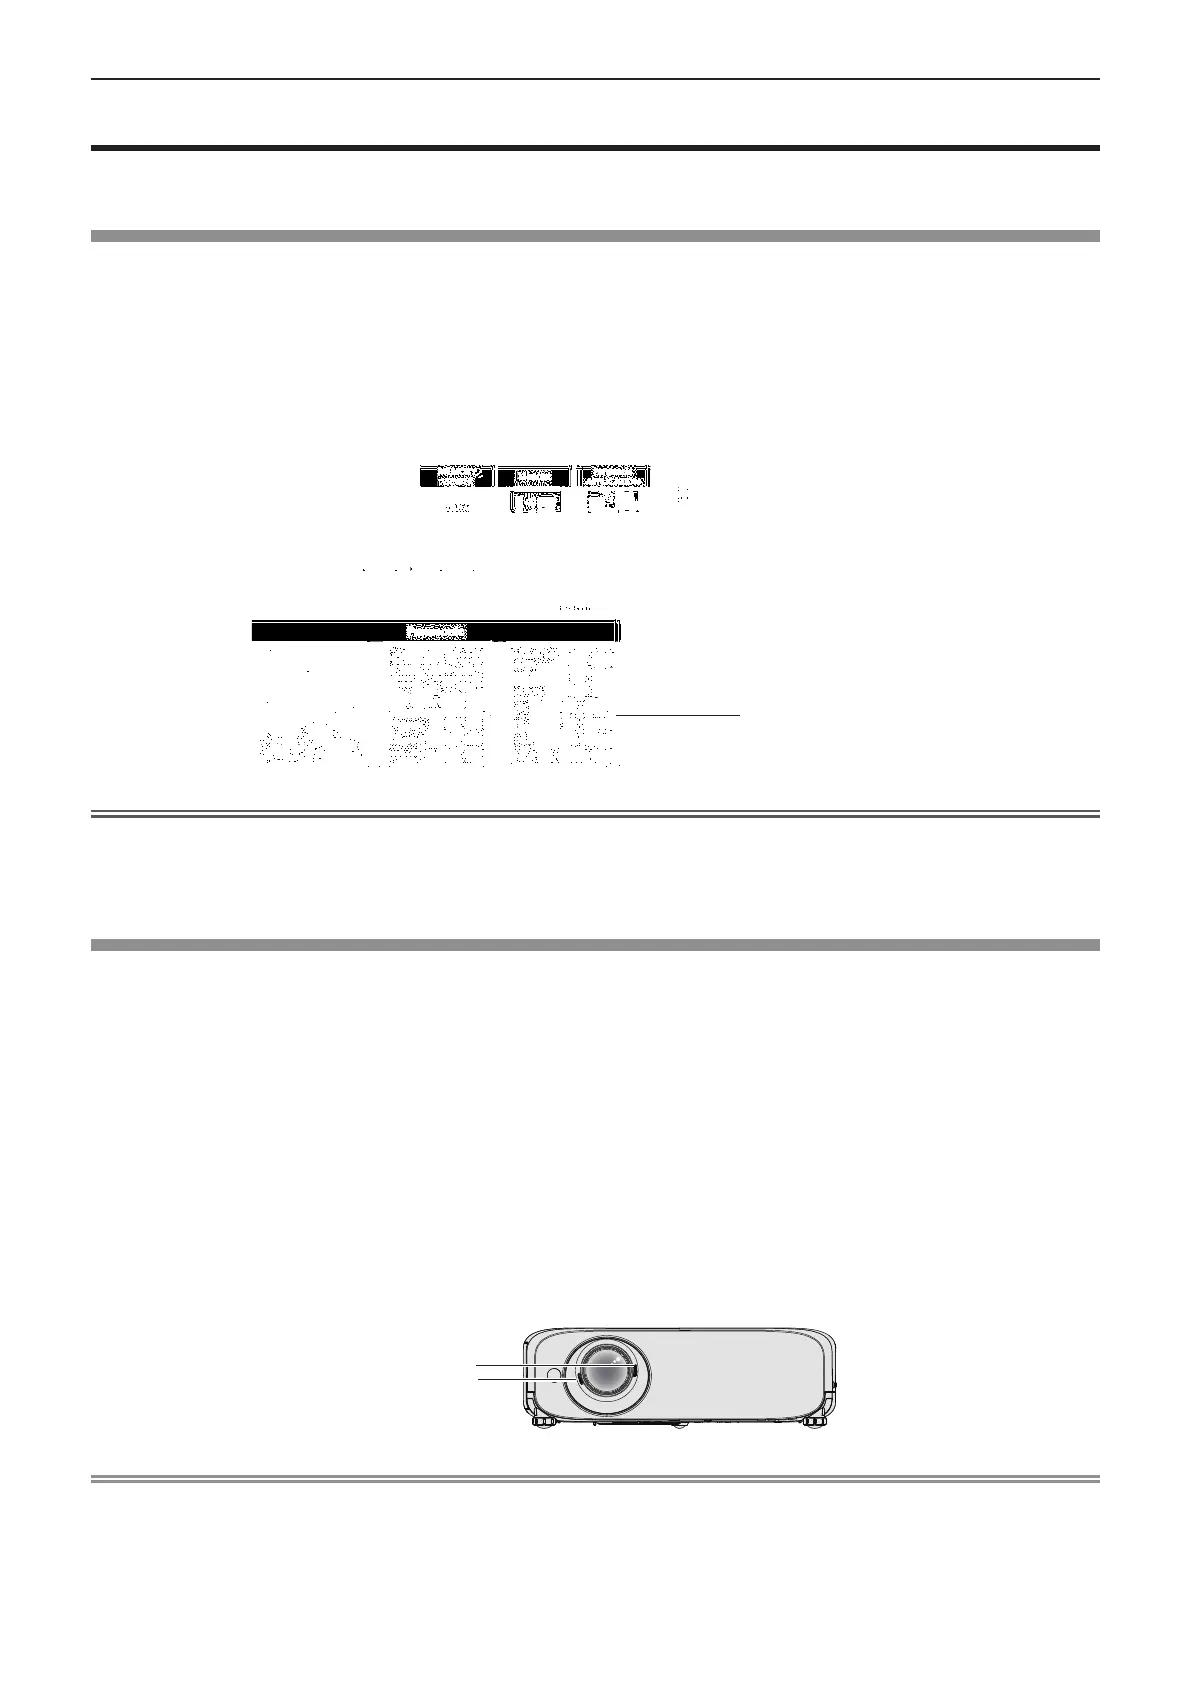
Focus lever
Zoom lever
Note
f It is recommended that the images are projected continuously for at least 30 minutes before the focus is adjusted.
f If you adjust the focus, you may need to adjust the size of the image by turning the zoom lever again.
f If various types of distortion occur, see the [POSITION] menu → [SCREEN ADJUSTMENT]. (Æ page 62 or 64)
[DETAILED] input guide
[SIMPLE] input guide
If there is no signal input ([COMPUTER1],
[COMPUTER2], [HDMI1] or [HDMI2]) , this
screen will be displayed. Check the output
settings of your computer.
ENGLISH
-
45
Chapter 3 Basic Operations - Projecting
 Loading...