40
3) With the air intake grille opened, remove the grille hinge from the panel for cassette
by sliding it in the direction shown by the arrow
2
. (Reattach the air intake grille after
installation of the panel for cassette.)
2
(2) Removing the corner cover
Push the latches on the corner cover in the direction of the arrow
1
and remove them by
sliding in the direction of the arrow
2
.
1 1
Screw (M4 × L12)
Push latches upward
to disengage.
Corner cover
2
Corner cover
Panel for cassette
Strap
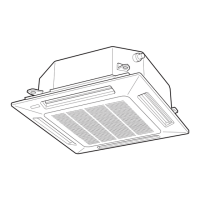
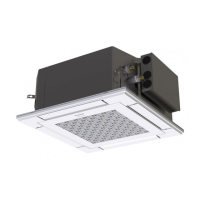
(3) Installing the panel for cassette
The power must be turned ON in order to change the flap angle. (Do not attempt to move
the flap by hand. Doing so may damage the flap.)
1) Hang the temporary latches on the inside of the panel for cassette to the receptacle on
the unit to temporarily attach the panel for cassette in place.
●
The panel for cassette must be installed in the correct direction relative to the unit.
Align the REF. PIPE and DRAIN marks on the panel for cassette corner with the correct
positions on the unit.
●
When removing the panel for cassette, push the temporary latches outward while holding
the panel for cassette.
Receptacle on the
main unit
Push to disengage.
Temporary latch
Temporary latches (×2)
2) Align the panel installation holes and the unit screw holes.
3) Tighten the provided washer head screws at the 4 panel installation locations so that the
panel is attached tightly to the unit.
01_330918_EU_Eng.indb 40 2021/9/9 11:26:51
 Loading...
