39
7. HOW TO INSTALL THE PANEL FOR CASSETTE
Accessories
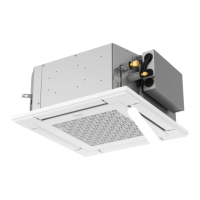
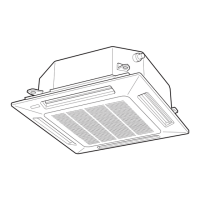
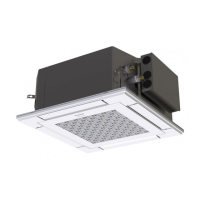
Panel for cassette ×1
7-1. Preparation for Panel for Cassette Installation
(1) Checking the unit position
1) Check that the ceiling hole is within this range: 585 mm × 585 mm to 595 mm × 595 mm
2) Confirm that the position of the indoor unit and the ceiling as shown in the diagram. If the
positions of the ceiling surface and unit do not match, air leakage, water leakage, flap
operation failure, or other problems may occur.
A
Main unit
Ceiling opening
dimension
Ceiling side
: Be sure to necessarily make a space within the range of 13 mm ~ 18 mm.
If not within this range, malfunction or other trouble may occur.
CAUTION
●
Never place the panel face-down.
Either hang it vertically or place it on top of a projecting
object. Placing it face-down will damage the surface.
●
Do not touch the flap or apply force to it. (This may
cause flap malfunction.)
7-2. How to Install the Panel for Cassette
(1) Removing the air intake grille
1) Remove the 2 screws on the latch of the air intake grille. (Reattach the air intake grille
after installation of the panel for cassette.)
2)
Slide the air intake grille catches in the direction shown by the arrows
1
to open the grille.
1
1
Hinges of air intake grille
Panel for cassette
Screw
Latch
Air intake grille
Flap
01_330918_EU_Eng.indb 39 2021/9/9 11:26:51
 Loading...
