11
RQT5822
Before use
Free-standing
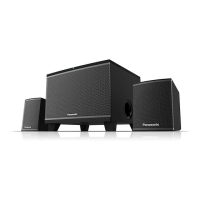
º Small speaker
Attach these rubber feet to prevent vibration causing the speakers to
move or fall over.
One sheet of 25 rubber feet is included. Use 3 or 4 feet per speaker.
Note
³Set the speakers up on an even surface to prevent them from falling.
Take proper precautions to prevent the speakers from falling if you
cannot set them up on an even surface.
³Keep your speakers at least 10 mm (13/32q) away from the system
for proper ventilation.
Standing Lying down
º Big speaker
º To attach horizontally
Rubber feet
(included)
30–35 mm
(1–3/16q to 1-3/8q)
7–9 mm
(9/32q to 23/64q)
Screw
Screw
Screw
106 mm
(4–11/64q)
106 mm
(4–11/64q)
30–35 mm
(1–3/16q to 1–3/8q)
Rubber feet
(included)
Rubber feet
(included)
7–9 mm
(9/32q to 23/64q)
Attaching to speaker stands
Ensure the following conditions are met when you purchase your
speaker stands.
³Screw; diameter: 5 mm, pitch: 0.8 mm, length: thickness of stand
plate plus between 7 and 10 mm.
Distance between the centers of the holes; 60 mm
³The stands must be able to support over 10 kC (22 lb).
³The stands must be stable even if the speakers are in a high position.
60 mm
(2–23/64q)
Speaker
stands
5 mm, Pitch 0.8 mm
Attach the stands
with these holes.
Plate thickness
plus 7 to 10 mm
(9/32q–25/64q)
Moving the brand badge
You can turn the brand badge if you want to set up the small speakers
horizontally.
Rotate the badge to the required position.
³The speaker nets cannot be removed.
Note
Attach four rubber feet to each speaker, ensuring they do not cover the
holes. Screw the wood screw into a thick and hard part of the wall.
The surface you attach the speakers to must be able to support over
10 kC (22 lb). Consult your dealer for details.
Attaching to a wall
º To attach vertically
 Loading...
