Calibration and Start-Up 4-9
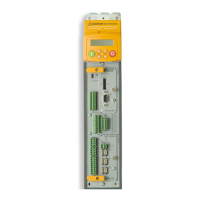
DC590+ DRV Series DC Digital Drive
1. Turn on the main supply power.
2. Set AUTOTUNE to ARMATURE (see the following procedure).
Keypad Description
Press Display
DC 4Q 35A
MENU LEVEL
Navigate to the AUTOTUNE parameter by repeatedly pressing the
key.
Press
M
to edit the parameter.
Press
to select ARMATURE.
3. Start the drive using the keypad.
4. At this point, the drive performs the AUTOTUNE function automatically, setting the following parameters:
a. SETUP PARAMETERS::CURRENT LOOP::PROP. GAIN
b. SETUP PARAMETERS::CURRENT LOOP::INT. GAIN
c. SETUP PARAMETERS::CURRENT LOOP::DISCONTINUOUS
These parameters give optimum performance of the current loop and should not be adjusted outside the AUTOTUNE algorithm.
5. Once AUTOTUNE is finished, the main contactor will open automatically, signaling the end of the procedure. The controller returns to a safe,
stopped condition.
Note:
If the AUTOTUNE is interrupted for any reason, either due to an alarm like the motor rotates over 10% speed during the
procedure or removing the RUN or ENABLE signals, AUTOTUNE ceases automatically. The armature current is disabled, the
main contactor opens, and the AUTOTUNE parameter is reset to OFF. To retry the procedure, first clear any faults.
6. Remove the clamp, if fitted, from the motor.
7. SAVE PARAMETERS when finished.
 Loading...