© PCE Instruments
8
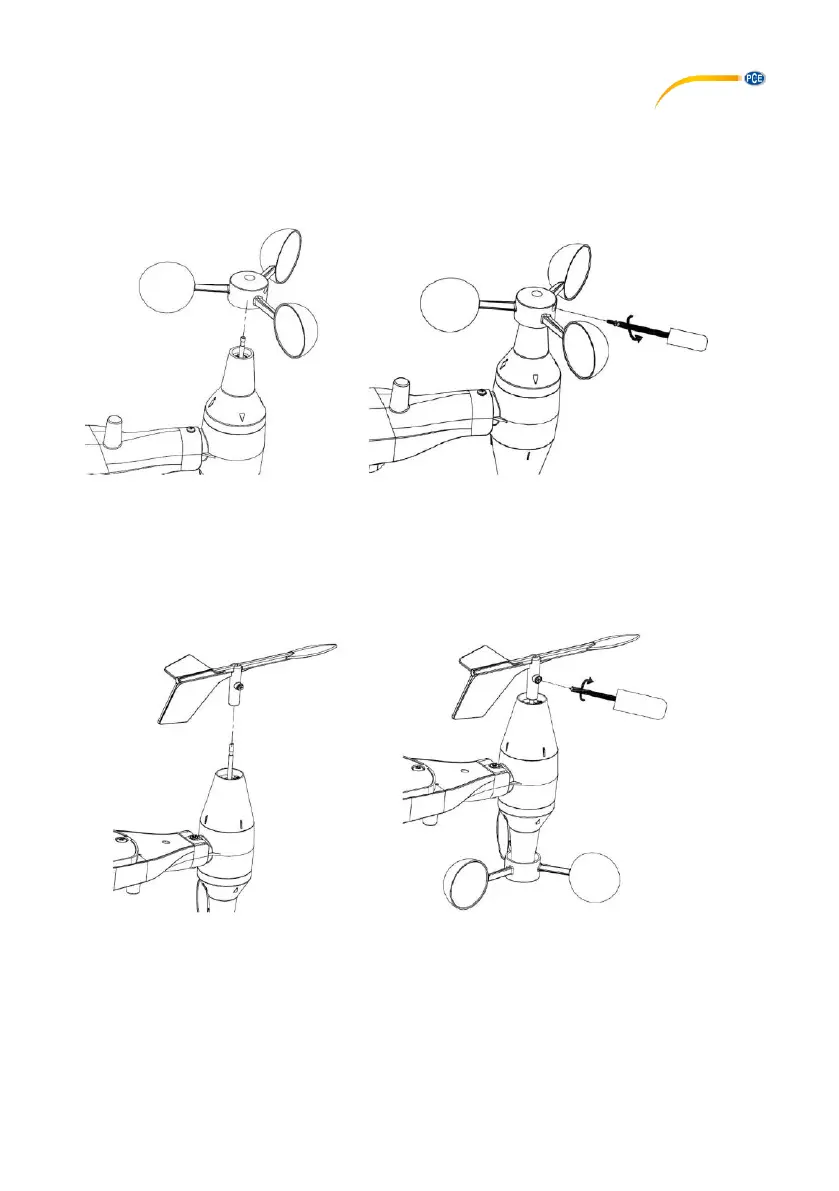
6.5 Install wind speed cups
Push the wind speed cup unit onto the shaft on the top side of the sensor package, as shown on
the left side of the following picture. Tighten the set screw with a Philips screwdriver (size PH0),
as shown on the right-hand side. Make sure the cup unit can rotate freely. There should be no
noticeable friction when it is turning.
6.6 Install wind vane
Push the wind vane onto the shaft on the opposite side of the wind cups until it cannot be pushed
any further, as shown on the left side in the next picture. Then tighten the set screw with a Philips
screwdriver (size PH0), as shown on the right side, until the wind vane cannot be removed from
the shaft. Make sure the wind vane can rotate freely. The wind vane’s movement has a small
amount of friction, which is helpful in providing steady wind direction measurements.
 Loading...