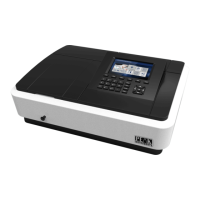
User Manual PEAK INSTRUMENTS INC
43
some time the lamp compartment cover will be very hot, please be careful
burns!!!)
4.3. Find the objects shown in the figure, as shown in Figure unscrew the
screws and disconnect the plug on the power supply board to remove the
deuterium lamp socket, then put the new deuterium lamp installed in
accordance with the original position (note deuterium lamp light mouth will
toward objective), and plug it in the power supply board,
Unscrew the two screws
and the cable to remove
deuterium lamp.
4.4. Turn on the instrument, make deuterium lamp light, and convert the light
source switching mirror to vertical position manually.
4.5. Loosen the screws fixed lens holder, fine-tune the focus lens holder into the
slot on the smallest and deuterium light centered.
4.6. Convert the light source switching mirror to horizontal position manually.
4.7. Loosen the screws seat switch motors, seat motors to move the focus to
switch into the slit in the smallest and tungsten lights centered.
4.8. Replace the lamp compartment cover (be careful not to press the right side
of the line) and the instrument housing (do not press the display line), then
tighten the corresponding screws.
4.9. Re-POST, after the completion of the self-test mode in the wavelength
photometric measurements were walked 200nm, 330nm, 340nm, 370nm,
1000nm, 1100nm let automatic zero. If you no longer displays low energy lamp
replacement is completed, if there is low energy, repeat the above steps, if not
enough, please contact the company sales staff.
 Loading...