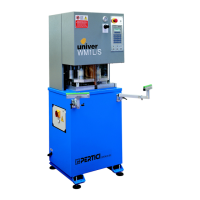
Instruction manual for use and maintenance
for WM1L/S WM1L/S-M WM1L/E Single
head machines
File: 1927.doc - 25/01/02 11:55
24
- Introduce the profiles to be welded paying attention that these are well placed on the rear
shoulders and on the positioner.
- Press and keep pressed push button PBSX (DWG. A1.15) (to activate the left blocking), the
left blocking plate lowers until it touches the profile.
- When the plate reaches the profile, leave the push button.
If the push button is released before the end of the stroke, the blocking opens again.
In case of wrong blocking press the push button again to release and execute the cycle again.
- Carry out the same operations for the right blocking
- At the end of the blocking operations, the display will show:
P1+P2 CYCLE START
- Press at the same time and keep pressed the two push buttons P1 and P2 (DWG. A1.15).
- The machine starts the automatic fusing cycle,
The trolley opens
The positioning plate returns into home position.
The heating plate goes down.
The trolley closes thus bringing the faces of the profiles to be fused in touch with the heating
plate.
- At this point release push buttons P1 and P2.
- The display shows:
FUSING
SECONDS LEFT: 30
- The timer is decreased to zero seconds (this timer concerns the “fusing time”)
- When the timer reaches the zero value:
the trolley opens
the heating plate returns into home position
the trolley closes in order to let the profile faces to be welded get in touch.
- the display shows:
COOLING
SECONDS LEFT: 30