3:14
3.
4.
9.
12.
10.
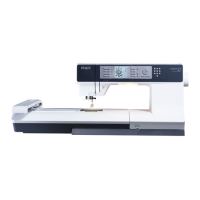
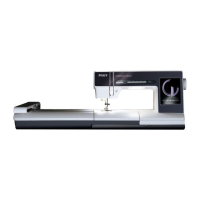
Get started to embroider
1. Attach the embroidery foot.
2. Attach the embroidery unit and put the presser
foot in the up position. Lower the feed dog.
Turn on your machine.
3. The machine prompts you to press the hoop
selection button (68) so that the machine can
calibrate the embroidery unit.
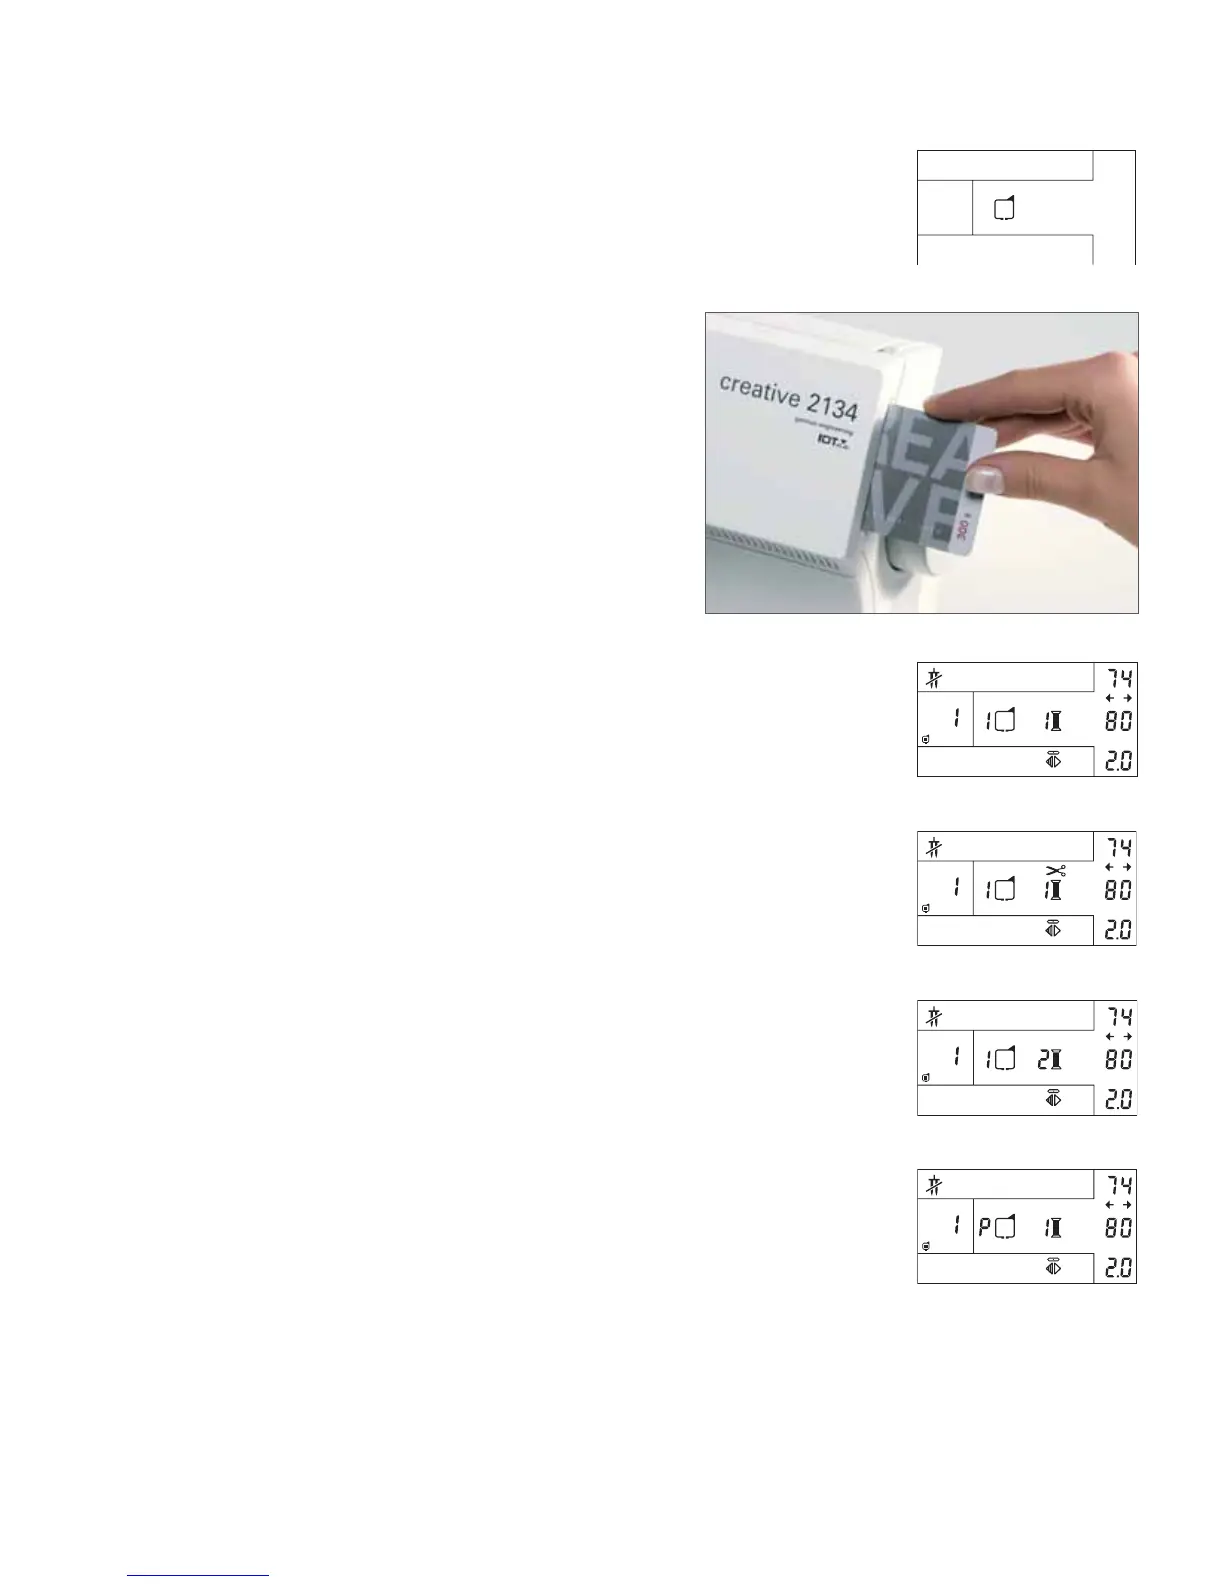
4. Insert your embroidery creative smart card and
choose a design. The design number will be
shown in the window. The machine will choose
the smallest hoop for that design.
5. Attach the hoop with the hooped fabric to the
embroidery unit. If the hoop on the window
does not match the hoop you have inserted,
your machine will not embroider. Touch the
hoop selection button to change the hoop.
6. Lower the presser foot lift slowly and push it to
the rear until it engages in the embroidery posi-
tion.
7. Wind the bobbin with special thread for
embroidering. Insert the bobbin.
8. Thread your machine with color no. 1. (Check
your embroidery booklet for more info on the
colors).
9. Press the reverse/start-stop button (14) for a
a few seconds to start your embroidery. The
machine will begin to sew. After a few stitches
the machine will stop in order for you to cut the
thread tail. The cut symbol will fl ash on your
window. Cut the thread and press the reverse/
start-stop button to continue embroidering.
10. When the machine has sewn the fi rst color it
will stop and the no. 2 will fl ash. Change the
top thread to no. 2 and continue to embroider.
Repeat this for all the colors.
11. When you have fi nished the last color the
machine will return to the beginning of the
design and color no. 1, will be fl ashing in the
window. Remove the hoop from the embroi-
dery unit and cut the thread ends.
12. Press the park position button (65) and turn
off the machine. Put the embroidery arm in the
packing position and remove the embroidery
unit.