4.3.4 Establishing mains connection
Only applicable for configurations with integrated power supply pack (DCU 110, DCU 180, DCU 310
and DCU 400). The DCU 002 receives the supply voltage via the electronic drive unit RS-485 interface.
Establishing mains connection for DCU
1.
Make sure that the “S1” power supply pack master switch is off prior to connection.
2.
Always ensure a secure connection to the earthed conductor (PE), protection class I.
3.
Insert the mains connector cable (not included in the shipment) in the "AC in" mains connection
plug at the rear side of the device.
4.
Secure the connection with the mounting bracket.
5.
Connect the mains cable to the mains power supply on the customer-side.
4.4 Connecting measuring tubes
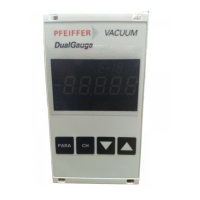
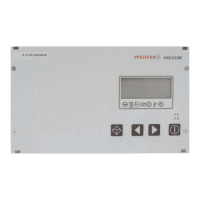
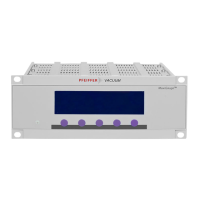
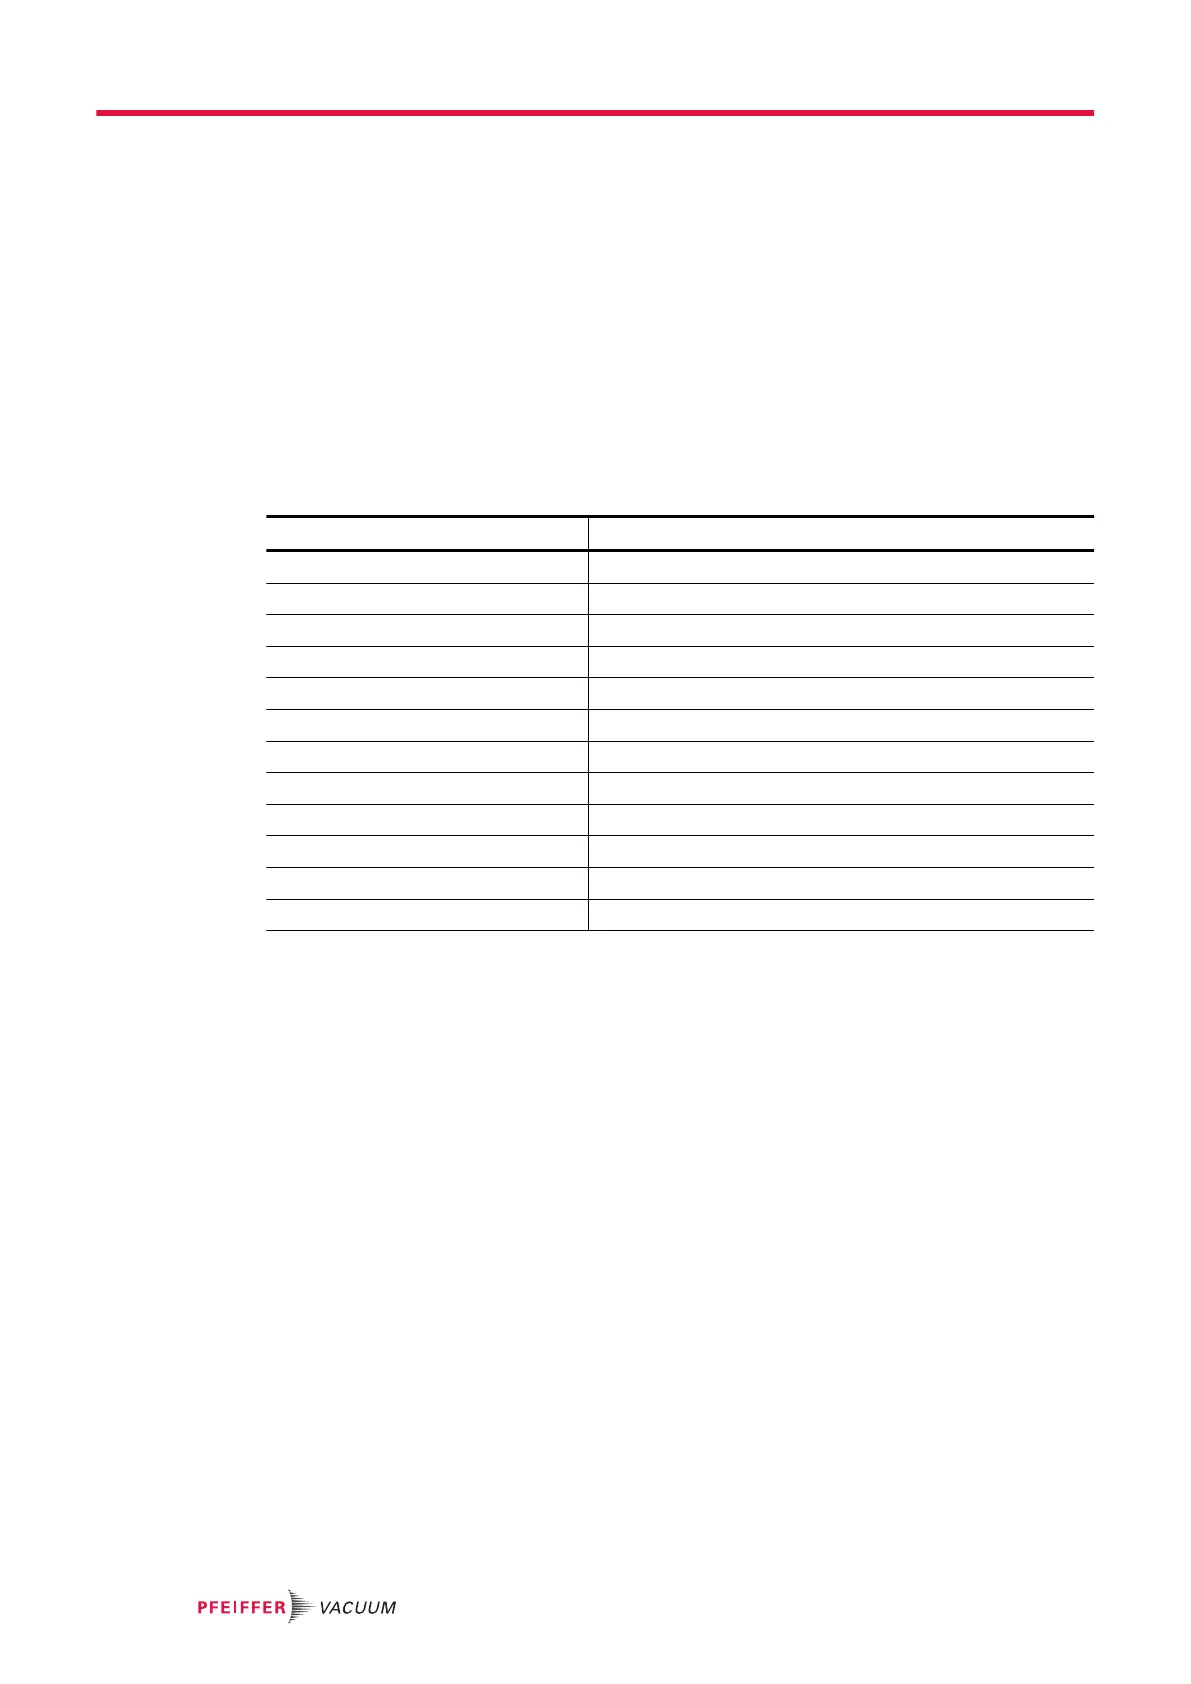
The connecting socket with designation "X3" is used to connect a Pfeiffer Vacuum transmitter.
Measuring tubes Display on the DCU [P:738]
APR 250/260 CMRx61
CMR 261/361 CMRx61, following manual selection
CMR 262/362 CMRx62, following manual selection
CMR 263/363 CMRx63, following manual selection
CMR 264/364 CMRx64, following manual selection
CMR 365 CMRx65, following manual selection
MPT 200 AR PKR2xx
PCR 280 TP/PCR
PKR 251/261/360/361 PKR2xx
PPT 200 AR TP/PCR
RPT 200 AR TP/PCR
TPR 270/280/281 TP/PCR
Tbl. 8: Available Pfeiffer Vacuum transmitters for connection to a DCU
Procedure
1.
Connect a pressure measuring tube to connection "X3" of the DCU as required.
2.
The corresponding connection cable is available as a Pfeiffer Vacuum accessory.
3.
Change the name of the transmitter as required by setting the parameter [P:738].
Installation
22/38