Maintenance
75
7c Remove the oven blank panel from the top of the oven by removing (4) socket
head cap screws.
7d Move the oven panel with the heater to the top of the GSD 320 and fasten in
place with (4) socket head cap screws.
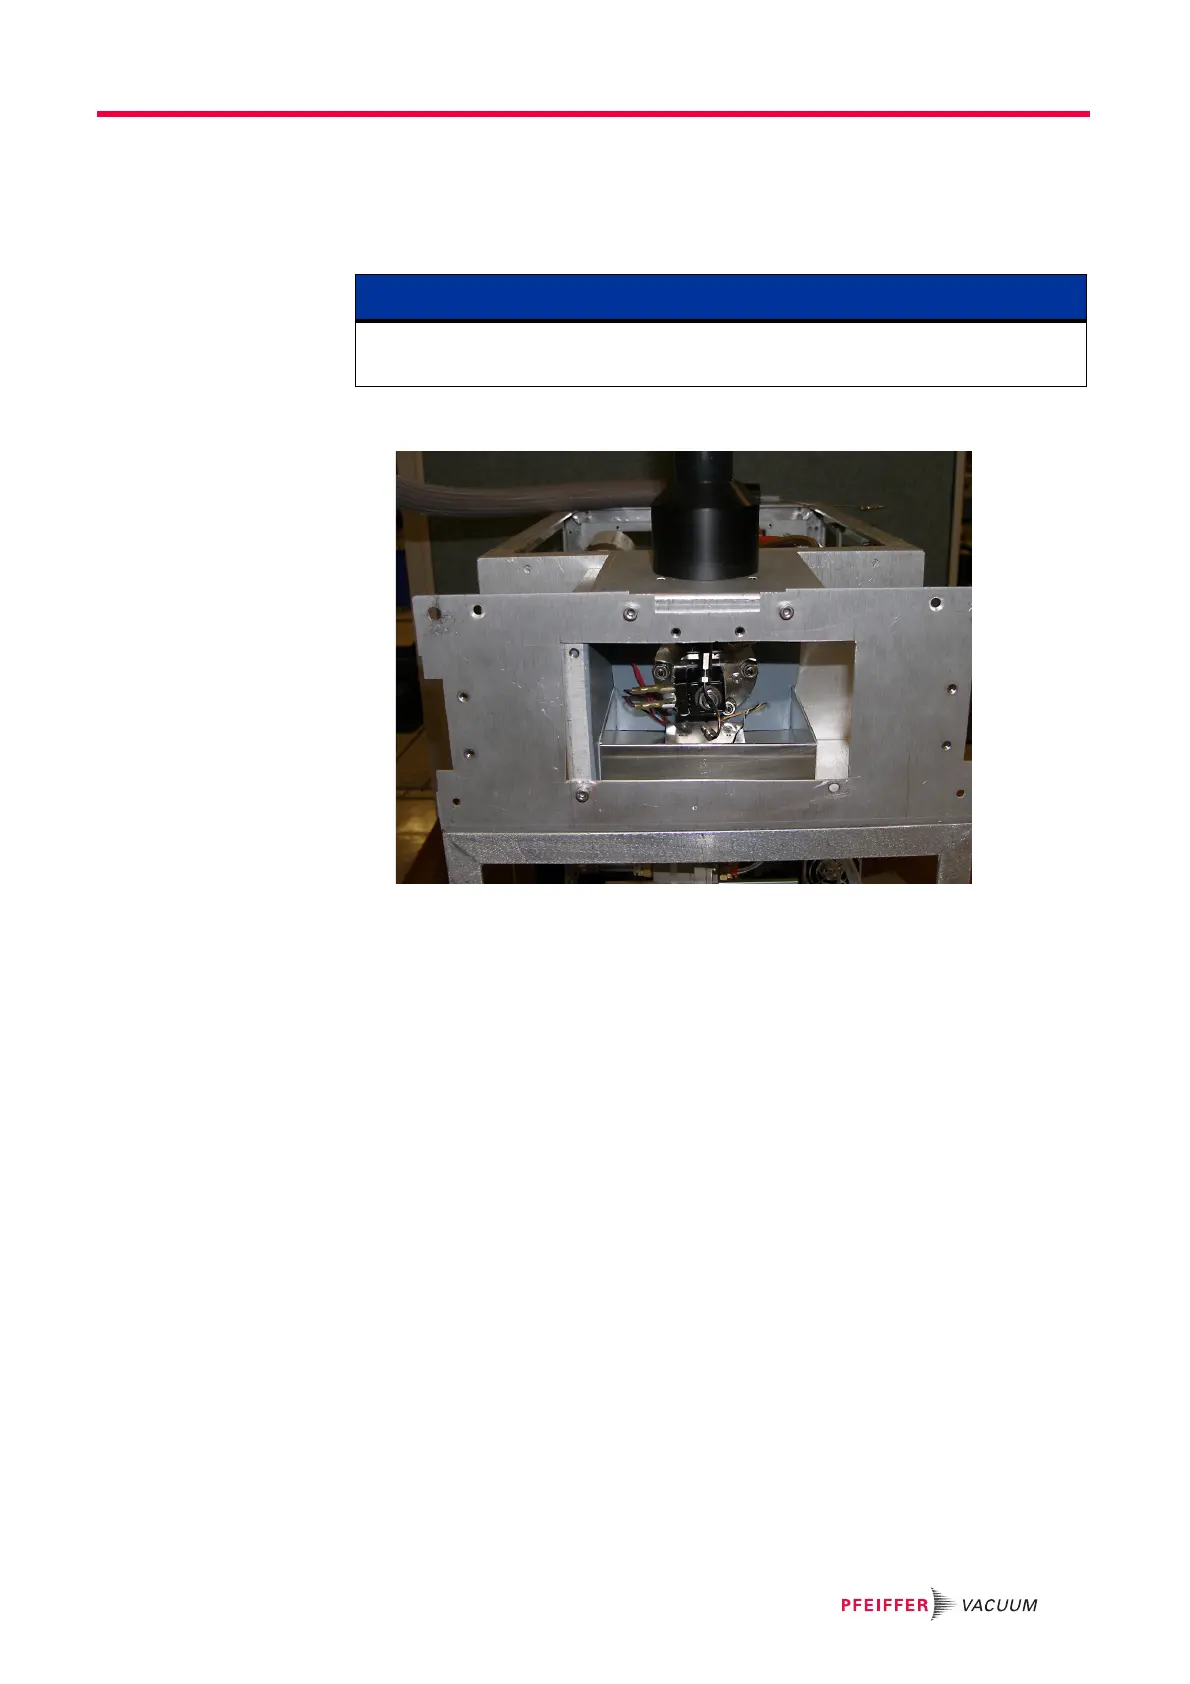
Figure 10-15 Capillary inlet top configuration
7e Install the oven blank panel in the side of the oven and fasten in place with (4)
socket head cap screws.
7f Install the inlet guard with access on the heater line and inlet guard without
access on the bland panel. Use (4) socket head cap screws to fasten guards in
place.
7g Re-install the capillary line, foam insulation, and oven cover as described in
section 10.3 on page 68.
7h Place the chassis cover back on the GSD 320 and fasten it to the frame using
(9) screws.
7i Install the front panel as described in section 10.3 on page 68.
8 For changing the heater inlet orientation from side to side:
8a Remove the inlet guard with access from the heater line and remove the inlet
guards without access from the blank panels of the GSD 320. Use a 3 mm hex
key to remove the socket head cap screws.
8b Remove (4) socket head cap screws in the panel that the heater line is attached
to.
8c Remove the blank panels from the top and side of the oven by removing (4)
socket head cap screws from each panel.
8d For OmniStar units, the inlet solenoid valve must be rotated 180 degrees so that
the electrical terminals are opposite of the heater line. Use a 13 mm wrench to
remove the hex nut on the solenoid valve. See Figure 10-16.
NOTE
There is slack in the length of the heater power cords for moving the panel, but it might
be necessary pull additional length from inside the GSD 320.
 Loading...