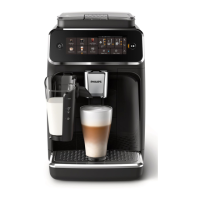
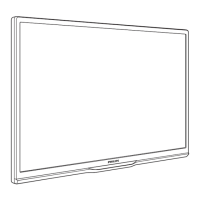
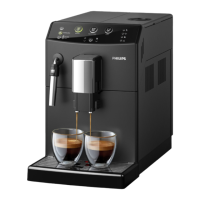
PHILIPS 3000 V2
Table of contents Page
1.
Introduction
1.1. Consumer Replaceable Parts (CRP) List 1
1.2. Material 2
1.3 Specic tools and equipment 2
1.4. Safety warnings 3
1.5. Water circuit diagram 3
1.6. Electrical diagram 4
1.7. Service POLICY grid as used for coee machine 5
1.8. External machine parts Philips 3000 V2 CMF 5
1.9. External machine parts Philips 3000 V2 EASY CAPPUC-
CINO
6
1.10. Internal machine parts 7
1.11. Customer menu in the Philips 3000 V2 CMF 8
1.12. Customer menu in the Philips 3000 V2 EASY CAPPUC-
CINO
9
1.13. Troubleshooting 10
1.14. Brew Unit mainteinance: Where to grease 13
1.15. Position of the Brew Unit 13
2.
Technical specications
2.1. Specication for the measurement of the coee products
temperature.
1
2.2. Specication for the measurement of the Milk products
temperature.
2
2.3. Machine parameters and performance 4
3.
Operating logic
3.1. Single microswitch 1
3.2. Temperature sensor (adjustment) 1
3.3. Coee cycle 2
3.4. Coee grinder Philips 3000 V2 3
3.5. Low bean level detection, dose quantity adjustment,
coee grinder blocked
3
3.6. Dose self-learning (SAS) 4
3.7. Water level detection (water tank) 5
3.8. Descaling request 5
3.9. Water lter 6
3.10. Milk Solution 6
Table of contents Page
4.
Service mode
4.1. Test Mode Philips 3000 V2 1
4.2.
SteamOut
8
5.
Espresso Philips Service Center
5.1. Espresso Philips Service Center (EPSC) 1
6.
Service and maintenance
6.1. Repair Flow 1
7.
Disassembly
7.1. Outer Shell 1
7.2. Coee grinder 2
7.3. Grinder blades 2
7.4. Coee grinder adjustment 3
7.5. Carafe connection and hot/steam water dispenser 3
7.6. Central plate 4
7.7. Pin boiler 4
7.8. Gear motor 4
7.9. Pump 5
7.10. Flow-meter 5
7.11. Boiler 5
7.12. CPU board 6
7.13 Programming access for EPSC (Espresso Philips Service
Center)
6
7.14. KYB interface and display 6
7.15. Fitting and removing Oetiker clamps 7